
Exterior Surface Prep: The Step Most DIYers Skip
90% of exterior paint failures start with poor surface prep. Learn exactly how to prepare any exterior surface — wood, stucco, brick, or metal — for a paint.


Tools & Materials Needed
- pressure washer
- scraper
- wire brush
- wood filler
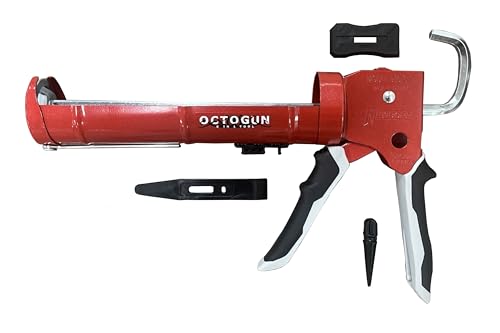
- caulk
- primer
- sandpaper 80-grit
Why Prep is Everything Outside
Interior paint failures are annoying. Exterior paint failures are expensive. A failed exterior paint job means peeling, cracking, and blistering — often requiring a complete strip-and-repaint job costing thousands of dollars.
The cause in almost every case? Inadequate surface preparation.
Professional painters spend 60-70% of their project time on prep. That’s not an accident — it’s what separates a paint job that lasts 10+ years from one that starts failing in year 2. Once prep is complete, you’ll want to choose the best exterior paint for your surface type.
Prep is what makes paint last 10 years instead of 2. Below is the kit for a full prep cycle on a single-family home.
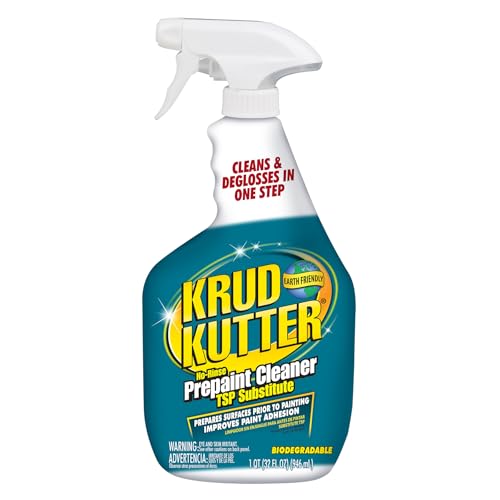 Krud KutterTSP Substitute CleanerCuts kitchen grease and soap scum without harsh chemicals — required prep before priming.~Price$13
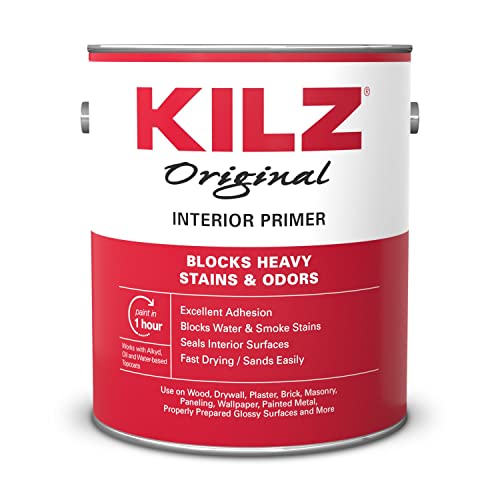 KILZOriginal Primer-Sealer (1 gallon)High-hide primer for navy, forest green, charcoal, and other dark non-red colors.~Price$28
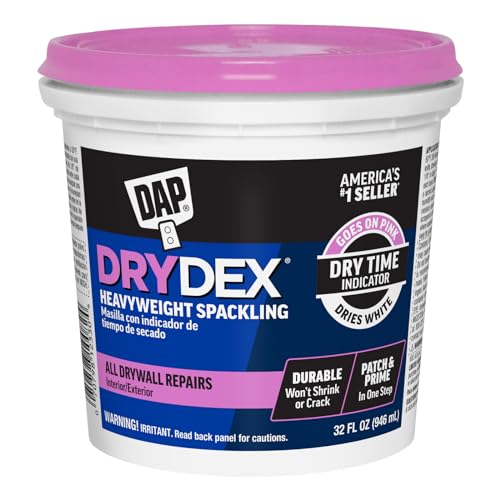 DAPDryDex Spackling (1 quart)Pink-to-white indicator tells you when it's dry. Use for nail holes and small cracks.~Price$10
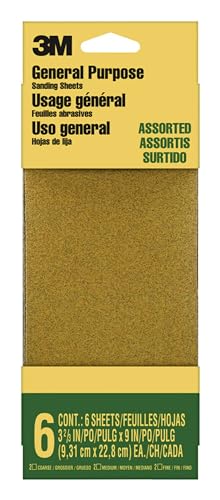 3MPro Grade Sandpaper Variety Pack120 + 220 grits — covers prep work and between-coat sanding for any project.~Price$15
 PurdyXL Elite Dale Angular 2.5-inch BrushCuts in cleanly, holds plenty of paint, lasts 50+ wash cycles.~Price$20
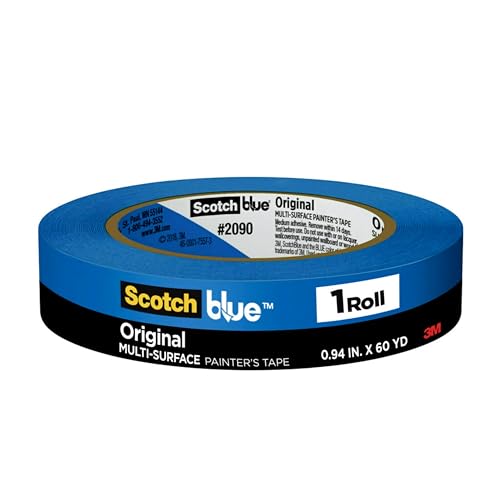 ScotchBlueOriginal Painter's Tape (3-pack)Mask windows, light fixtures, and adjacent surfaces — non-negotiable on big projects.~Price$13
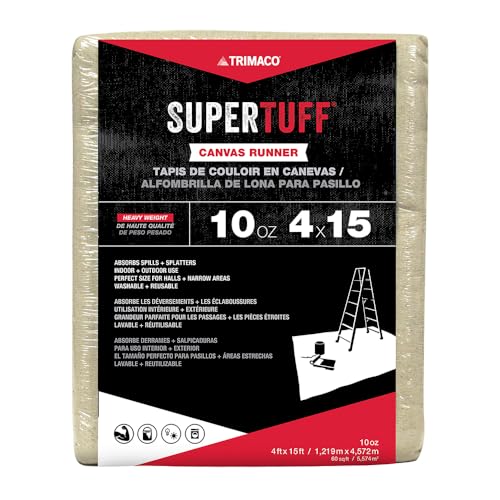 TrimacoSuperTuff 9x12 ft Canvas Drop ClothCanvas grips the floor (plastic slides), absorbs spills, lasts a decade.~Price$26
Affiliate Disclosure: PaintLikePro is reader-supported. When you buy through links on our site, we may earn an affiliate commission at no extra cost to you. Learn more. Prices shown are approximate and reflect the price at publication; check Amazon for current pricing.
The 5 Enemies of Exterior Paint
- Moisture: Wet surfaces cause bubbling and peeling
- Dirt and contamination: Paint won’t bond to a dirty surface
- Old peeling paint: New paint won’t stick to failing old paint
- Bare wood: Unprimed wood absorbs paint unevenly and rots faster
- Gaps and cracks: Water infiltrates, causing wood rot and paint failure from below
Step-by-Step Exterior Prep
Inspect the Surface Thoroughly
Walk the entire exterior and note: peeling or flaking areas, cracks or gaps in siding or caulk, rotted wood, rust stains on metal, mildew or algae growth, chalky residue (oxidized old paint). Take photos for reference.
Pressure Wash the Entire Exterior
Rent or buy a pressure washer (1,500–2,500 PSI for most siding; lower for softer wood). Add a mildew-killing detergent to the tank and wash from top to bottom. For mildew spots, use a bleach solution (1 part bleach, 4 parts water). Allow 24–48 hours of dry time before proceeding.
Scrape All Loose and Peeling Paint
Use a quality paint scraper to remove any loose, flaking, or peeling paint. Work with the grain on wood surfaces. Don’t try to remove paint that’s firmly adhered — just the failing sections. A heat gun or chemical stripper may help on thick old paint layers.
Repair Rotted or Damaged Wood
Probe wood with a screwdriver — if it sinks in easily, the wood is rotted. Minor rot: use an epoxy wood filler (like Bondo Wood Filler or Abatron LiquidWood). Major rot: replace the board entirely. Don’t paint over rot — it will fail quickly and get worse underneath.
Sand Rough Edges
Feather the edges of scraped areas with 80-grit sandpaper so there’s no hard line between painted and bare areas. This creates a smooth surface for primer and topcoat to bridge across.
Re-caulk All Gaps and Joints
Remove old, cracked caulk and re-caulk around windows, doors, trim joints, and any gap where water could enter. Use a paintable exterior caulk (100% acrylic or siliconized acrylic). Smooth with a wet finger. Allow to cure before painting.
Prime All Bare Surfaces
Any bare wood, repaired areas, or new caulk must be primed before topcoating. Use an oil-based primer on bare wood for maximum penetration and adhesion. On metal, use a rust-inhibiting primer. On previously painted surfaces in good condition, spot-prime any scraped areas. Make sure you have all the essential painting tools before starting.
Get Zinsser Cover Stain Oil Primer on AmazonSurface-Specific Tips
Wood Siding
- Always prime bare wood with oil-based primer — for full details, see how to paint a house exterior
- Back-prime new boards before installing (prime the back side too)
- Pay special attention to end grain — it absorbs moisture fastest
Stucco and Masonry
- Must be completely cured (new stucco: wait 30 days minimum)
- Use masonry primer or Loxon conditioner
- Fill cracks with elastomeric caulk, not regular caulk
Previously Painted Metal
- Sand with 80-grit to scuff the surface
- Remove all rust with a wire brush or rust converter
- Prime with rust-inhibiting metal primer
Test old paint for lead before scraping if your home was built before 1978. DIY test kits are available at hardware stores for about $10. If lead is present, use wet scraping methods and proper protective equipment.
How Long Does Prep Take?
| House Size | Prep Time (DIY) |
|---|---|
| Small ranch (1,200 sq ft) | 1–2 days |
| Average two-story (2,000 sq ft) | 2–3 days |
| Large two-story (3,000+ sq ft) | 3–5 days |
Never paint in direct sun on hot days — paint dries too fast, leaving brush marks and poor adhesion. Paint in the shade, moving around the house to follow the shade, or choose an overcast day. See our guide on the best time to paint outside for more tips.
FAQ
Can I skip the pressure wash if the surface looks clean? No. Even surfaces that look clean carry an invisible film of pollen, oxidized paint chalk, road dust, and mildew spores that destroy paint adhesion. Pressure washing is the cheapest insurance you can buy on an exterior job — skip it and you’re rolling the dice on the whole repaint.
How do I tell if old paint is still adhered well? Press a piece of duct tape firmly onto a painted area and rip it off fast. If paint comes off with the tape, that area needs scraping and priming. Test in three or four spots per side of the house — failure rates often vary dramatically between sun-baked and shaded elevations.
Is power-washing alone enough to remove peeling paint? Sometimes — high pressure (2,500+ PSI) at a close angle will strip loose paint from solid wood. But it can damage soft cedar siding, force water behind clapboards, and miss thicker peeling layers. Hand-scrape after washing for a controlled result.
Home & Outdoor Reviews Editor
Ava Brooks is the Home & Outdoor Reviews Editor. She covers major product categories including tools, furniture, lawn and garden equipment, and practical home accessories. Her goal is to simplify product research with clear comparisons, useful buying guides, and straightforward recommendations for everyday use.
Related Articles
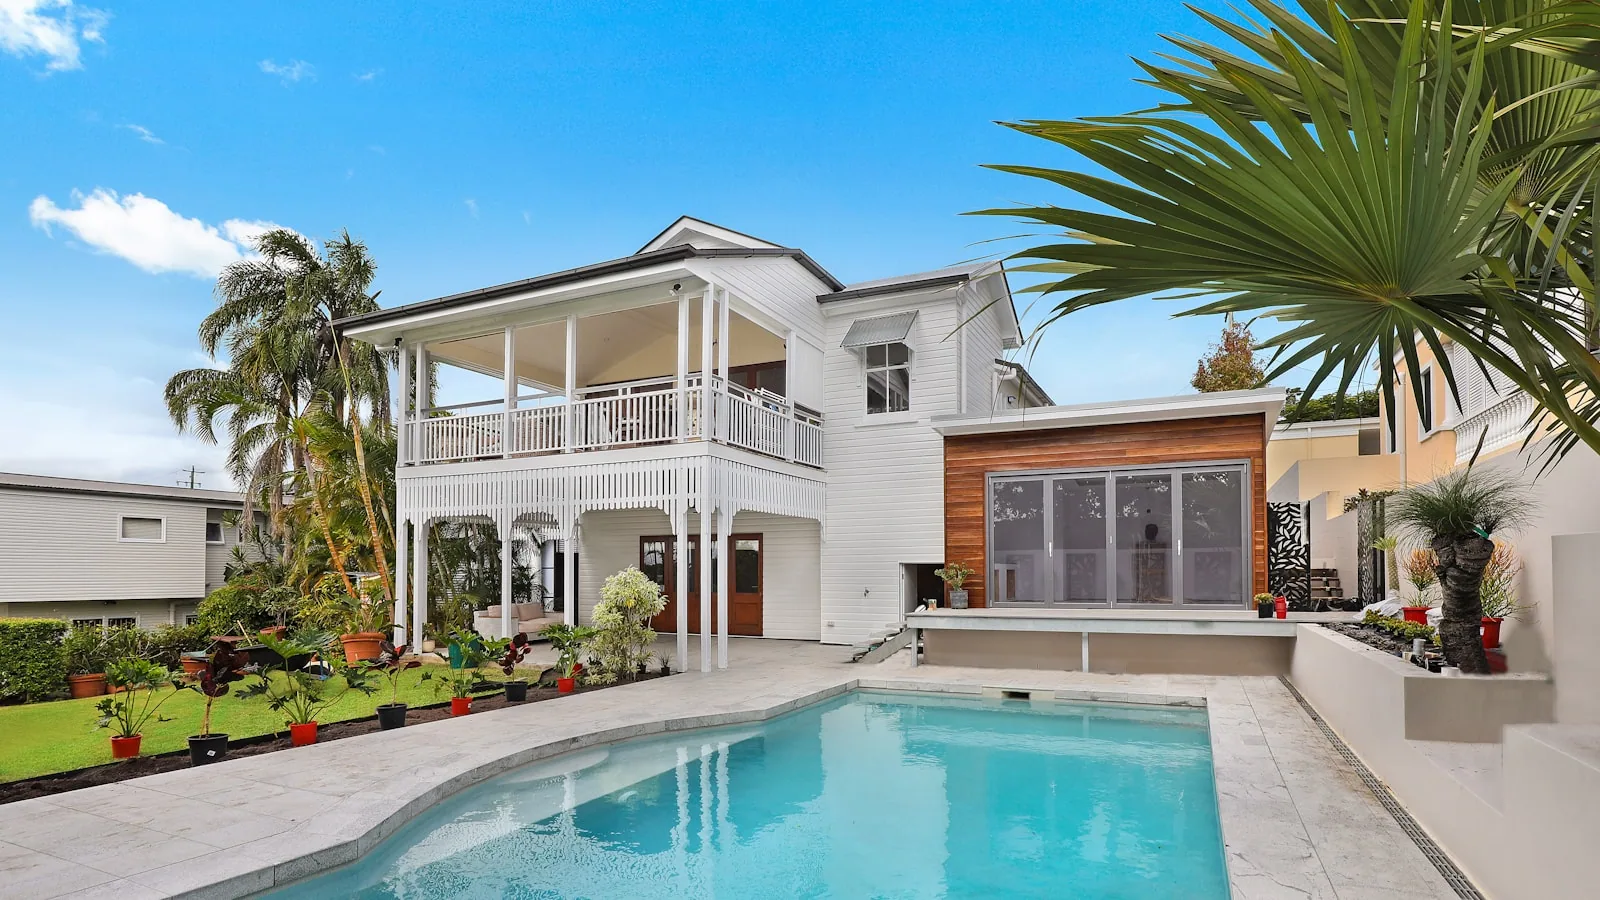
How to Paint a House Exterior: Complete Guide
A complete guide to painting your home's exterior, from choosing the right paint to surface preparation and application techniques.
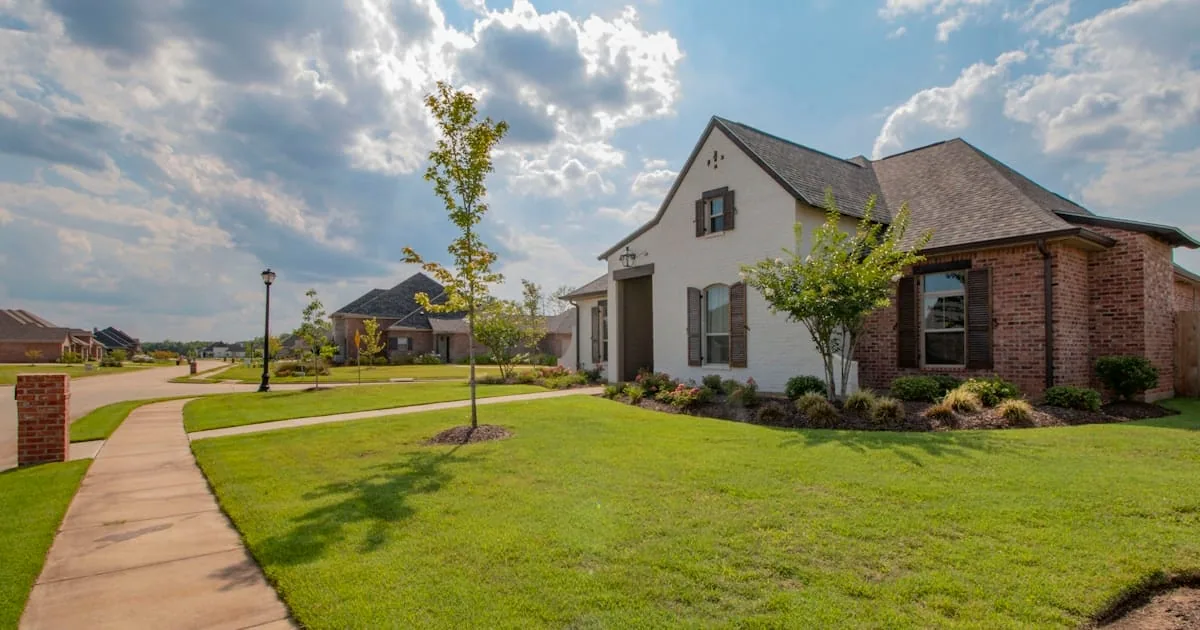
When Is the Best Time to Paint Outside?
Timing is everything for exterior painting. Learn the ideal weather conditions, best seasons, and time of day to paint your home's exterior for lasting results.
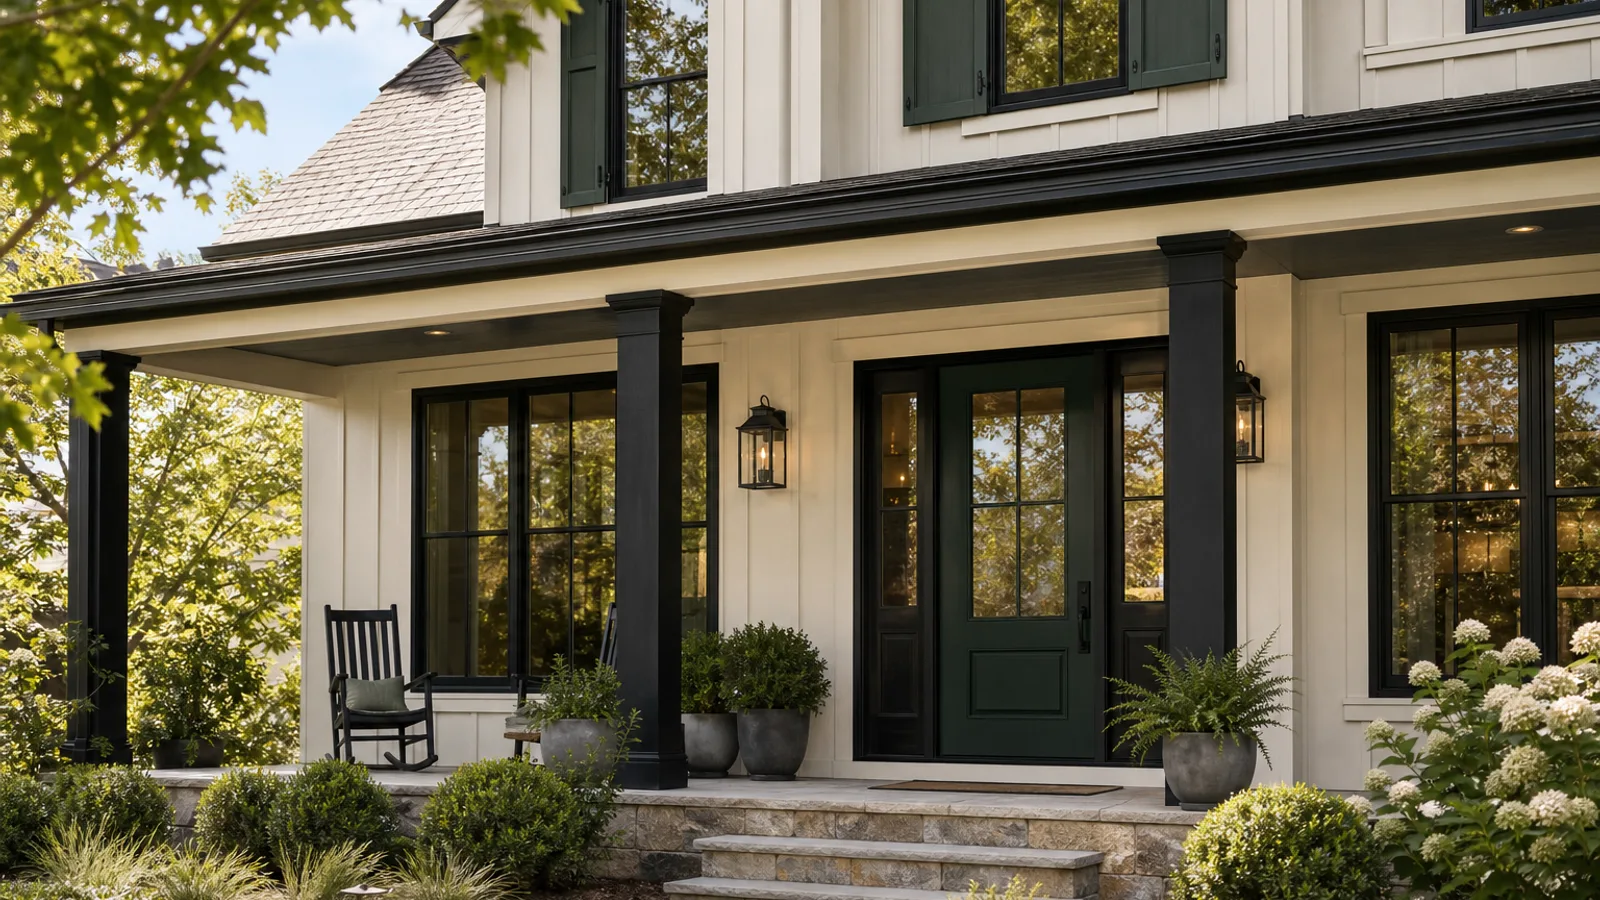
Best Black Green Exterior Accent Colors in 2026
Black-green exterior accents add depth without the flat look of pure black. These are the shades that work best on shutters, doors, trim, and porch details.