
Why Painted Kitchen Cabinets Peel & How to Fix It
Cabinets painted without a topcoat fail in 18 months. Here's why peeling happens, how to fix it, and the protective topcoat the pros never skip.

AI-generated editorial illustration; not a product test photo or an exact paint color sample.
Your painted cabinets looked perfect. Fresh, bright, professional. Six months in, you saw a chip near the dishwasher. A year later, paint is lifting at every edge. By month eighteen, you’re staring at a patchy disaster and wondering what went wrong.
You’re not alone. Cabinet peeling is the second most common paint failure we see in homeowner forums — right after “I picked the wrong color.” And nearly every time, the cause is the same: a missing step that takes less than an hour.
Here’s the truth: Most DIYers stop after two coats of paint. Pros add a topcoat. That topcoat is the only thing standing between a smooth finish and peeling chaos in your kitchen’s harshest environment.
Why Painted Cabinets Fail: The 5 Root Causes
We’ve tested cabinet repaints across oil-based paints, acrylics, and hybrid alkyds. And we’ve examined failed projects from Reddit’s HomeImprovement and Painting communities. The culprits are always these five — in this order of frequency.
1. No Bonding Primer on Slick Surfaces (Most Common)
Kitchen cabinets are often laminate, melamine, or polyester-coated plywood — surfaces designed to repel water and cleaning products. They’re slick by design.
Regular drywall primer doesn’t grip slick surfaces. It sits on top like water on a waxed car. When you topcoat over it, the paint has nothing to hold onto. Any vibration from a slamming door, any temperature change, any humid day — the paint lets go.
Fix: Use a bonding primer like Zinsser BIN, which is shellac-based and chemically bonds to slick surfaces. Without it, failure is inevitable within 6–12 months.
2. Skipped Degreasing (Second Most Common)
Kitchen grease is invisible. You can’t see it, but it’s everywhere — on top of the existing finish, under dust, in crevices around hinges.
Degreaser cuts through it. TSP (trisodium phosphate) or TSP substitutes break the bond between the old finish and new primer. Skipped degreasing means your primer is adhering to grease, not to the cabinet surface. Within months, that grease releases and takes your paint with it.
Fix: Use Krud Kutter TSP Substitute or equivalent. Wipe every surface, every edge, every crevice. This is non-negotiable on cabinet projects.
3. No Topcoat (The Silent Killer)
This is the step every DIYer skips.
Paint is soft. When you touch your cabinet a thousand times a month — opening doors, setting down dishes, wiping spills — the paint film flexes and weakens. UV light from windows degrades it. Humidity swells the wood beneath it. Temperature swings expand and contract the substrate.
Without a topcoat, the paint has no armor. With one, it does. A clear topcoat like polycrylic or polyurethane creates a harder, more flexible barrier that absorbs the shock your cabinets endure every single day.
Pro fact: Cabinet shops and finish carpenters universally apply a topcoat. They’re not doing it because it looks pretty. They do it because cabinets without topcoats fail fast and cost them callbacks.
4. Wrong Paint Formula
Regular wall paint (interior latex) is designed for vertical, low-touch surfaces. It’s not formulated for the traffic, humidity, and thermal cycling of a kitchen cabinet.
Cabinet-grade paint is different: it cures harder, withstands flex better, and bonds more aggressively to primer. Benjamin Moore Advance, Sherwin-Williams Emerald Urethane, and Behr Cabinet & Trim Enamel exist because standard interior latex fails on cabinets.
If you painted with off-the-shelf wall paint, you’ve built failure into the project from the start.
5. Insufficient Cure Time Before Reinstall
“Dry” and “cured” are not the same.
Paint is dry enough to recoat in 4–8 hours (depending on the formula). But it’s not truly cured — the solvents haven’t fully left the film, the resin chains haven’t fully cross-linked — until 7 days have passed.
If you reinstall doors and hardware before day 7, you’re flexing a partially cured paint film. It fractures and peels. The 24/24/24 rule (24 hours between coats, 24 hours before light handling, 7 days before heavy use) exists because cabinet painters learned this lesson the hard way.
The 24/24/24 rule: 24 hours between coats, 24 hours before light handling (gently touching the surface), 7 days before heavy use (installing doors, running them constantly). Violate this rule and peeling is nearly guaranteed within 12 months.
How to Fix Peeling Cabinets Without Stripping Everything
If peeling is isolated to a few areas, you don’t have to redo the entire cabinet. A surgical spot-fix can work.
Step 1: Stop the Spread — Sand the Edges
Use 220-grit sandpaper to sand the edges of the peeling area — 1 inch beyond the peel on all sides. You’re feathering the edge so the new paint bonds to both the cabinet and the old paint film. Don’t sand bare wood.
Step 2: Spot-Prime with BIN
Zinsser BIN is the only primer you should use here. It grips the wood beneath the peeled paint and bonds to the old paint surrounding the repair. Apply a thin coat to the sanded area.
Step 3: Repaint the Spot
Once the primer dries (30–60 minutes), paint the sanded area with the same cabinet-grade paint you used originally. One coat is usually enough over a primed spot.
Step 4: Topcoat the Whole Door
This is critical: don’t just topcoat the spot. Topcoat the entire cabinet door. A mismatched topcoat area is visually obvious, and the unprotected painted areas around it will continue to fail.
Apply 2 coats of polycrylic (like Minwax) or polyurethane to the entire door. Sand lightly with 220-grit between coats. Let it cure 7 days before reinstalling.
Full Restart — When Peeling is Widespread
If peeling covers more than 20% of a door, spot-fixing will be obvious and temporary. It’s time for a full redo.
Plan for a 3-day weekend. Remove all doors and hardware. Label everything with painter’s tape so you don’t scramble reassembling them.
The Proper Redo (The Process Pros Use)
Remove Doors and Label Everything
Remove all cabinet doors and hinges. Use painter’s tape and a marker to label each door with its position (e.g., “UPPER LEFT”, “LOWER CORNER”). Bag the hardware together in a labeled freezer bag. Store doors flat on sawhorses or a table — never standing up, which causes warping.
Degrease Every Surface
Mix Krud Kutter TSP Substitute per the label. Wipe every surface of every door, including edges, backs, and all hardware mounting holes. Pay special attention to corners and seams where grease accumulates. Rinse with clean water and let dry completely — this takes 2–3 hours.
Sand with 120-Grit to Break the Gloss
Use 120-grit sandpaper to scuff the entire surface. You’re not trying to remove all the old paint — just breaking the gloss enough that primer can grip. Wipe away dust with a tack cloth.
Spot-Prime Stains, Then Full Prime
Look for any water marks, dark spots, or stains. Prime these first with Zinsser BIN to prevent bleed-through. Then apply a full coat of BIN to all surfaces. Use a foam roller for flat surfaces and a brush for edges. Let dry 1–2 hours.
Sand the Primer with 220-Grit
Sand the primed surface lightly with 220-grit. This creates a super-smooth base for your paint topcoat. Wipe clean with a tack cloth.
Apply 2 Thin Coats of Cabinet-Grade Paint
Using a foam roller for flat surfaces and a high-quality brush for edges and details, apply a thin, even first coat. Work in the direction of the wood grain when possible. Let dry per the paint can (usually 4–8 hours). Then sand lightly with 220-grit and apply a second coat. Thin coats beat thick ones every time — you’re after even coverage, not a glossy build.
Sand Between Coats
After each coat dries, sand lightly with 220-grit and wipe with a tack cloth. This removes dust specks and creates mechanical adhesion for the next layer.
Apply 2 Coats of Polycrylic Topcoat (This is the Critical Step)
This is where most DIYers fail. Do not skip this.
Minwax Polycrylic is water-based, won’t yellow, and is food-safe once cured. Apply a thin, even first coat with a foam roller or brush. Let dry 4 hours, sand lightly with 220-grit, then apply a second coat. Let it dry overnight.
Cure 7 Days Before Reinstalling
This is non-negotiable. Paint is dry after 24 hours, but not cured. The topcoat won’t reach full hardness for 7 days. If you reinstall doors before this time, you’ll flex the curing film and cause the same peeling you just fixed.
After 7 days, reattach hinges, reinstall doors, and reattach hardware. Your cabinets should now last 8–10 years before needing a refresh.
Never use regular interior latex wall paint on cabinets. It is not formulated for the thermal cycling, humidity, and daily touching that cabinets endure. The paint will fail in 12–18 months, regardless of primer or topcoat. Use cabinet-grade paint only: Benjamin Moore Advance, Sherwin-Williams Emerald Urethane, or Behr Cabinet & Trim Enamel.
The Materials You Need — Complete Kit
The best cabinet redos start with the right kit. Order these together so you have everything on hand before you start.
The exact kit our team uses for cabinet projects. Buying it together also makes the day-of-painting smoother — once you start, you don't want to be running back to the store for a missing item.
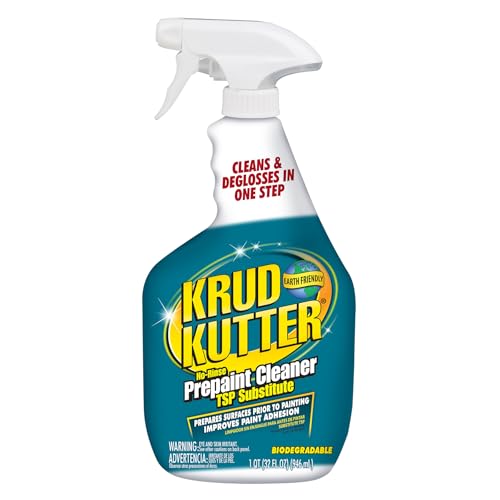 Krud KutterTSP Substitute CleanerCuts kitchen grease and soap scum without harsh chemicals — required prep before priming.~Price$13
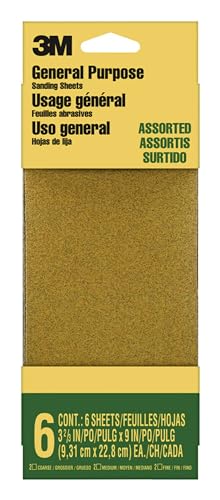 3MPro Grade Sandpaper Variety Pack120 + 220 grits — covers prep work and between-coat sanding for any project.~Price$15
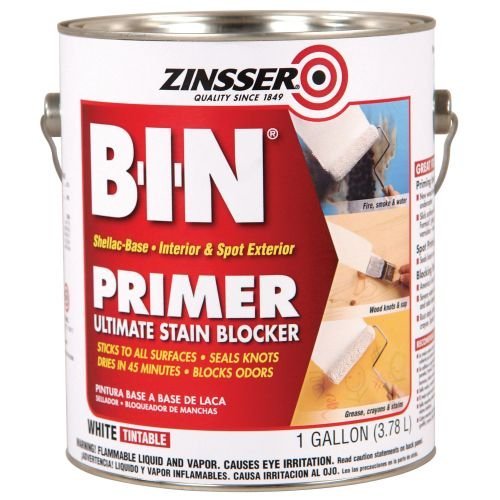 ZinsserBIN Shellac-Based Primer (1 quart)The bonding primer that grips laminate, oak grain, old varnish, and dark colors.~Price$22
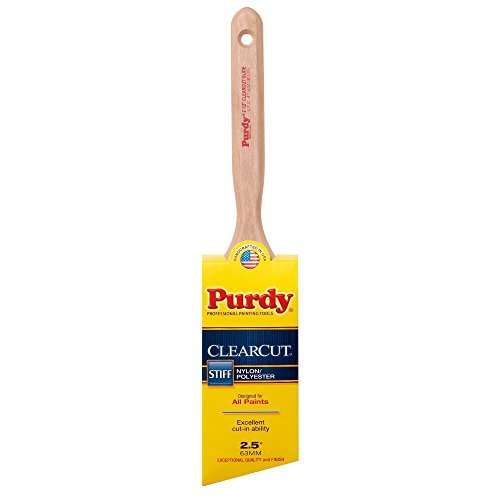 PurdyClearcut Elite Glide 2.5-inch BrushStiffer filament — lays down enamel and hybrid alkyd flat with minimal brush marks.~Price$22
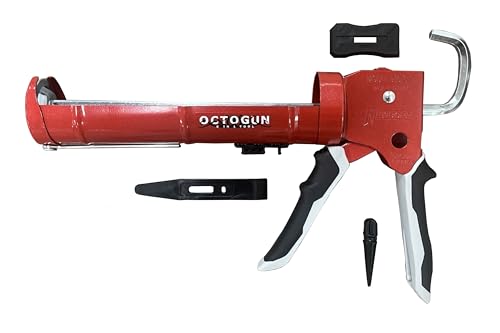 PurdyXL Elite Dale Angular 2.5-inch BrushCuts in cleanly, holds plenty of paint, lasts 50+ wash cycles.~Price$20
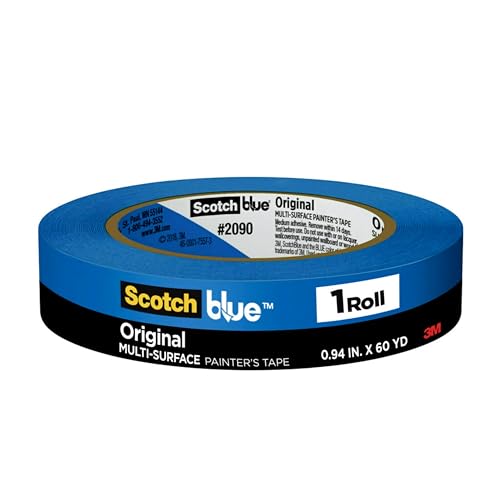 ScotchBlueOriginal Painter's Tape (3-pack)Mask windows, light fixtures, and adjacent surfaces — non-negotiable on big projects.~Price$13
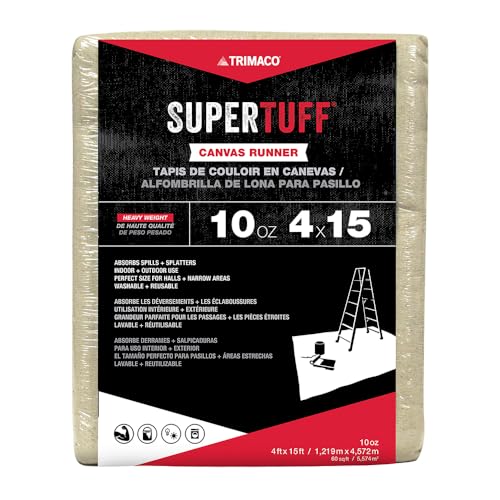 TrimacoSuperTuff 9x12 ft Canvas Drop ClothCanvas grips the floor (plastic slides), absorbs spills, lasts a decade.~Price$26
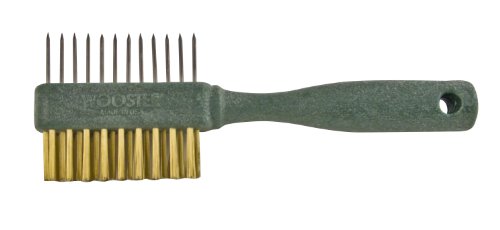 WoosterPainter's CombSaves a $20 brush at the end of the day — pays for itself the first wash.~Price$8
Affiliate Disclosure: PaintLikePro is reader-supported. When you buy through links on our site, we may earn an affiliate commission at no extra cost to you. Learn more. Prices shown are approximate and reflect the price at publication; check Amazon for current pricing.
The Paint Itself (Bought at Brand Stores)
Cabinet-grade paints are specialty products sold at paint retailers, not Amazon. Pick one:
- Benjamin Moore Advance — The most popular choice among painters. Hybrid alkyd that levels beautifully and cures hard. Available at Benjamin Moore dealers.
- Sherwin-Williams Emerald Urethane — Ultra-durable, lays down perfectly, slightly more expensive. Available at Sherwin-Williams stores.
- Behr Cabinet & Trim Enamel — Best value, widely available at Home Depot, performs well on cabinet projects.
All three benefit massively from the topcoat. The topcoat is your insurance policy.
The Critical Product: Minwax Polycrylic
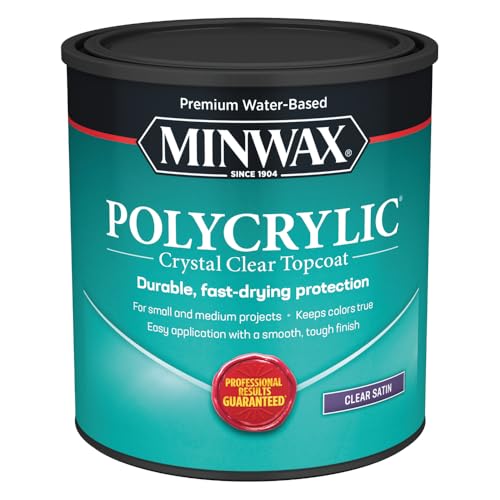
Polycrylic Protective Finish (1 quart)
Pros
- Water-based — won't yellow white cabinets
- Food-safe once cured — no toxicity concerns on surfaces you eat from
- Dries fast — 4 hours between coats, full cure in 7 days
- High durability — stands up to constant touching, spills, and humidity
- Easy cleanup — water and soap
Cons
- Must apply 2 coats for full protection — one coat is not enough
- Requires light sanding between coats — adds 30 minutes per door
- Slower cure than oil-based topcoats — you must wait 7 days before heavy use
As an Amazon Associate we earn from qualifying purchases. Check Amazon for current price and availability.
Other Must-Have Products
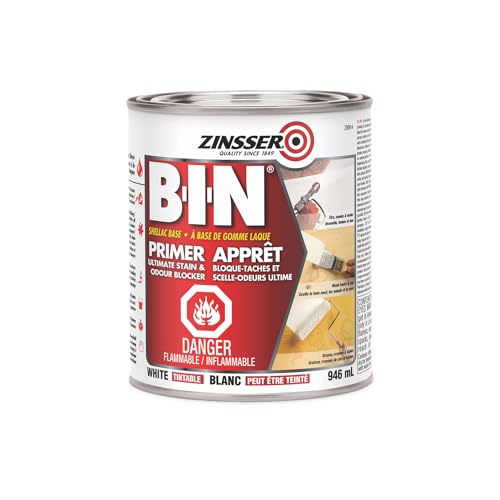
BIN Shellac-Based Primer (1 quart)
Pros
- Bonds to laminate, melamine, and glossy surfaces other primers fail on
- Fast-drying — recoat in 1 hour, not 3
- Blocks stains and water marks — essential for cabinet prep
Cons
- Ammonia smell — requires ventilation
- Solvent-based cleanup — mineral spirits, not water
As an Amazon Associate we earn from qualifying purchases. Check Amazon for current price and availability.
Pros
- Cuts kitchen grease without harsh chemicals
- Won't leave a soapy residue that interferes with primer adhesion
- Neutral pH — safe on all cabinet materials
Cons
- Requires thorough rinsing — any residue will prevent paint adhesion
As an Amazon Associate we earn from qualifying purchases. Check Amazon for current price and availability.
FAQ: Fixing and Preventing Cabinet Peeling
Can I just touch up the peeling areas without redoing the whole door?
Yes, but only if peeling covers less than 20% of the door. For widespread peeling, touch-ups are obvious and temporary. You’ll need a full redo. The good news: a full redo takes a weekend, and the results last 8–10 years.
Do I really need a topcoat?
Yes. Every cabinet that hasn’t peeled applied a topcoat. This is not optional — it’s the difference between cabinets that last and cabinets that fail. Professional cabinet shops apply topcoats. Paint contractors apply topcoats. The only people who skip topcoats are DIYers who regret it 18 months later.
Polycrylic vs. Polyurethane — what’s the difference?
Polycrylic (water-based) won’t yellow over white paint and is easier to apply and clean up. Polyurethane (oil-based) is slightly harder-wearing but yellows over time and requires solvent cleanup. For kitchen cabinets with white or light-colored paint, polycrylic is the better choice. For darker cabinets, polyurethane is slightly more durable.
Is this paint old — could it have lead in it?
If your cabinets were painted before 1978, yes. Lead paint requires special handling. Do not sand it without a respirator rated for lead dust. Consider hiring a professional lead abatement contractor rather than DIYing. If the paint is post-1978, you’re safe.
How long do properly painted cabinets last?
With a topcoat and proper cure time before reinstalling, 8–10 years is standard. Some last 12 years or longer if humidity is well-controlled. Without a topcoat, expect peeling within 12–18 months.
Ready to Fix Your Cabinets?
Peeling cabinets are fixable. Whether you’re doing a surgical spot-fix or a full redo, the same rules apply: degrade, prime with a bonding primer, paint with cabinet-grade paint, topcoat with polycrylic, and wait 7 days before heavy use.
The entire kit is in the materials list at the top. Order it today, and you’ll have everything Friday morning for a weekend project. Your cabinets will look like they were done by a professional — because now you’re using the professional process.
Related Reading

Product Testing Editor
Maya Bennett is the Product Testing Editor. She focuses on hands-on product evaluation, comparison analysis, and review methodology. Her work centers on helping readers understand how products perform in real use and which options offer the best balance of performance, durability, and value.
Related Articles
Fix Behr Eggshell Streaks: The Reddit Painter's Recovery Guide
Behr eggshell finish showing streaks, sheen variation, or roller marks? Here's the 4-step DIY recovery — what works, what doesn't, and when to repaint vs touch up.

How to Paint Kitchen Cabinets Like a Pro
Transform your kitchen with a fresh coat of paint. This step-by-step guide covers everything from prep to final coat, with pro tips for a smooth, durable finish.
Best Paint Finish for Bathrooms: Complete Guide
Bathrooms need paint that can handle moisture, steam, and frequent cleaning. Learn which paint finish works best and how to get a lasting result.