
How to Paint Kitchen Cabinets Like a Pro
Transform your kitchen with a fresh coat of paint. This step-by-step guide covers everything from prep to final coat, with pro tips for a smooth, durable finish.


Tools & Materials Needed
- 120-grit sandpaper
- 220-grit sandpaper
- TSP cleaner
- painter's tape
- high-quality brush
- foam roller
- bonding primer
- cabinet paint
- drop cloths
Why Paint Your Kitchen Cabinets?
Painting kitchen cabinets is one of the most impactful home improvement projects you can tackle. A full kitchen remodel can cost $25,000 or more, but painting your cabinets can transform the entire look for under $200 in materials.
The key to professional results is preparation. In fact, prep work accounts for about 80% of the time on this project, but it’s what separates a DIY job from a pro-quality finish.
The exact kit our team uses for cabinet projects. Buying it together also makes the day-of-painting smoother — once you start, you don't want to be running back to the store for a missing item.
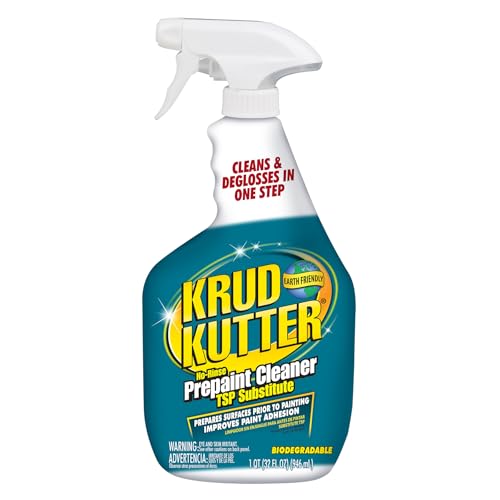 Krud KutterTSP Substitute CleanerCuts kitchen grease and soap scum without harsh chemicals — required prep before priming.~Price$13
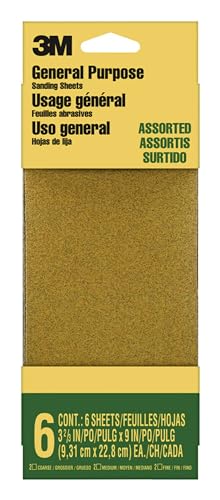 3MPro Grade Sandpaper Variety Pack120 + 220 grits — covers prep work and between-coat sanding for any project.~Price$15
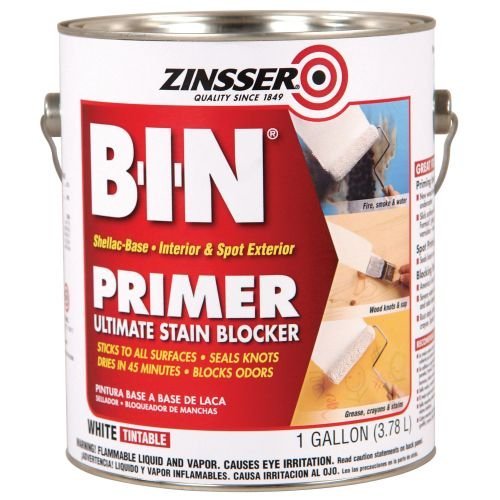 ZinsserBIN Shellac-Based Primer (1 quart)The bonding primer that grips laminate, oak grain, old varnish, and dark colors.~Price$22
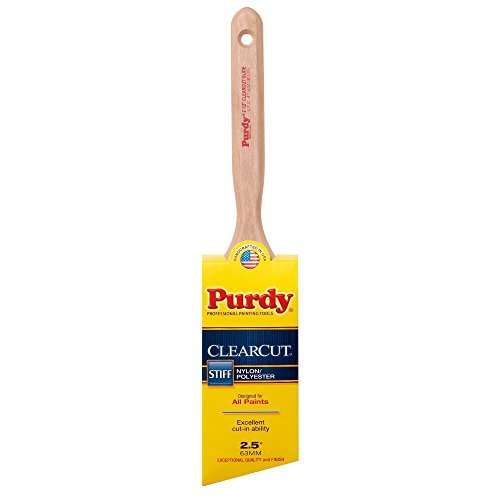 PurdyClearcut Elite Glide 2.5-inch BrushStiffer filament — lays down enamel and hybrid alkyd flat with minimal brush marks.~Price$22
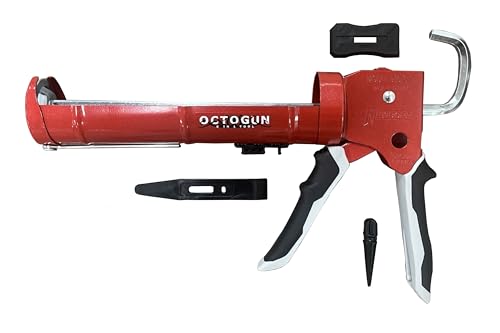 PurdyXL Elite Dale Angular 2.5-inch BrushCuts in cleanly, holds plenty of paint, lasts 50+ wash cycles.~Price$20
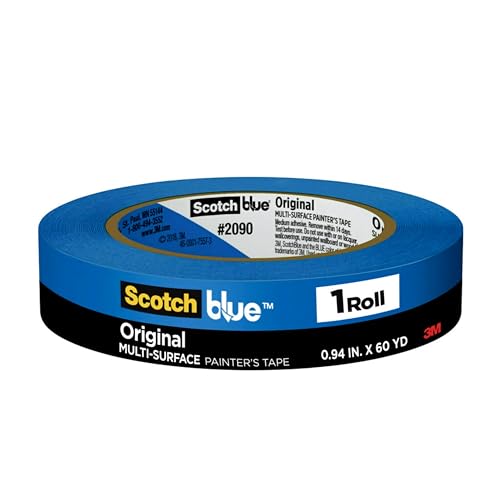 ScotchBlueOriginal Painter's Tape (3-pack)Mask windows, light fixtures, and adjacent surfaces — non-negotiable on big projects.~Price$13
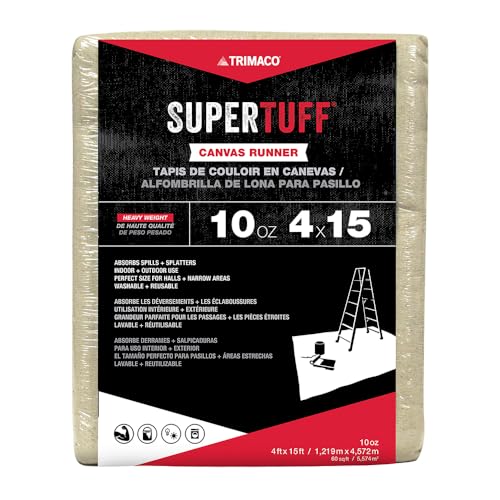 TrimacoSuperTuff 9x12 ft Canvas Drop ClothCanvas grips the floor (plastic slides), absorbs spills, lasts a decade.~Price$26
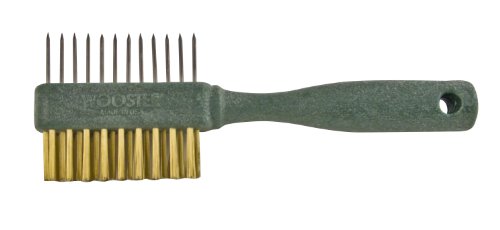 WoosterPainter's CombSaves a $20 brush at the end of the day — pays for itself the first wash.~Price$8
Affiliate Disclosure: PaintLikePro is reader-supported. When you buy through links on our site, we may earn an affiliate commission at no extra cost to you. Learn more. Prices shown are approximate and reflect the price at publication; check Amazon for current pricing.
Before You Start
Choosing the Right Paint
For kitchen cabinets, you want a paint that’s durable, washable, and smooth. Check our best interior paint guide for detailed brand comparisons. Here are your best options:
- Alkyd/oil-based paint: Most durable, smoothest finish, but longer dry time and stronger odor
- Hybrid alkyd (water-based alkyd): Best of both worlds - smooth finish with easy cleanup
- High-quality acrylic latex: Benjamin Moore Advance or Sherwin-Williams Emerald Urethane
For the smoothest possible finish, use a hybrid alkyd paint like Benjamin Moore Advance. It levels beautifully and cleans up with water, but provides the durability of an oil-based paint.
Choosing Your Finish
- Semi-gloss: Most popular for cabinets. Easy to clean, reflects light — also the best paint finish for bathrooms
- Satin: Slightly less sheen, more forgiving of imperfections
- High-gloss: Most durable and dramatic, but shows every flaw
Step-by-Step Guide
Remove Cabinet Doors and Hardware
Label each door and its location with painter’s tape and a marker. Remove all hardware (hinges, knobs, pulls) and store in labeled bags. This makes painting much easier and prevents drips.
Clean All Surfaces
Kitchen cabinets accumulate grease and grime that will prevent paint from adhering. Use TSP (trisodium phosphate) mixed with warm water to thoroughly clean all surfaces. Rinse well and let dry completely.
Sand the Surfaces
Lightly sand all surfaces with 120-grit sandpaper. The goal isn’t to remove all the old finish - just to create a surface the primer can grip. Wipe away dust with a tack cloth.
Apply Bonding Primer
Use a high-quality bonding primer like Zinsser BIN or KILZ Adhesion. Apply a thin, even coat with a foam roller for flat surfaces and a brush for edges and details. Let dry completely (usually 1-2 hours).
Get Zinsser BIN Primer on AmazonSand the Primer
Lightly sand the primed surfaces with 220-grit sandpaper. This creates a super-smooth base for your topcoat. Wipe with a tack cloth again.
Apply First Coat of Paint
Using a foam roller for flat areas and a high-quality brush for details, apply your first coat of paint. Work in thin, even coats - it’s better to do 2-3 thin coats than one thick one.
Sand Between Coats
After the first coat dries (check paint can for recoat times), lightly sand with 220-grit and wipe clean. This step is critical for a glass-smooth finish.
Apply Final Coat
Apply your second (and if needed, third) coat of paint. Pay attention to edges and corners where paint tends to build up. Let cure fully before reattaching - most paints need 2-3 days to cure.
Always ensure good ventilation when painting indoors. Open windows and use fans to circulate air, especially when using oil-based or hybrid paints.
Common Mistakes to Avoid
- Skipping the cleaning step - Grease will cause paint to peel
- Applying thick coats - Leads to drips, runs, and a textured finish
- Not waiting for full cure - Cabinets need 2-3 days to harden before use
- Using cheap brushes - Invest in quality brushes to avoid brush marks
- Painting in humid conditions - Wait for a dry day with low humidity, just like when painting a room
Expected Results
With proper preparation and patience, your painted cabinets should look like they were done by a professional. A quality paint job on cabinets can last 8-10 years before needing a refresh.
Ready to Start?
Everything you need is in the materials list at the top of this guide — kit yourself up in one Amazon order and you’ll have it on the doorstep before the weekend.
FAQ
How long does it take to paint kitchen cabinets? Plan for 2-3 days of active work, plus drying time between coats. The full project typically spans 4-5 days from start to finish.
Can I paint over laminate cabinets? Yes, but you must use a bonding primer designed for slick surfaces. Regular primer won’t adhere properly to laminate.
Do I need to remove the doors? While it’s possible to paint doors in place, removing them ensures a much better result with no drip marks or missed spots.
Brush, roller, or sprayer for cabinets? For most DIYers, a quality 2.5” angled sash brush plus a 1/4”-nap microfiber or foam mini-roller gives the smoothest result without sprayer cleanup or overspray containment. A sprayer (HVLP) gives the best showroom finish but adds 2-3 hours of cleanup and requires plastic sheeting on every adjacent surface. See brush vs roller vs sprayer for the full breakdown.
Product Testing Editor
Maya Bennett is the Product Testing Editor. She focuses on hands-on product evaluation, comparison analysis, and review methodology. Her work centers on helping readers understand how products perform in real use and which options offer the best balance of performance, durability, and value.
Related Articles
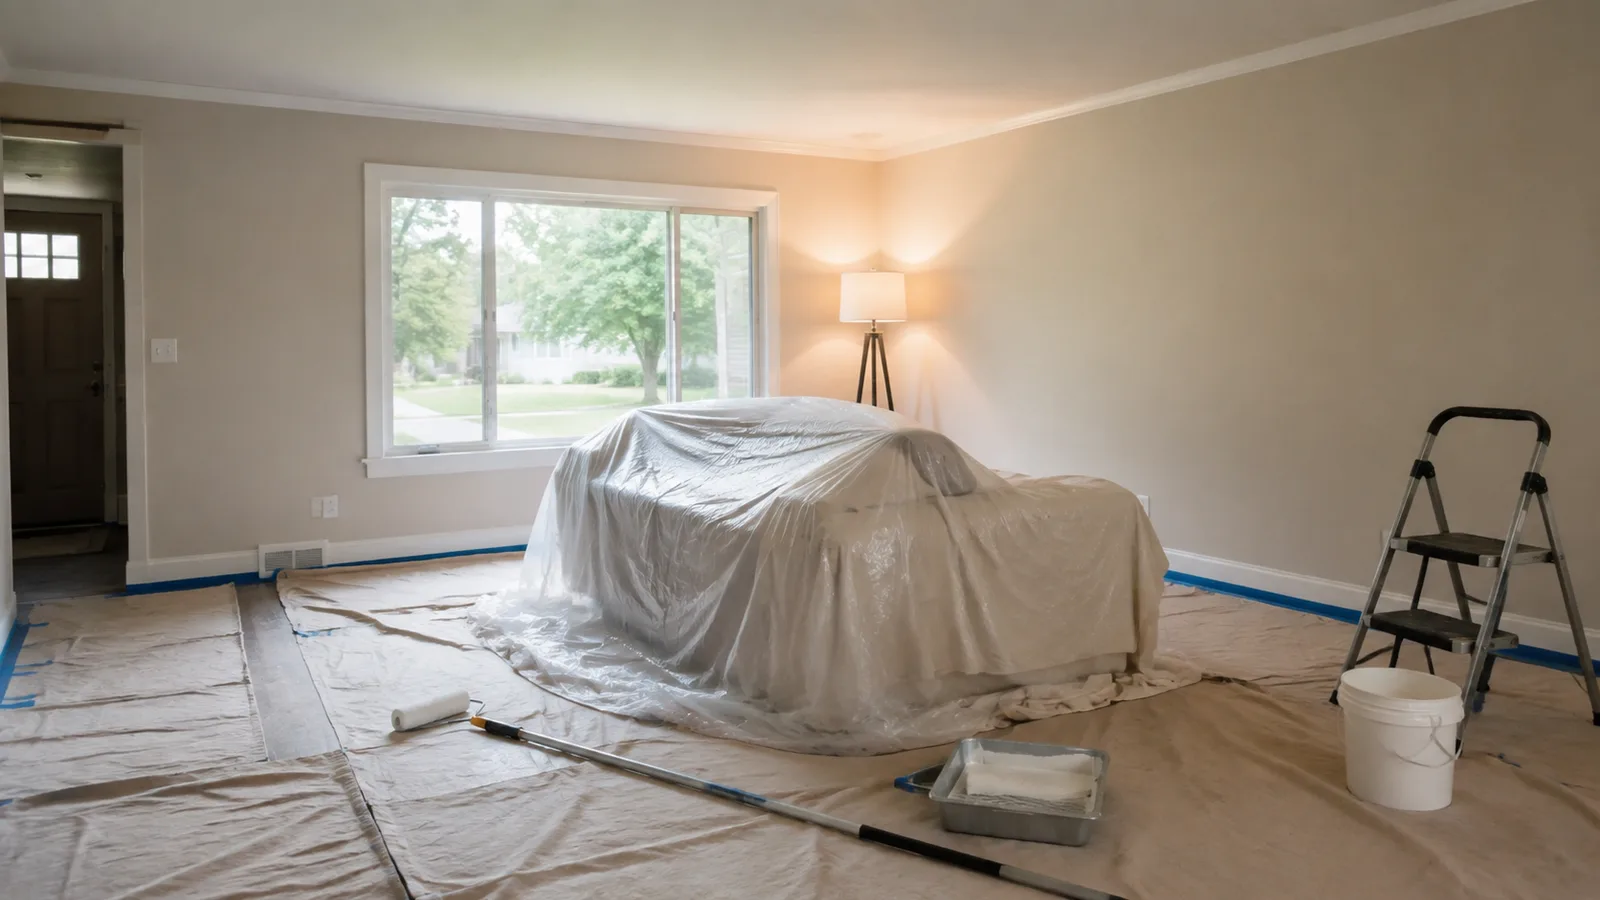
How to Paint a Room: Complete Beginner's Guide
Learn how to paint a room from start to finish with this comprehensive beginner's guide. Covers prep, technique, and cleanup for professional-looking results.
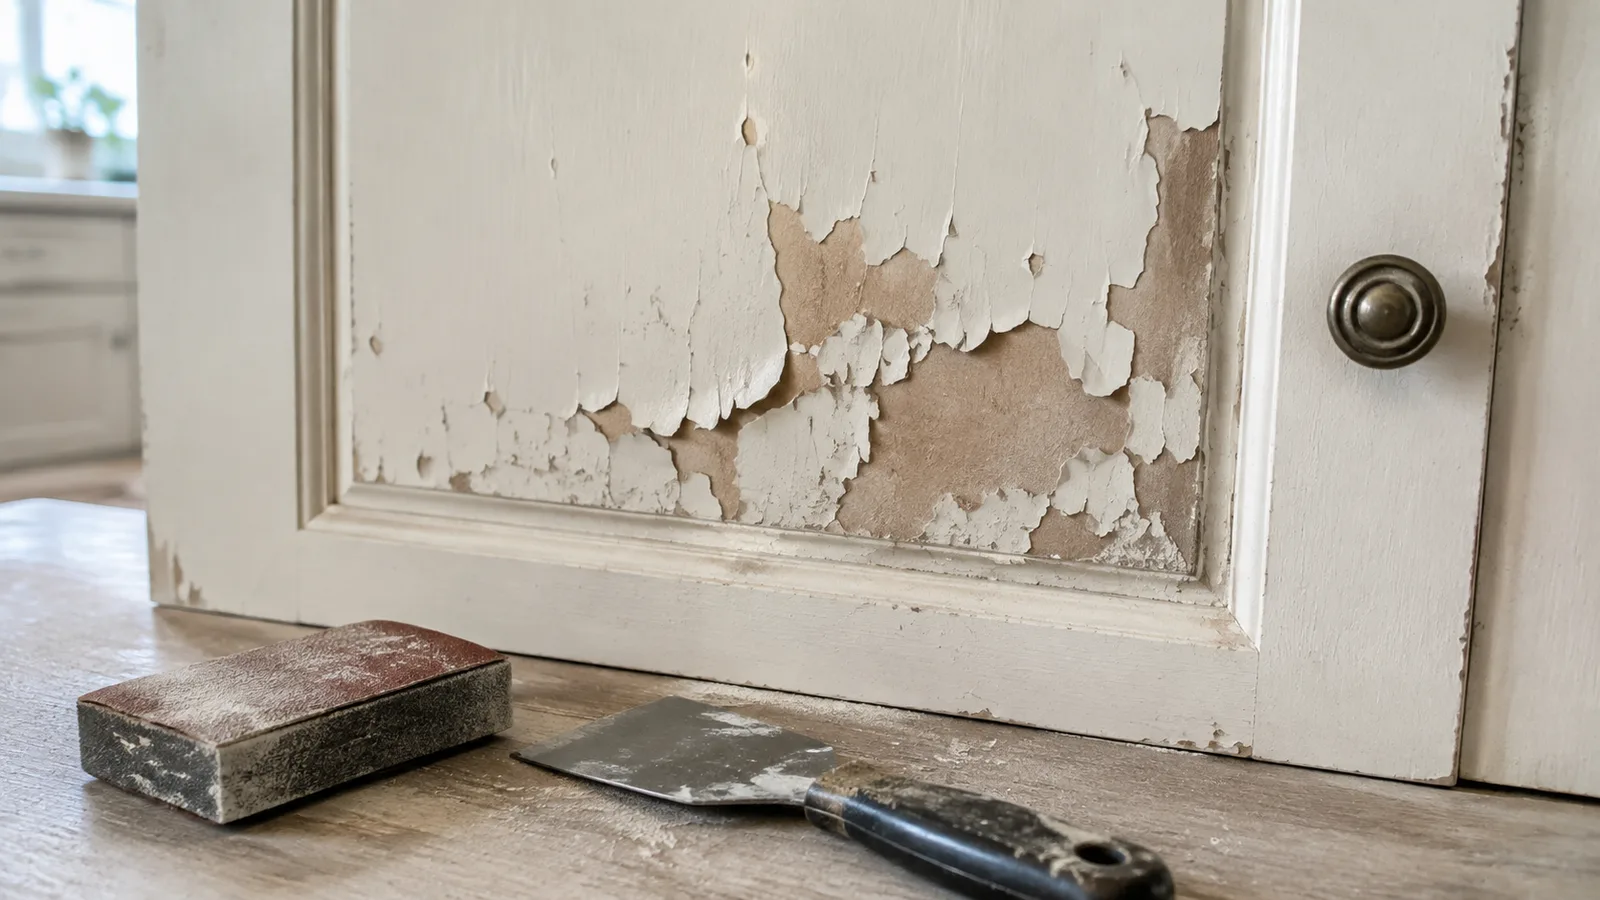
Why Painted Kitchen Cabinets Peel & How to Fix It
Cabinets painted without a topcoat fail in 18 months. Here's why peeling happens, how to fix it, and the protective topcoat the pros never skip.
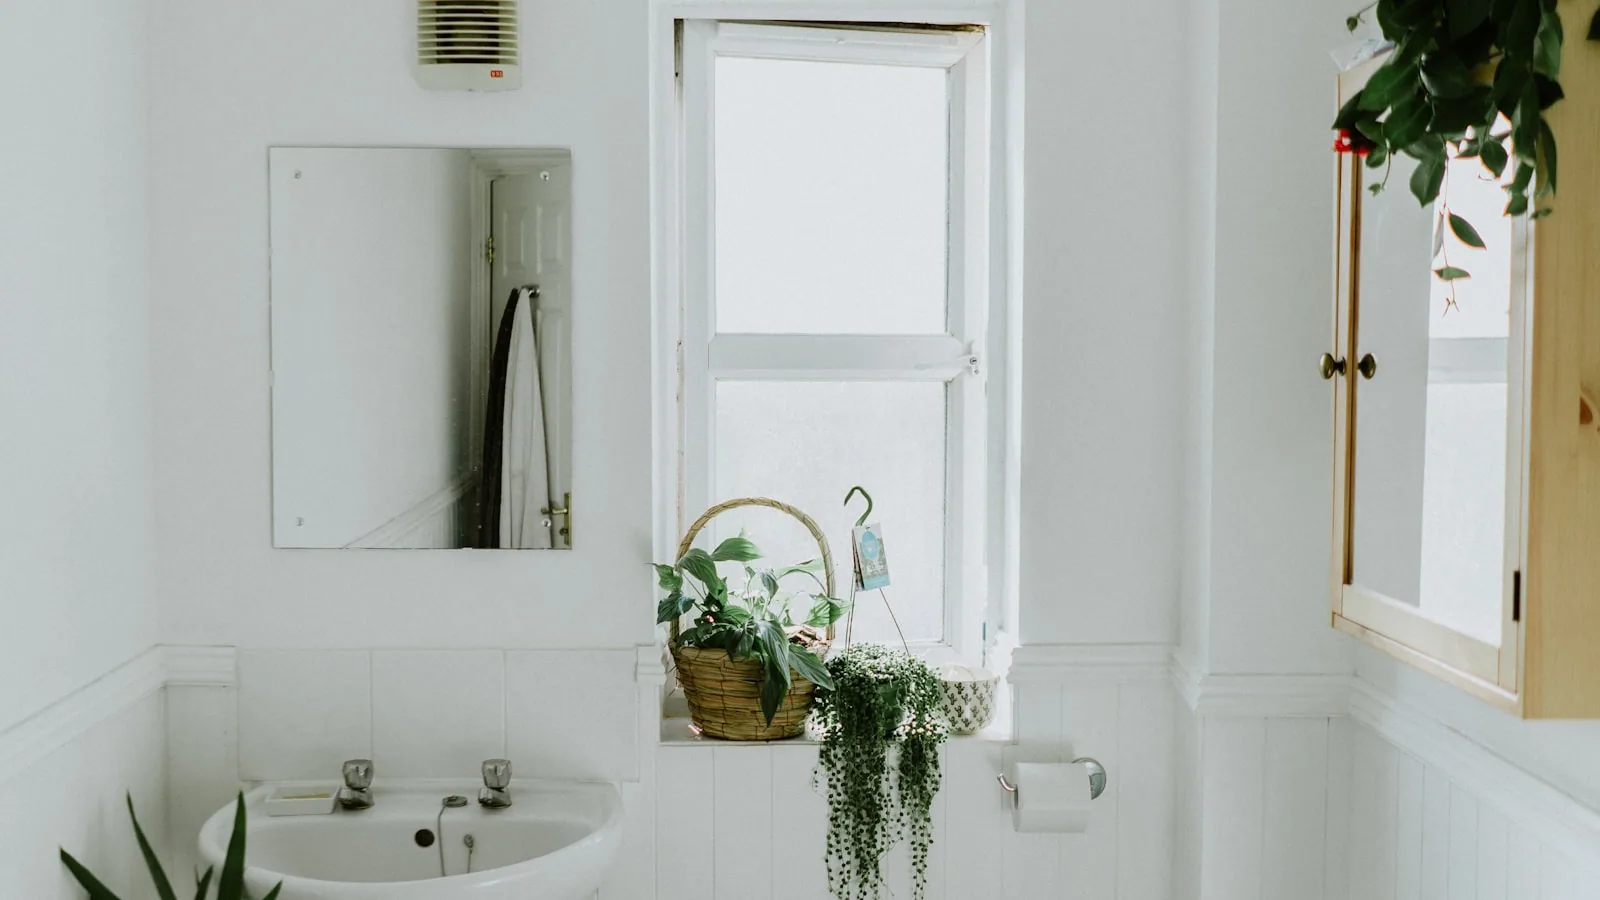
Best Paint Finish for Bathrooms: Complete Guide
Bathrooms need paint that can handle moisture, steam, and frequent cleaning. Learn which paint finish works best and how to get a lasting result.