
How to Apply Limewash Paint: Complete 2026 DIY Guide
Limewash is the #1 trending wall finish of 2026 — and the easiest designer-look technique to DIY. Our step-by-step guide covers prep, application, mistakes to.


AI-generated editorial illustration; not a product test photo or an exact paint color sample.
Why Limewash Is Everywhere in 2026
If you’ve saved a pin of a soft, cloudy, hand-brushed wall in the past six months, you’ve saved a limewash wall. Pinterest searches for “limewash walls” are up +380% year-over-year. Designers are specifying it over flat paint because no synthetic paint can fake the depth, movement, and mineral chalkiness limewash delivers straight out of the bucket.
The best part? It’s the easiest trending finish to apply yourself. Brush strokes are the aesthetic — there’s no “wrong” pattern to worry about. If you can paint a wall with a regular brush, you can limewash a wall this weekend.
What Is Limewash, Really?
Limewash is slaked lime (calcium hydroxide) mixed with water and natural mineral pigments. It’s been used on European architecture for 2,000+ years. When applied, it carbonates back into limestone as it dries — chemically bonding with porous surfaces and absorbing CO₂ in the process.
Practical translation: it’s a breathable, mold-resistant, zero-VOC wall finish that ages gracefully and gives a cloudy, hand-painted look no roller can duplicate.
Limewash is translucent, not opaque. The first coat will look streaky and patchy — this is correct. The depth builds across 2 coats. Do not judge the finish until coat 2 is dry.
Best Limewash Products (2026)
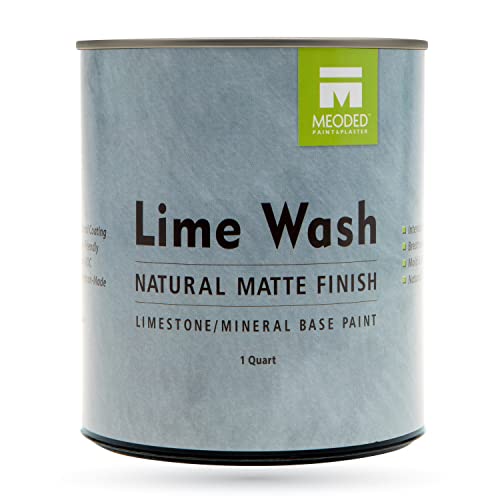
Portola Paints Roman Clay / Limewash
If Romabio is the Toyota, Portola is the Lexus. The pigments feel hand-mixed.
Pros
- Most sophisticated color palette on the market
- Excellent coverage for a limewash
- Designer-approved
Cons
- Expensive
- Limited retail availability
Affiliate Disclosure: We may earn a commission when you buy through this link. Check the retailer for current price and availability.
Tools You’ll Need
Limewash is unforgiving on prep. The kit below covers cleaning, priming, application, and cleanup — buy it together so you're not improvising mid-project on caustic material.
 PurdyXL Elite Dale Angular 2.5-inch BrushCuts in cleanly, holds plenty of paint, lasts 50+ wash cycles.~Price$20
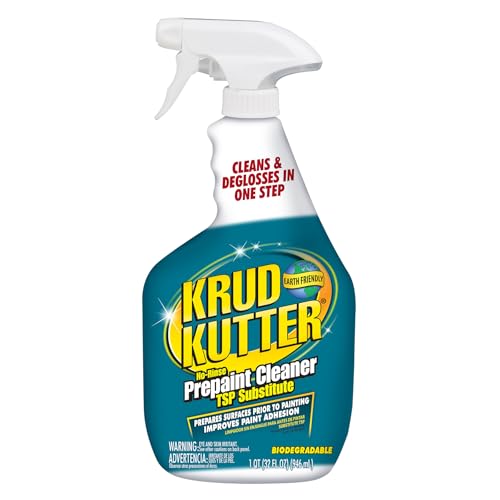 Krud KutterTSP Substitute CleanerCuts kitchen grease and soap scum without harsh chemicals — required prep before priming.~Price$13
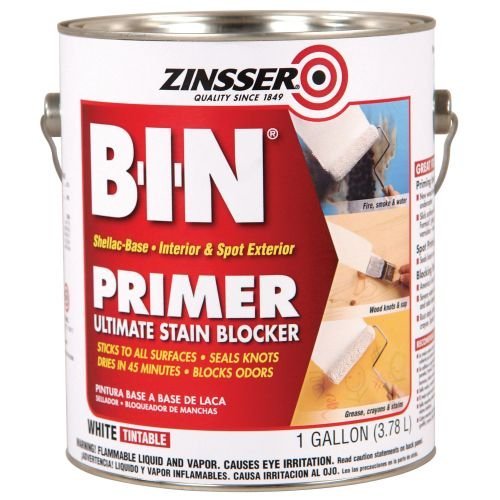 ZinsserBIN Shellac-Based Primer (1 quart)The bonding primer that grips laminate, oak grain, old varnish, and dark colors.~Price$22
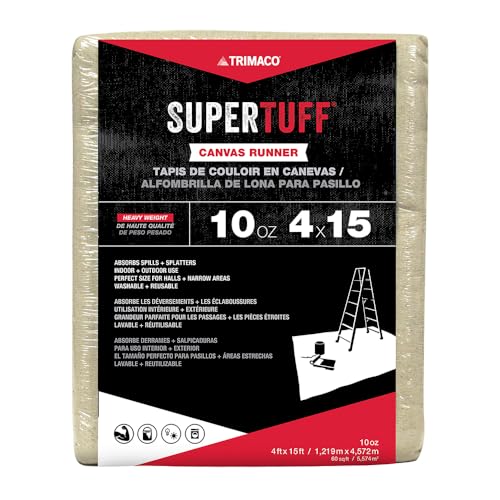 TrimacoSuperTuff 9x12 ft Canvas Drop ClothCanvas grips the floor (plastic slides), absorbs spills, lasts a decade.~Price$26
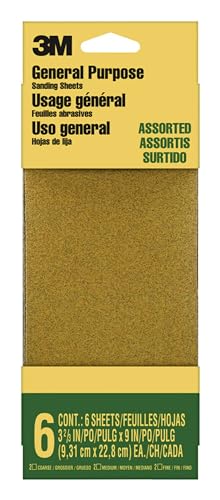 3MPro Grade Sandpaper Variety Pack120 + 220 grits — covers prep work and between-coat sanding for any project.~Price$15
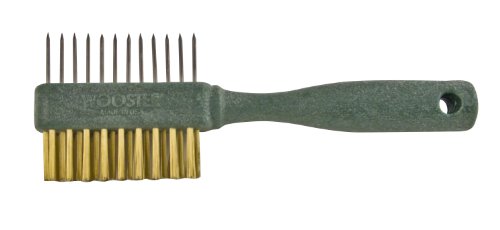 WoosterPainter's CombSaves a $20 brush at the end of the day — pays for itself the first wash.~Price$8
Affiliate Disclosure: PaintLikePro is reader-supported. When you buy through links on our site, we may earn an affiliate commission at no extra cost to you. Learn more. Prices shown are approximate and reflect the price at publication; check Amazon for current pricing.
You’ll also need:
- Mineral primer (Romabio Mineral Shield or equivalent) — required on non-porous surfaces, sold direct by the limewash brand
- 5-gallon bucket + drill with mixing paddle
- Spray bottle of clean water
- Nitrile gloves and safety glasses (limewash is caustic — pH ~12)
Step-by-Step: How to Apply Limewash
Prep the surface (don't skip)
Wash walls with Krud Kutter to remove all grease, dust, and nicotine. Let dry 24 h. Patch holes with spackle, sand smooth. Limewash is translucent — it will amplify every imperfection it doesn’t hide.
Prime correctly for your surface
- Raw brick / masonry: no primer needed
- Drywall or painted walls: apply a mineral primer (Romabio Mineral Shield). Latex primers will cause limewash to peel.
- Dark-colored walls: prime with BIN Shellac first, then mineral primer Let primer cure 24 h before limewash.
Mix the limewash properly
Shake the bucket hard. Pour into a 5-gallon bucket and mix for 2 full minutes with a drill paddle. Limewash settles — unmixed product looks patchy forever. Thin with 15–20% water for the first coat (check your brand’s instructions).
Mist the wall before you brush
Use a spray bottle to lightly mist a 4×4 ft section with clean water. Slightly damp walls pull the limewash in, which is how you get the cloudy depth. Never soak — just mist.
Apply Coat 1 with loose X-strokes
Load the brush generously. Paint in large, loose, overlapping X-patterns. Don’t try to be neat. Don’t try to be uniform. The imperfection is the finish. Work in 4×4 ft sections. Maintain a wet edge.
Let Coat 1 dry fully (4–6 hours)
Coat 1 will look terrible. Streaky, patchy, blotchy, uneven. This is normal. Don’t touch it. Don’t panic. Walk away.
Apply Coat 2 with softer strokes
Second coat goes on thinner. Fewer X-strokes, more soft feathering to blend the patchiness of coat 1. This is where the finish comes alive.
Cure for 7 days
Limewash reaches full depth and hardness at 7 days of cure. Avoid touching the walls. The color will lighten as it carbonates — final color is always a shade or two paler than wet.
Top 5 Limewash Mistakes to Avoid
Limewash is caustic (pH ~12). Wear gloves and safety glasses. Skin contact causes chemical burns over prolonged exposure. Ventilate the room.
- Using a latex primer. Limewash won’t bond. Mineral primer only.
- Applying in direct sun. Limewash dries too fast and flashes. Paint shaded walls.
- Going thick to hide coat 1. Thin coats are mandatory — thick limewash cracks.
- Skipping the mist step. Dry walls suck the lime off unevenly.
- Judging too early. The first 48 hours look wrong. Trust the chemistry.
Where Limewash Works Best (and Where It Fails)
Works beautifully on:
- Living rooms, bedrooms, dining rooms
- Exterior brick and stone
- Powder rooms (no splash zones)
- Plaster and porous masonry
Avoid in:
- Full bathrooms (steam + water ruin it)
- Kitchen backsplashes (grease spatters won’t wipe)
- High-traffic hallways in homes with kids (scuffs show pigment)
For wet areas, see our full comparison of microcement vs limewash vs tadelakt.
FAQ
How long does limewash last? 5–7 years on interior walls. 10–20 years on exterior masonry. Refresh coats are easy — just one more coat over clean walls.
Can I limewash over latex paint? Only with a mineral primer in between. Without it, the limewash will flake within months.
Does limewash work on drywall? Yes, with a mineral primer first. Pure drywall is too absorbent without one.
Can limewash be washed? Lightly dusted — yes. Scrubbed — no. It’s not a washable finish. See our bathroom paint finish guide if you need washable walls.
Is limewash the same as lime paint? “Lime paint” is often marketing for a limewash-look acrylic paint — not real lime. True limewash lists calcium hydroxide as the active ingredient.
Ready to pick a color? Start with our 2026 paint color trends — most popular trend colors translate beautifully into limewash. And if you want the same hand-painted look without the learning curve, read our faux painting techniques guide.
Product Testing Editor
Maya Bennett is the Product Testing Editor. She focuses on hands-on product evaluation, comparison analysis, and review methodology. Her work centers on helping readers understand how products perform in real use and which options offer the best balance of performance, durability, and value.
Related Articles
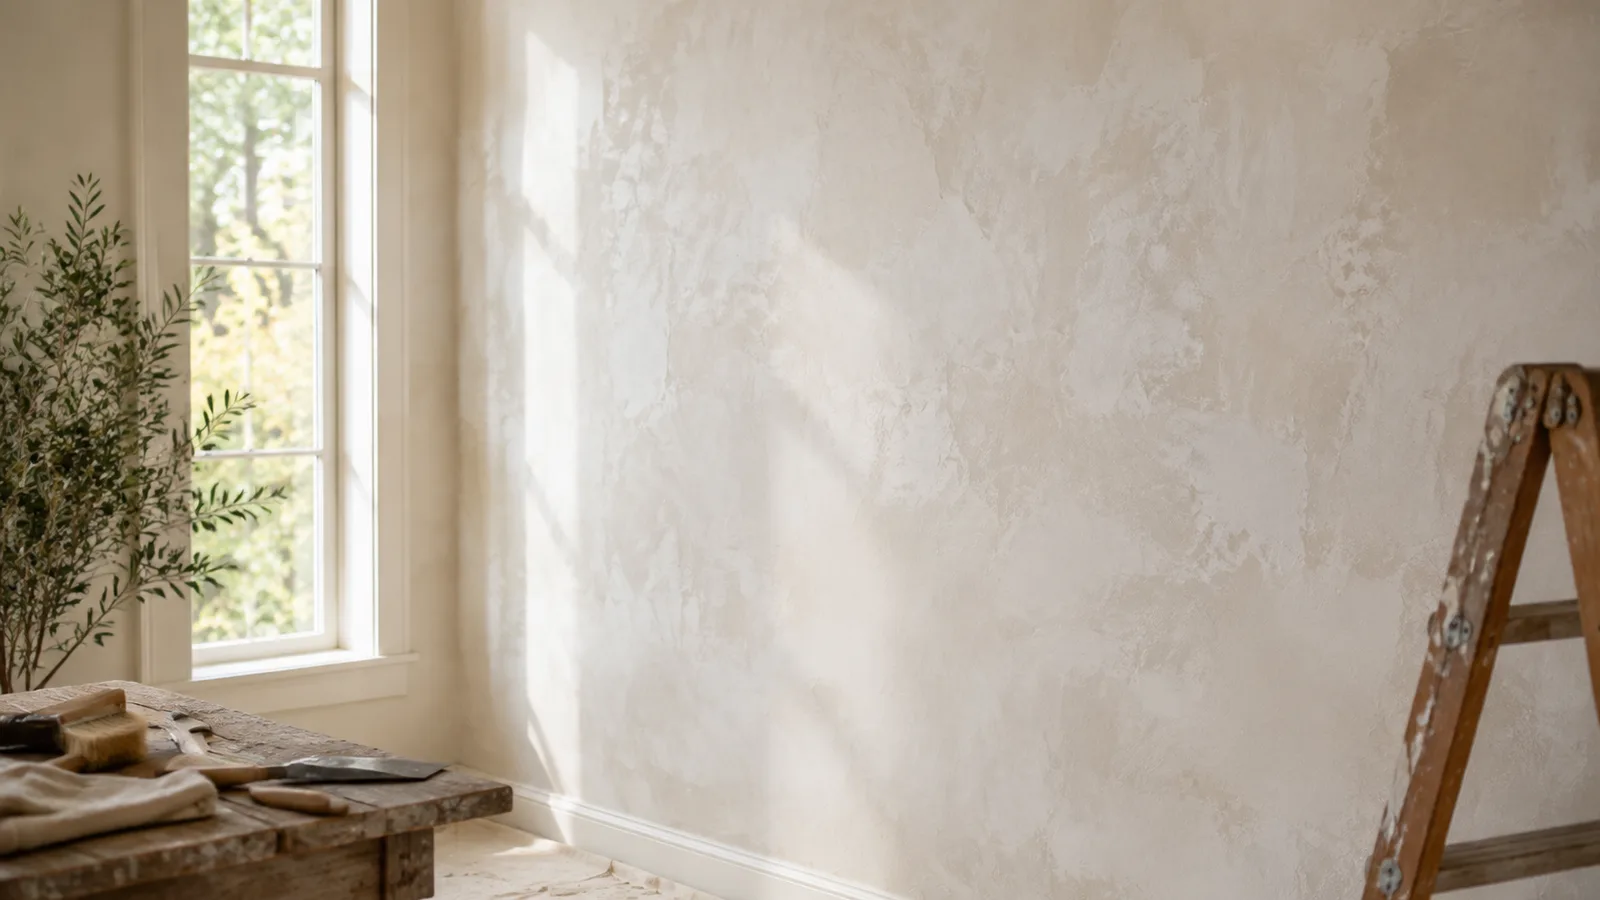
Limewash Walls: The Pinterest 2026 Tutorial Walkthrough
Limewash is the matte mineral paint behind 2026 Pinterest trends. Step-by-step tutorial, paint matches, and the technique that prevents streaks.
Microcement vs Limewash vs Tadelakt: The Ultimate 2026 Comparison
Three of the hottest wall finishes of 2026 — compared side-by-side. Price, durability, waterproofing, DIY difficulty, and which one actually belongs in your space.
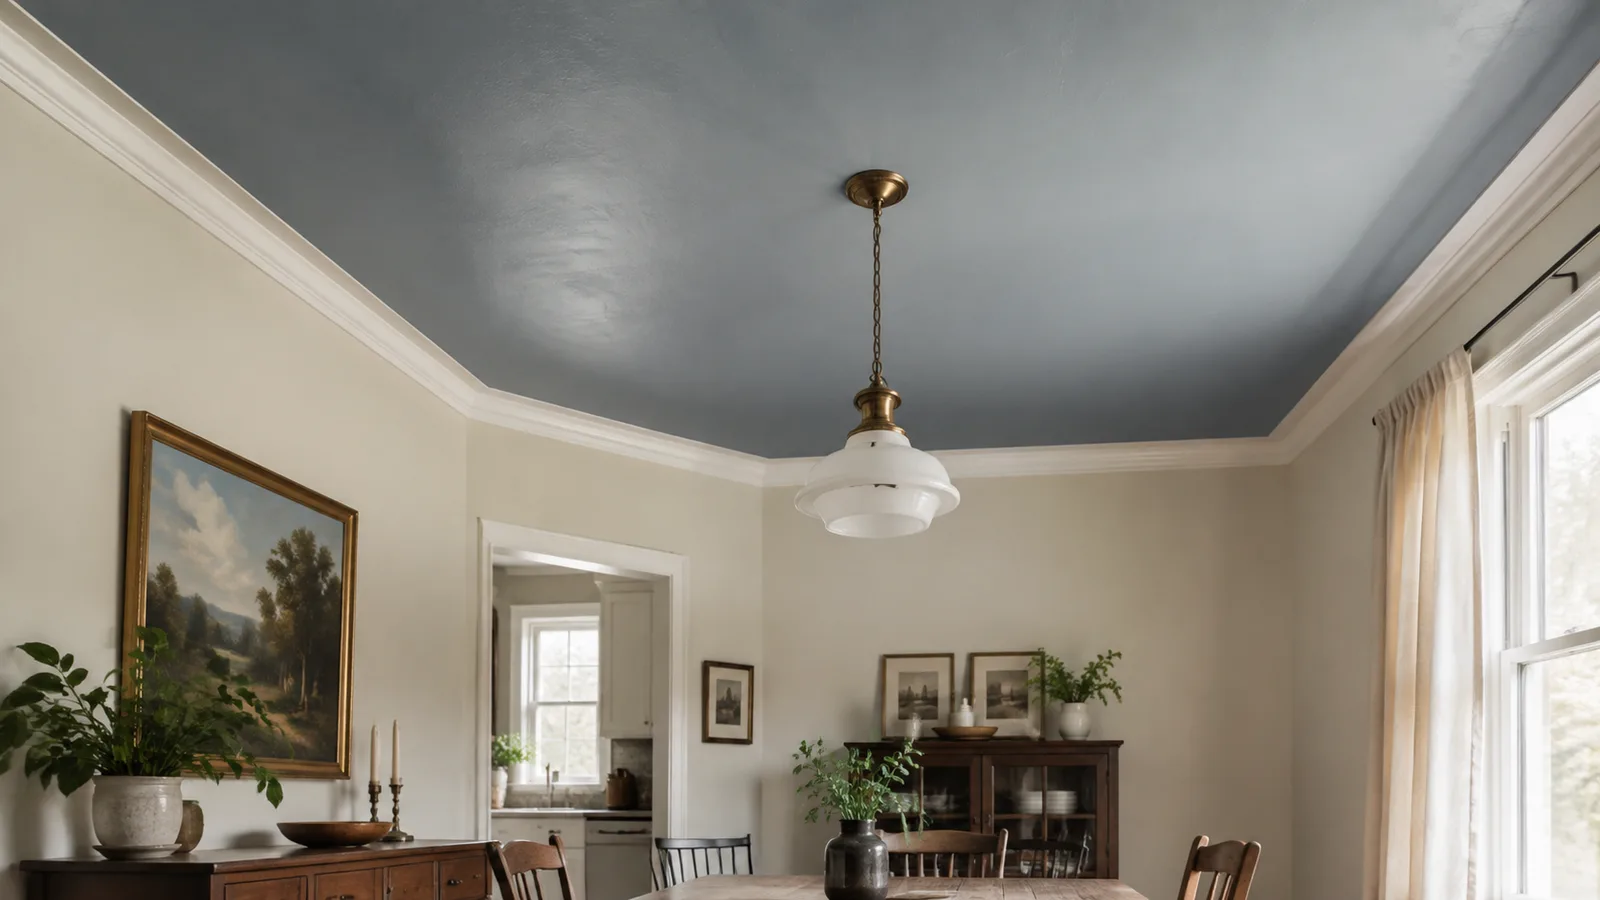
Painted Ceilings: The Fifth-Wall Trend Reshaping 2026 Rooms
Painted ceilings, also called the fifth wall, are the boldest 2026 design trend. Best colors, sheen pairings, and where it works vs falls flat.