
How to Color-Drench a Room (The 2026 Painting Trend Explained)
Color drenching — painting walls, ceiling, and trim in one color — is the dominant 2026 painting trend. Here's how to execute it without it looking flat.

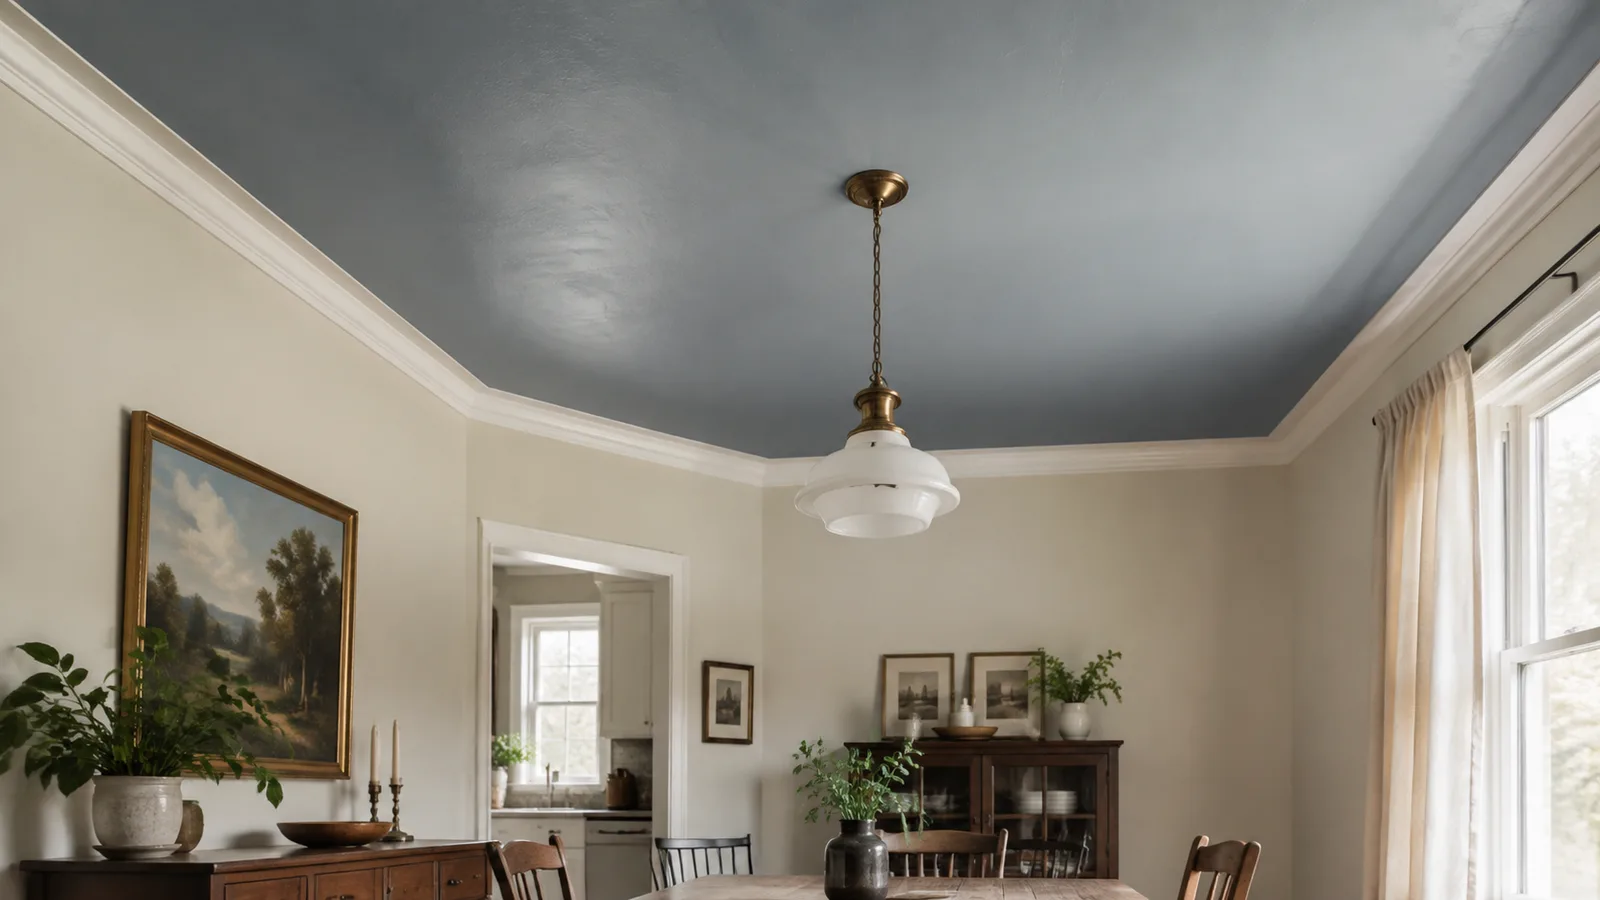
AI-generated editorial illustration; not a product test photo or an exact paint color sample.
What Is Color Drenching?
Color drenching is painting an entire room—walls, ceiling, trim, doors, and baseboards—in a single color. Unlike traditional room painting where the ceiling is usually white and trim contrasts the walls, color drenching saturates the space in one continuous hue, breaking up wall proportions and erasing architectural boundaries.
This isn’t a new technique, but 2026 has made it the dominant trend. Pinterest searches for “color drenching” have grown 340% year-over-year. The reason? Two converging design forces: the cocooning movement (people creating intimate, layered spaces during economic uncertainty) and a cultural backlash against the gray-and-white minimalism that dominated the 2010s. Color drenching delivers both—it’s warm, it’s bold, and it makes small rooms feel intentional rather than cramped.
A first-time room paint job goes wrong in the same place every time: the painter shows up with a brush and a roller and discovers mid-project they're missing tape, drop cloths, or the right roller cover. Get the kit complete from the start.
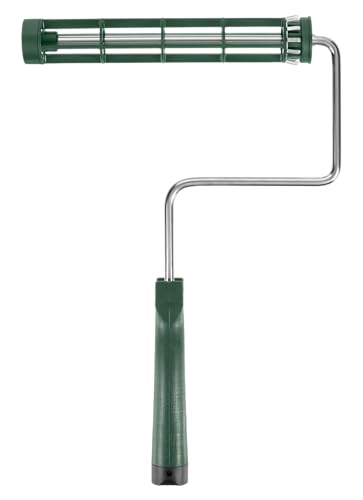 WoosterSherlock GT 9-inch Roller FrameQuick-release frame fits any standard 9-inch cover. Survives years.~Price$15
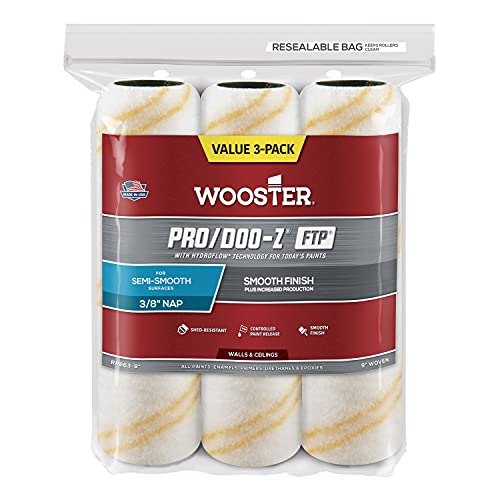 WoosterPro/Doo-Z FTP 9" Roller Cover 3/8" nap (3-pack)3/8" nap is right for most interior walls. The 3-pack means a fresh cover when you need one.~Price$22
 PurdyXL Elite Dale Angular 2.5-inch BrushCuts in cleanly, holds plenty of paint, lasts 50+ wash cycles.~Price$20
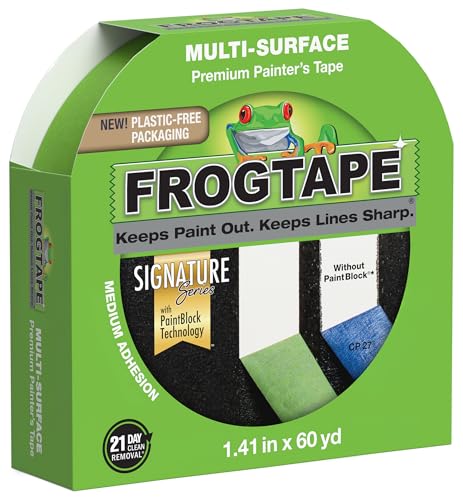 FrogTapeMulti-Surface Painter's Tape 1.41 inchPaintBlock seals tighter than basic tape — the difference shows on textured walls.~Price$8
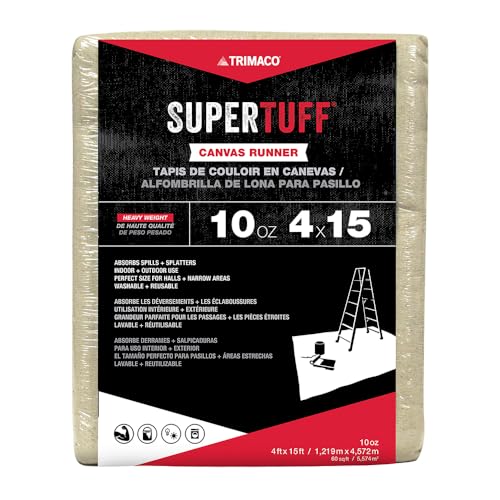 TrimacoSuperTuff 9x12 ft Canvas Drop ClothCanvas grips the floor (plastic slides), absorbs spills, lasts a decade.~Price$26
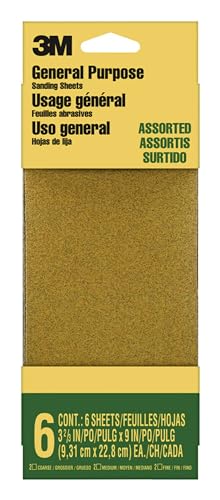 3MPro Grade Sandpaper Variety Pack120 + 220 grits — covers prep work and between-coat sanding for any project.~Price$15
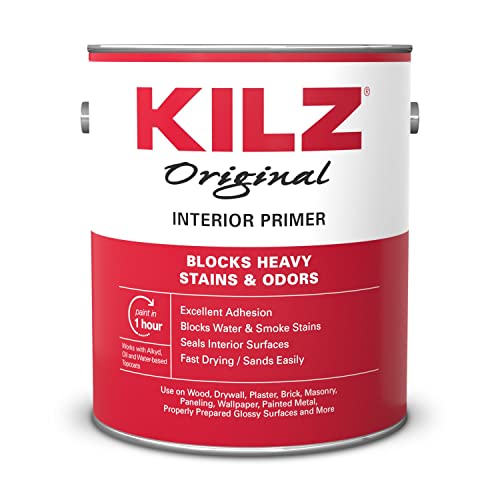 KILZOriginal Primer-Sealer (1 gallon)High-hide primer for navy, forest green, charcoal, and other dark non-red colors.~Price$28
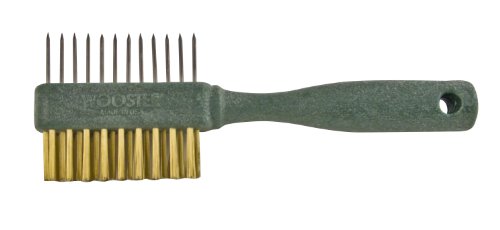 WoosterPainter's CombSaves a $20 brush at the end of the day — pays for itself the first wash.~Price$8
Affiliate Disclosure: PaintLikePro is reader-supported. When you buy through links on our site, we may earn an affiliate commission at no extra cost to you. Learn more. Prices shown are approximate and reflect the price at publication; check Amazon for current pricing.
Why Color Drenching Works
The visual effect of color drenching is almost optical. When a single color wraps across walls, ceiling, and trim, three things happen:
1. Rooms feel cozier. A color-drenched powder room or small bedroom becomes a cocoon. The continuous color stops your eye from measuring the room’s dimensions. Small feels intimate; large feels enveloping.
2. Proportions blur. Trim that normally draws the eye as a distinct architectural element becomes invisible. The 8-foot ceiling doesn’t feel low; it just feels wrapped. Crown molding disappears into the wall.
3. A basic room looks sophisticated. Paint is the cheapest way to transform a space. Color drenching turns an apartment bedroom into a gallery, a powder room into a jewel box. The effect is more dramatic than an accent wall and costs roughly the same.
This is why it’s exploding now. In a constrained housing market, people aren’t moving into dream homes—they’re nesting into the ones they have.
The Best Colors for Color Drenching
Color drenching works best with highly saturated or deeply muted tones. Here’s what actually works:
Moody Depth
- Deep Navy (Sherwin-Williams Naval, Benjamin Moore Hale Navy, Farrow & Ball Stiffkey Blue) — The most popular choice. Works in every room. Reads differently in morning light (bright) vs. evening light (almost black).
- Oxblood Red (Benjamin Moore Red Theatre, Farrow & Ball Rectory Red) — High risk, maximum impact. Best in libraries and bedrooms with soft lighting.
- Forest Green (Sherwin-Williams Evergreen Fog, Benjamin Moore Calypso Green) — Pinterest’s favorite for 2026. Less intense than navy, more character than gray.
- Espresso Brown (Benjamin Moore Cavern Clay, Farrow & Ball Down Pipe) — Works in modern minimalist and maximalist interiors alike.
Light & Warm
- Creams & Off-Whites (Benjamin Moore Swiss Coffee, Sherwin-Williams Alabaster) — Not white—off-whites with warmth. Creates layered texture, not coldness.
- Butter Yellow (Farrow & Ball Yellowcake, Benjamin Moore Pale Oak) — Surprisingly difficult to execute. Must have slightly gray undertones or it reads as nursery-bright.
- Sage Green (Sherwin-Williams Evergreen Fog, Benjamin Moore HC-126) — The bridge color. Works on its own and doesn’t demand other elements match.
Pro tip: The color you’re drawn to in Pinterest will look 40% darker on your walls. Order samples. Paint large 3x3 ft test patches on two adjacent walls and live with them for three days.
Where Color Drenching Works (And Where It Fails)
Best Candidates
- Powder rooms — Small, minimal windows, bold color, no sleeping/working. This is where color drenching feels most intentional.
- Bedrooms — Especially small bedrooms and guest rooms. Drenching makes the room feel designed, not like leftover space.
- Libraries and reading nooks — Low light works in your favor. Color feels darker and richer.
- Closets and hallways — High-traffic surfaces and bad lighting? Color drenching masks both.
- Laundry rooms and utility spaces — Spaces people skip designing. Drenching costs $60 more in paint and transforms the room.
Avoid (Or Proceed With Caution)
- Rooms with lots of natural light + low ceilings — Morning sun will make a deep color feel oppressive. If your 8-ft ceiling gets 6 hours of direct sunlight, consider a lighter drenching color instead.
- Kitchens where cabinets don’t match — Cabinets are 30% of a kitchen’s visual mass. If your drenching color is teal and your cabinets are oak, the effect breaks. Works only if cabinets are white, black, or the same color as the wall.
- Open-plan living/dining/kitchen — Color drenching requires visual closure. Open spaces read as chaotic when drenched. Use an accent wall instead.
- Any room with textured wallpaper — Texture + saturated color = visual noise. Either remove the wallpaper or skip drenching.
The Sheen Strategy for Maximum Effect
This is where most DIYers miss: applying the same color in different sheens creates subtle depth without breaking the drench effect.
Standard approach: matte on walls, satin on trim. But in color drenching, this creates visible hard lines and interrupts the effect.
Better approach:
- Ceiling: flat acrylic (hides imperfections, zero sheen)
- Walls: eggshell (slight depth, wipeable)
- Trim & doors: satin or semi-gloss (reflects light, reads slightly different)
- Baseboards: match the walls (flat or eggshell)
The satin trim catches light and gives dimension without breaking the color unity. The eye sees one color; it just catches movement as it moves across the room.
Order all paint in one batch from the same manufacturer. Different batches of the “same” color can vary by 5–10 DELTA E (color science units). One gallon of Sherwin-Williams Naval from January + one from March will look like two different colors on the ceiling and walls.
Step-by-Step: How to Color-Drench a Room
Empty the Room Completely
Remove furniture, baseboards if you’re painting them, outlet covers, light switch plates, and hardware. Fill nail holes with spackling and sand smooth. Patch any damage with drywall compound. For best results, remove baseboards with a putty knife—it’s 30 minutes, and you’ll get a cleaner finish than taping around them.
Mask All Non-Painted Surfaces
Tape along the perimeter where walls meet the floor (even if you’re removing baseboards, mask the floor). Mask any cabinets, fixtures, or built-ins. This is where patience pays off. Spend 45 minutes taping correctly and you’ll save yourself hours of cleanup.
Order 30% More Paint Than You Think You Need
A standard room (12x12 ft, 8-ft ceiling) normally needs 1.5 gallons. For color drenching, order 2 gallons. You’re painting the ceiling (which standard calculators underestimate) plus you’ll need backup for touch-ups on saturated colors. Ordering extra now beats a partial match three months later.
Prime If You're Going Dark Over Light (Or Vice Versa)
Jumping from cream walls to navy? You need primer. One coat of high-hide primer (KILZ Original or Zinsser BIN) cuts your topcoats from 4 down to 2. If you’re staying within the same undertone family, you can skip this step and use a paint-and-primer combo. But saturated color changes always need primer.
Paint the Ceiling First (Same Color As Walls)
Use a 9-inch roller on an extension pole. This is harder than it looks. Move slowly. Most painters rush the ceiling and end up with streaks. A fresh roller cover and a steady hand matters more than speed. Paint in 3x3 ft sections. Let each section dry before moving on so you can see coverage gaps.
Cut In the Walls, Then Roll
Using a 2.5-inch angled brush, cut in a 3-inch band along all edges, corners, and ceiling line. Work in 4-foot sections so the cut-in paint doesn’t dry before you roll. Then roll the walls in a “W” pattern, filling in without pressing hard. The W pattern distributes paint and prevents lap marks on saturated colors.
Paint Trim, Doors, and Baseboards Last (Same Color)
This is the detail work. Use a smaller 2-inch brush or angled sash brush. If trim is detailed (crown molding, baseboards with grooves), expect this to take longer than walls. Don’t rush. A drip on the floor or a thick line on baseboards is more visible at eye level.
Allow Full Cure Before Moving Furniture
Latex paint is “dry to touch” in 2–4 hours. But color drenching requires thicker coats and saturated pigments, which take longer to cure. Wait at least 7 days before moving furniture back into the room. Wet paint scuffs easily, especially on ceilings where gravity works against you.
Drying time is longer on saturated colors. Deep navy, forest green, and oxblood require pigment-heavy paint that dries slower than light neutrals. Allow 7–14 days for full cure before heavy use. In humidity, add another 3–5 days. If you’re in a bathroom or basement with high moisture, consider adding a mildew-block primer under your topcoat.
Tools You’ll Need
Beyond the standard paint kit, color drenching has specific tool demands:
For ceilings: A 9-inch roller frame and extension pole are essential. The wider frame covers more area, and the pole means you don’t need a ladder for 90% of the ceiling.
For cutting in: A 2.5-inch angled brush (not a 2-inch; you’ll thank yourself). The extra half-inch cuts your cutting-in time significantly.
For trim details: A 2-inch angled sash brush for detailed work like crown molding or window frames.
Primer choice matters: KILZ Original is best for most colors. Zinsser BIN (shellac-based) is best if you’re painting over dark wood trim or glossy surfaces. Kilz Premium is adequate but thinner.
Two Essential Product Recommendations
Based on hundreds of projects, these two tools prevent the majority of color-drenching failures:
Wooster Sherlock GT 9-inch Roller Frame — Quick-release design, durable frame, fits any standard cover. Buy once, use for a decade. The standard 3/8-inch covers work for most walls, but a smooth White Dove cover prevents texture on saturated colors.
Purdy XL Elite Dale 2.5-inch Angled Brush — Cuts in faster and cleaner than smaller brushes. Holds more paint, so you’re not reloading every two feet. Lasts 50+ wash cycles.
FAQ: Color Drenching
How much paint do I actually need? For a typical 12x12 room with 8-foot ceilings: 1.5 gallons standard painting, 2–2.5 gallons for color drenching (accounting for ceiling + saturation + waste). Use our Paint Calculator for exact estimates, then add 25%.
Do I really paint the baseboards and trim in the same color? Yes—that’s the point. If you want the effect to work, trim stays the same color. If you prefer contrast, you’re not color drenching; you’re painting an accent wall. Both are valid. But don’t do a half-drench.
What sheen should I use? Walls: eggshell or flat. Ceiling: always flat (semi-gloss on ceilings looks cheap and shows every imperfection). Trim: satin or semi-gloss for depth. Consistency in finish matters more than the absolute sheen choice.
Will this make my small room look smaller? No—the opposite. Small rooms read as cramped when you can see the walls end. Color drenching erases that visual boundary. Your 9x10 bedroom becomes “a room with character,” not “a small room.” The continuous color makes it feel intentional.
Can I color-drench a bathroom? Yes, but add mildew-block primer under the topcoat. Bathrooms need KILZ 2 Premium or Zinsser BIN under your finish. The primer matters more than the topcoat in high-moisture rooms.
What if I hate it after a week? You’ll need primer + 2 coats of a new color. Budget $150–250 in paint + another 1–2 days. Color drenching is bold. If you’re unsure, paint a single wall first and live with it for a week. Pinterest color fantasies sometimes don’t work in real life with your lighting and furniture.
Do I need a second coat? Always. Saturated colors especially need two coats for even coverage. A single thick coat looks worse than two medium coats—it shows brush marks and roller texture.
Related Reading

Product Testing Editor
Maya Bennett is the Product Testing Editor. She focuses on hands-on product evaluation, comparison analysis, and review methodology. Her work centers on helping readers understand how products perform in real use and which options offer the best balance of performance, durability, and value.
Related Articles
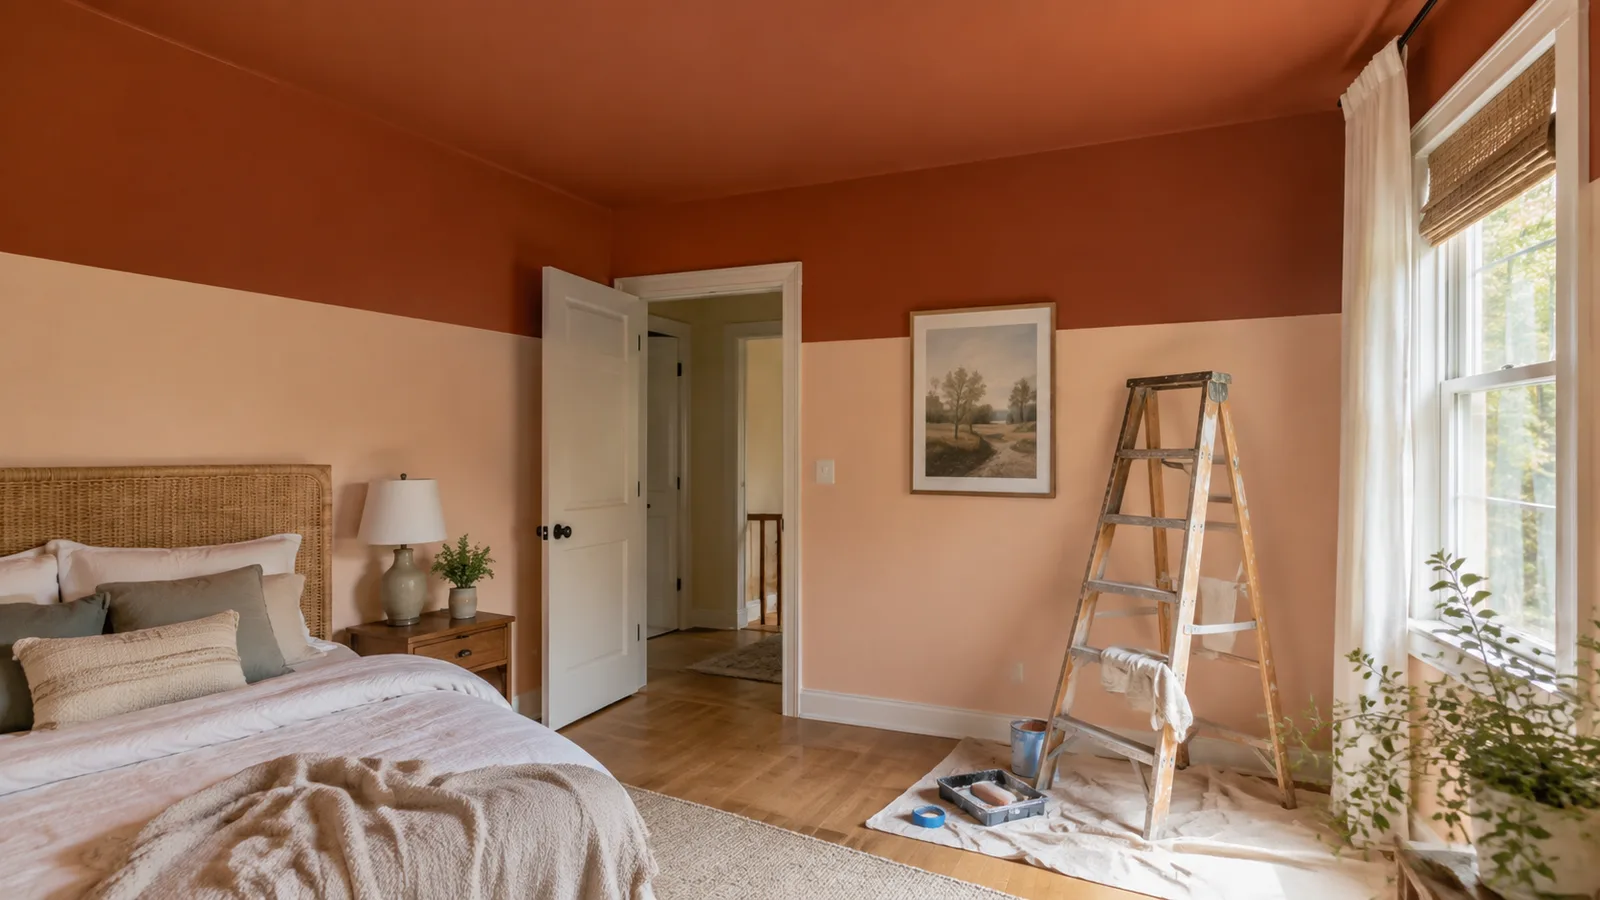
Color Capping Paint Trend 2026: How to Get It Right
Color capping is the lower-risk 2026 alternative to color drenching. Learn where it works, which shades to choose, and the tools that keep the lines clean.
Painted Ceilings: The Fifth-Wall Trend Reshaping 2026 Rooms
Painted ceilings, also called the fifth wall, are the boldest 2026 design trend. Best colors, sheen pairings, and where it works vs falls flat.

How to Avoid Brush Marks When Painting
Brush marks ruin an otherwise great paint job. Here's exactly why they happen and the pro techniques to get a glass-smooth finish every time.