
How to Avoid Brush Marks When Painting
Brush marks ruin an otherwise great paint job. Here's exactly why they happen and the pro techniques to get a glass-smooth finish every time.


Tools & Materials Needed
- high-quality brush
- paint conditioner
- paint (satin or semi-gloss)
Why Brush Marks Happen
Brush marks in paint are caused by one of five things:
- Low-quality brush with stiff bristles that don’t release paint smoothly
- Paint drying too fast before it can level out
- Wrong technique — overworking the paint
- Too much paint on the brush or too little
- Wrong paint for the surface — some paints level better than others
Understanding the cause helps you fix the right problem.
Brush marks are 80% tools and 20% technique. The kit below removes the tool excuses — once you have these, your finish is up to your stroke.
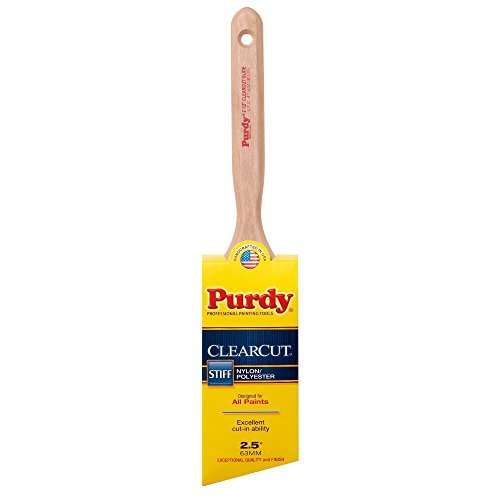 PurdyClearcut Elite Glide 2.5-inch BrushStiffer filament — lays down enamel and hybrid alkyd flat with minimal brush marks.~Price$22
 PurdyXL Elite Dale Angular 2.5-inch BrushCuts in cleanly, holds plenty of paint, lasts 50+ wash cycles.~Price$20
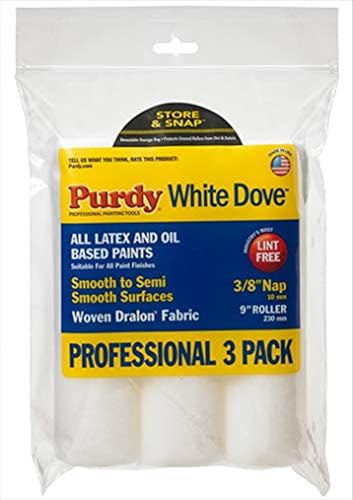 PurdyWhite Dove Roller Cover 9" 3/8"Smooth nap means no roller texture under deep colors or fresh primer.~Price$10
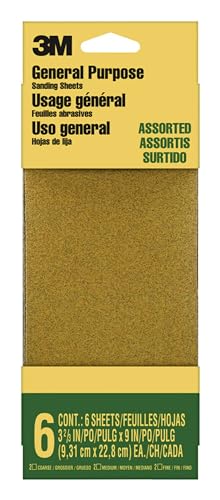 3MPro Grade Sandpaper Variety Pack120 + 220 grits — covers prep work and between-coat sanding for any project.~Price$15
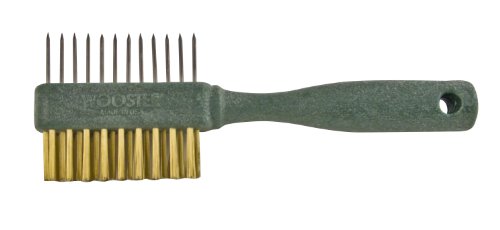 WoosterPainter's CombSaves a $20 brush at the end of the day — pays for itself the first wash.~Price$8
Affiliate Disclosure: PaintLikePro is reader-supported. When you buy through links on our site, we may earn an affiliate commission at no extra cost to you. Learn more. Prices shown are approximate and reflect the price at publication; check Amazon for current pricing.
Choose the Right Brush
This is the single biggest factor. A cheap brush with synthetic bristles will leave marks in almost any paint. Invest in a high-quality paint brush:
For water-based (latex) paint:
- Purdy Clearcut
- Wooster Alpha
- Any brush with fine flagged synthetic bristles
For oil-based paint:
- Any brush with natural China bristle or ox hair
A good brush costs $15–25 but will last for years if cleaned properly. The difference in finish quality between a cheap brush and a quality one is dramatic — it’s the single best investment you can make.
The Right Loading Technique
How much paint on the brush matters enormously.
- Dip about 1/3 of the bristle length into paint
- Tap (don’t wipe) both sides of the brush against the inside of the can
- This loads the brush properly — not too much, not too little
Never drag the brush against the rim of the can to remove paint — it removes too much.
The Pro Painting Stroke
Start Away from the Edge
Load your brush and start your stroke 1–2 inches away from where you want to begin, then sweep back to the edge with the brush. This avoids a glob of paint at the start.
Use Long, Smooth Strokes
Apply paint with long, smooth strokes in one direction. Keep the brush moving — don’t stop and start in the middle of a stroke.
Lay Off with a Light Stroke
After applying paint, do one final very light pass (“lay off”) in the direction of the grain or in the direction you want the finish. This smooths out any marks and creates the final texture.
Don't Overwork
Once you’ve done your lay-off stroke, leave it. Going back over paint that’s starting to dry creates drag marks and pulls up the surface. One application, one lay-off, move on.
Add a Paint Conditioner
The best professional secret for brush-mark-free paint: Floetrol (for latex paint) or Penetrol (for oil-based paint).
These paint conditioners slow drying time, giving paint more time to self-level before it skins over. The result is noticeably smoother.
- Floetrol: Add 4–8 oz per gallon of latex paint
- Mix in thoroughly before starting
Don’t add too much Floetrol — it can reduce gloss and slightly reduce durability. Stick to the recommended amounts on the label.
Brush Marks on Trim and Cabinets
Trim and cabinet work is where brush marks are most visible. Whether you are painting trim and baseboards or painting kitchen cabinets, these extra tips help:
Use a hybrid alkyd paint: Paints like Benjamin Moore Advance or Sherwin-Williams Emerald Urethane Trim are specifically formulated to self-level. They dry with almost no brush marks even with average technique.
Sand between coats: After the first coat is fully cured (not just dry — fully cured, often 24 hours), sand lightly with 220-grit sandpaper and remove dust before the second coat. This knocks down any surface texture.
Keep the brush slightly damp: Before loading paint, lightly dampen the brush with water (for latex) or mineral spirits (for oil). This helps the bristles release paint more smoothly.
When to Use a Roller Instead
For large flat surfaces (walls, doors), a foam roller often gives a smoother result than a brush. Check our guide on brush vs. roller vs. sprayer to decide the best tool. Use a fine 3/16” or 1/4” nap foam roller for smooth surfaces. Follow with a brush “tip off” — lightly drag a dry brush over the rolled surface to smooth any bubbles.
Why Brush Marks Happen (The Mechanics)
Brush marks come from one of three causes: paint that skins over before the bristles can level it, bristles that splay or splinter under pressure, or going back over an area that’s started to dry. The first is mostly humidity and paint-conditioner driven. The second is brush quality — a $5 brush will leave marks no matter how careful you are because the bristles aren’t filament-controlled. The third is technique: paint your “wet edge” and don’t return to it. If you can name the cause when you see a brush mark, you can fix it within thirty seconds.
Common Mistakes That Cause Brush Marks
- Loading the brush at the rim of the can: scrapes off paint asymmetrically and overloads one side. Tap the bristles against the inside instead.
- Painting in direct sun (exterior): paint skins in under two minutes on a sunny 80°F day. Follow the shade around the house, or paint on overcast days.
- Not using a quality brush: a Purdy XL Glide or Wooster Silver Tip releases paint smoothly and holds its shape. Cheap brushes don’t.
- Re-brushing an area that’s flashed dry: once paint loses its wet sheen (usually 90 seconds in), leave it alone. Coming back will rip the surface.
- Using flat or eggshell sheen for trim: trim wants semi-gloss because it’s harder, levels better, and shows fewer marks than matte sheens on detailed millwork.
FAQ
Do all paints level the same? No — premium self-leveling paints (Benjamin Moore Advance, Sherwin-Williams Emerald Urethane Trim) are formulated specifically to flow out smoothly. Budget paints rely on the painter’s skill to lay them off. If you’re a DIYer, paying $20-30 more for a self-leveling trim paint is the highest-leverage upgrade in this whole list.
How much Floetrol is too much? The label says 4-8 oz per gallon. Stay under 8 oz for most applications. Above that, you start trading dry-time for sag risk on vertical surfaces, and you can lose some sheen on satin and semi-gloss finishes.
Will brush marks disappear after the paint dries? Sometimes. Latex paint will continue to level for about 20-30 minutes after application as the water evaporates. If a mark is still visible at the 30-minute mark, it’s there to stay until you sand it down between coats.
Product Testing Editor
Maya Bennett is the Product Testing Editor. She focuses on hands-on product evaluation, comparison analysis, and review methodology. Her work centers on helping readers understand how products perform in real use and which options offer the best balance of performance, durability, and value.
Related Articles
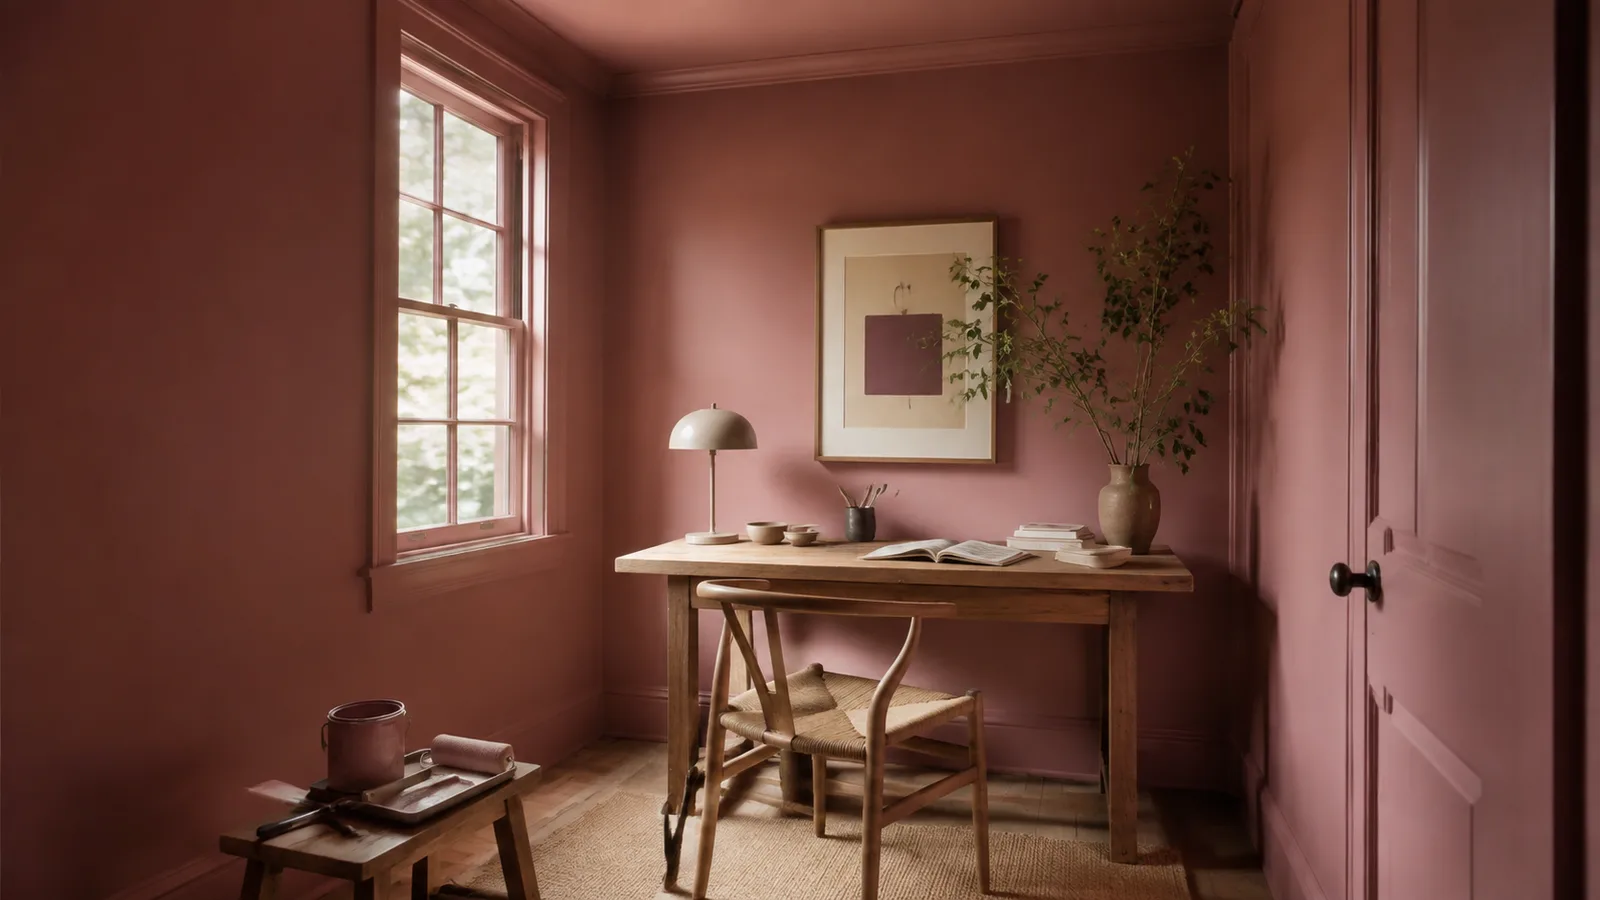
How to Color-Drench a Room (The 2026 Painting Trend Explained)
Color drenching — painting walls, ceiling, and trim in one color — is the dominant 2026 painting trend. Here's how to execute it without it looking flat.
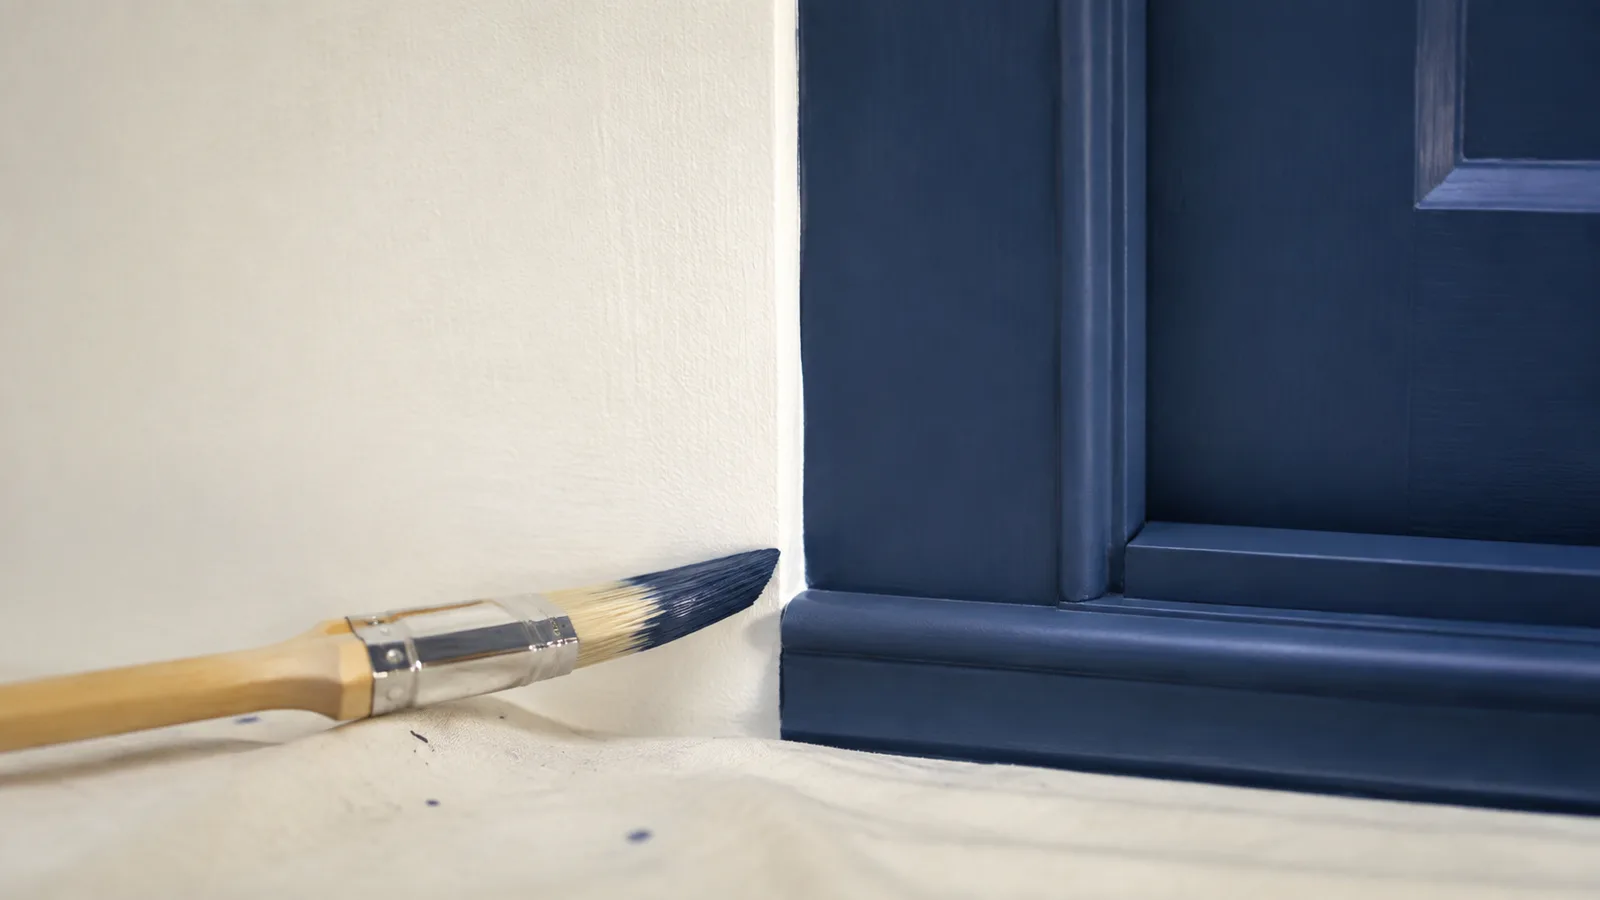
How to Cut In Like a Pro (Without Tape)
Cutting in is the most important painting skill. Learn the freehand technique that pros use to paint perfect lines along ceilings, trim, and corners — no tape.
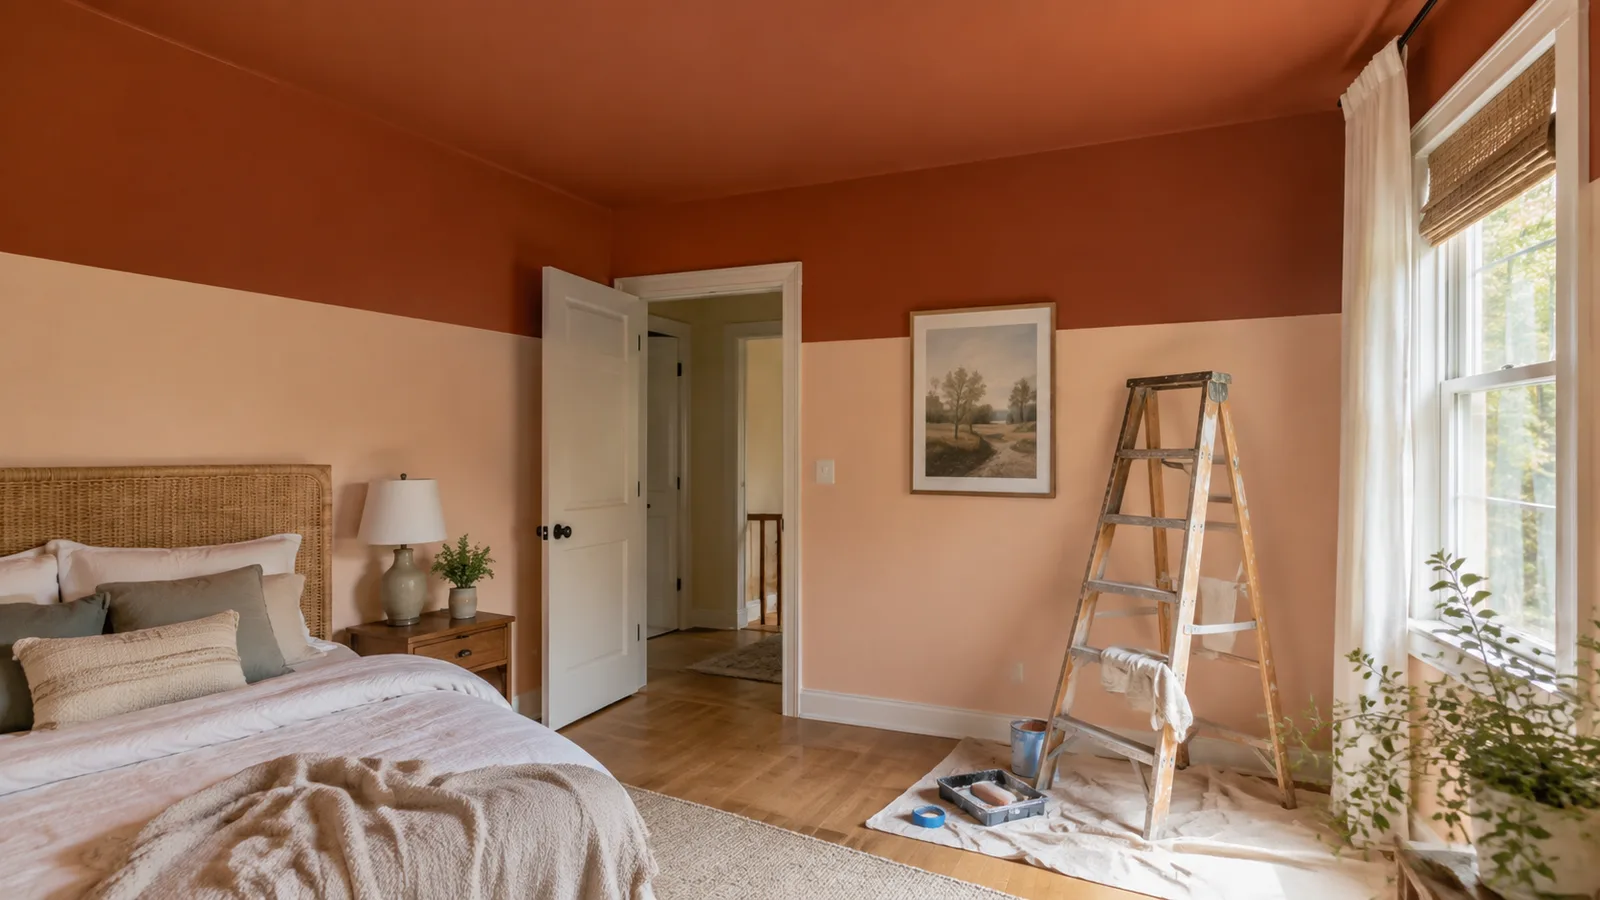
Color Capping Paint Trend 2026: How to Get It Right
Color capping is the lower-risk 2026 alternative to color drenching. Learn where it works, which shades to choose, and the tools that keep the lines clean.