
DIY Limewash Accent Wall on a Budget
A budget limewash wall can still look layered if the material and brushwork are right. This guide covers the prep and products that help the texture show up.

Tools & Materials Needed
- cleaner
- sandpaper
- primer
- paint
- brush
AI-generated editorial illustration; not a product test photo or an exact paint color sample.
Budget limewash can still look expensive when the wall has soft movement instead of obvious roller texture. The project usually goes wrong when people treat limewash like ordinary wall paint and rush the crossing brush pattern.
This guide gives you a simple sequence for a DIY limewash accent wall on a budget, with the affiliate picks placed where they actually help and the texture-building steps handled early.
Accent walls are usually a deep, saturated color — and dark colors are unforgiving of bad tools. The right roller cover and tape make the difference between a magazine-worthy result and an obvious DIY job.
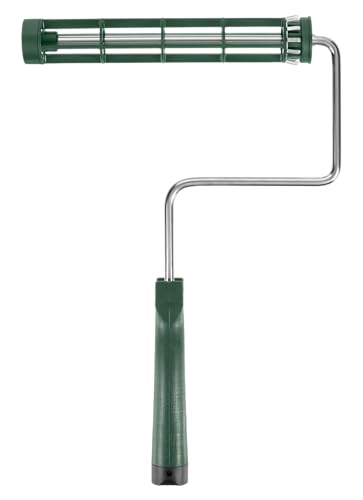 WoosterSherlock GT 9-inch Roller FrameQuick-release frame fits any standard 9-inch cover. Survives years.~Price$15
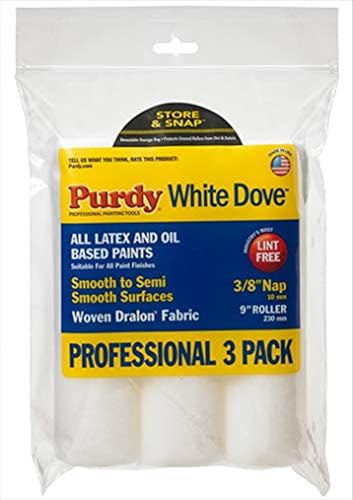 PurdyWhite Dove Roller Cover 9" 3/8"Smooth nap means no roller texture under deep colors or fresh primer.~Price$10
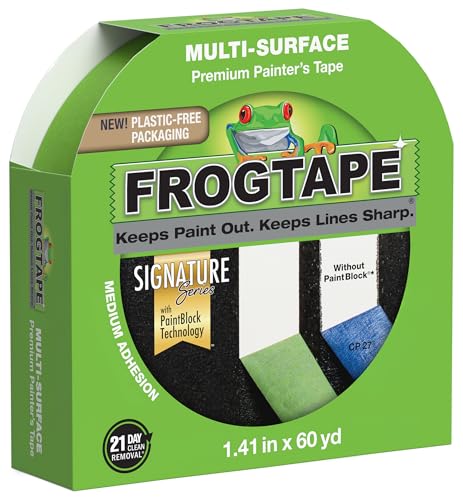 FrogTapeMulti-Surface Painter's Tape 1.41 inchPaintBlock seals tighter than basic tape — the difference shows on textured walls.~Price$8
 PurdyXL Elite Dale Angular 2.5-inch BrushCuts in cleanly, holds plenty of paint, lasts 50+ wash cycles.~Price$20
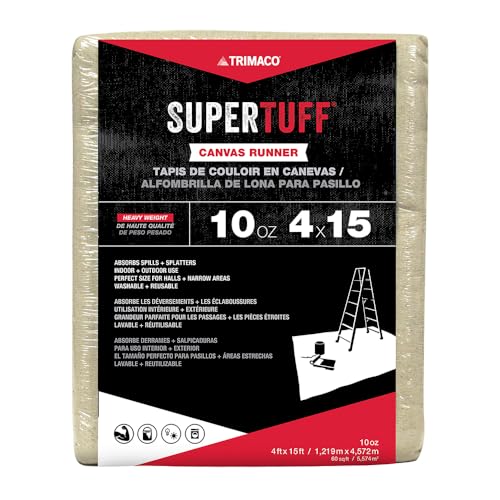 TrimacoSuperTuff 9x12 ft Canvas Drop ClothCanvas grips the floor (plastic slides), absorbs spills, lasts a decade.~Price$26
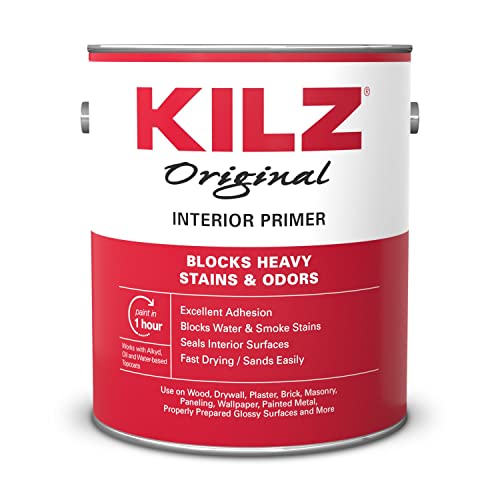 KILZOriginal Primer-Sealer (1 gallon)High-hide primer for navy, forest green, charcoal, and other dark non-red colors.~Price$28
Affiliate Disclosure: PaintLikePro is reader-supported. When you buy through links on our site, we may earn an affiliate commission at no extra cost to you. Learn more. Prices shown are approximate and reflect the price at publication; check Amazon for current pricing.
The Short Version
Texture creates depth even when the color stays neutral. If you remember nothing else, dampen the wall only as directed, cross-brush the finish, and do not chase perfect uniformity because the variation is the point.
Step-By-Step
Clean and clear the work area
Move furniture, remove outlet covers, vacuum dust, and wipe the surface. Paint sticks to clean, dull surfaces. It does not stick well to grease, soap film, or sanding dust.
Repair and sand only what needs it
Fill nail holes, scrape loose edges, and sand rough patches smooth. Feather the repair wider than the defect so the patch does not flash through the finish.
Tape the places that matter
Tape baseboards, adjacent walls, hardware, or glass where a clean edge matters. Press the edge down with a putty knife or fingertip.
Get clean paint lines on AmazonPrime problem areas
Prime stains, raw wood, glossy patches, and dark-to-light color changes. Primer is cheaper than extra finish coats and usually gives a better result.
Paint in small, controlled sections
Cut in first, then roll or brush the open area while the edge is still wet. Reload before the tool feels dry.
Where Beginners Usually Go Wrong
They skip sanding because the surface looks fine. They buy tape but do not press the edge down. They roll too hard when the cover is almost dry. Those small decisions show up later as peeling, fuzzy lines, and lap marks.
What To Buy First
Check current price on AmazonIf this project is part of a bigger room refresh, read how to paint a room and how to avoid brush marks before you start.
Buying Checklist Before You Start
Use this quick checklist before you put anything in the cart. First, identify the surface: smooth drywall, textured wall, trim, cabinet door, exterior siding, brick, or furniture. Second, decide whether the surface needs cleaning, sanding, or primer. Third, match the applicator to the finish you want. A smooth wall needs a low-lint roller cover. Trim needs a controlled angled brush. Exterior siding may need a sprayer, but only if you are willing to mask carefully.
The cheapest product usually becomes expensive when it creates a second trip to the store. For DIY limewash accent wall, the better buy is the option that reduces rework. That might mean cleaner tape lines, fewer roller fibers, stronger primer adhesion, or a tool that still works after cleanup.
What To Skip
Skip bargain multi-packs when the project is visible from normal standing distance. They can be fine for primer, rough utility areas, or one-time cleanup jobs, but they are risky on doors, cabinets, accent walls, and dark colors. Also skip any product that does not match the paint type. Latex wall paint, trim enamel, cabinet paint, stain, limewash, and exterior coating all behave differently.
Best Pairings
Pair Wooster Pro/Doo-Z FTP 9-Inch Roller Covers with clean prep, the right sheen, and enough dry time. If you are painting walls, read how to paint a room. If edges matter, use how to cut in like a pro. If the color is dark, review paint over dark walls before buying the finish coat.
Price And Availability Notes
We avoid guaranteed price claims because affiliate merchants update pricing and stock constantly. Treat every price as current only on the merchant page. For paint gallons and big exterior tools, Home Depot or Lowe’s often make more sense than Amazon because local pickup, tinting, and returns matter. For brushes, tape, roller covers, and small supplies, Amazon is often faster and easier.
Final Check Before Cleanup
Look across the surface from an angle, not straight on. Side light reveals missed edges, dry roller marks, and drips while they are still easy to fix.
FAQ
What is the first thing to buy for DIY limewash accent wall? Start with the item that affects finish quality the most: Wooster Pro/Doo-Z FTP 9-Inch Roller Covers. Then add tape, drop cloths, and prep supplies based on the room or surface.
Should beginners use budget tools? Use budget tools for one-time prep, but avoid the cheapest brush, roller cover, or tape. Those three items touch the final finish directly.
How do I avoid wasting money? Buy the product that matches the surface, not the most expensive option. Smooth drywall, cabinets, textured exterior siding, and furniture all need different tools.
When should I hire a pro instead? Hire a pro when the project involves lead paint, tall exterior work, major rot repair, or a finish where sanding and dust control need professional equipment.

Product Testing Editor
Maya Bennett is the Product Testing Editor. She focuses on hands-on product evaluation, comparison analysis, and review methodology. Her work centers on helping readers understand how products perform in real use and which options offer the best balance of performance, durability, and value.
Related Articles
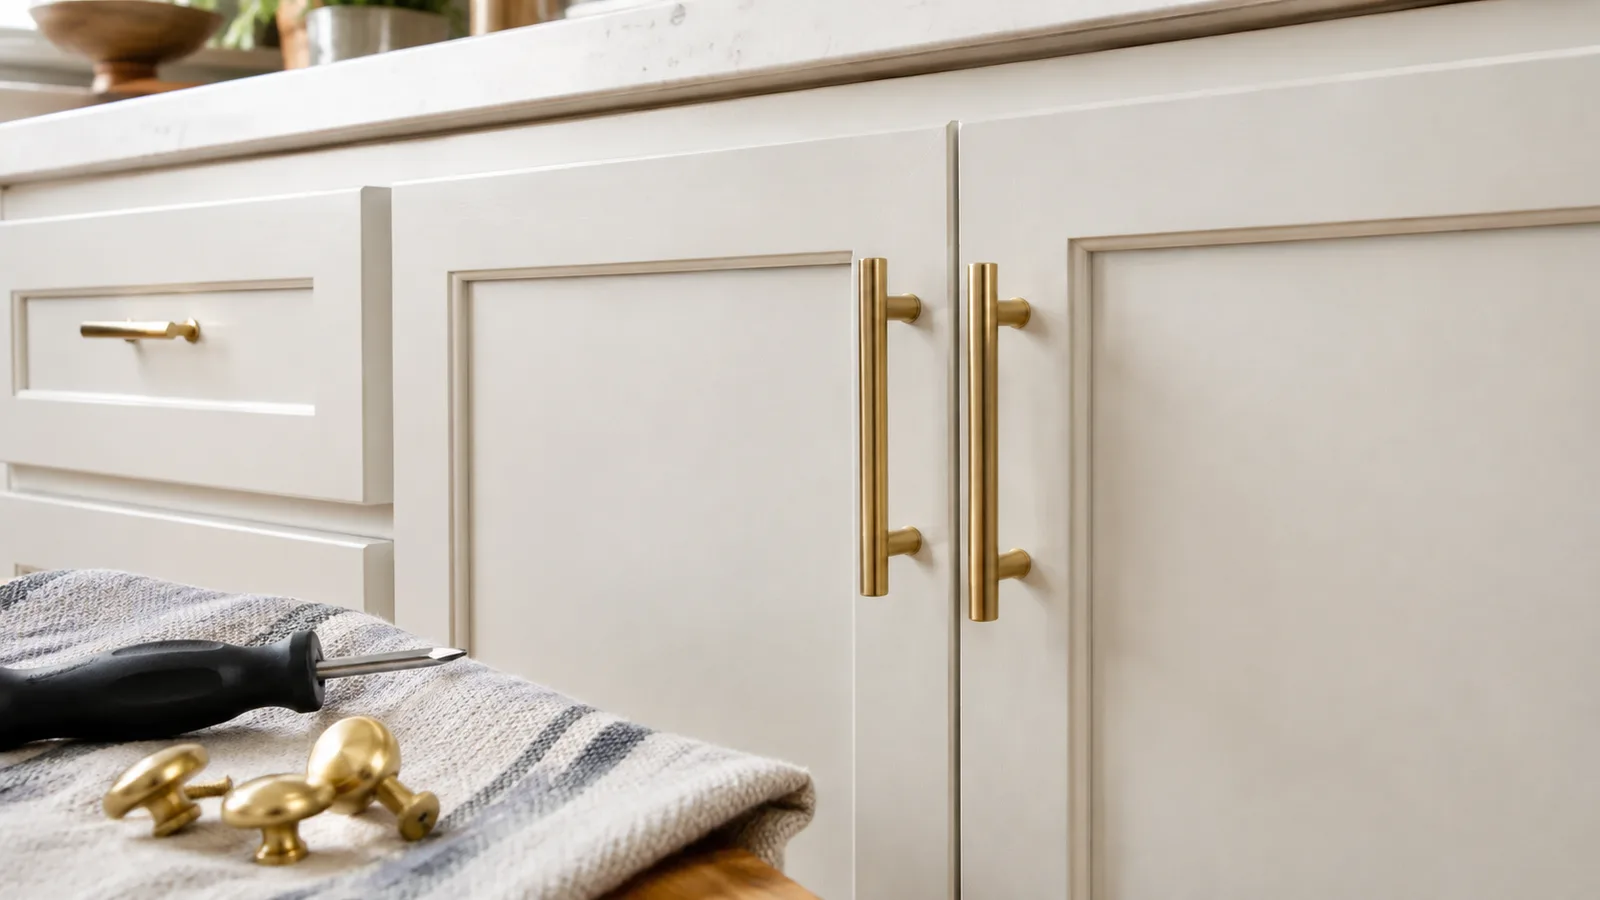
DIY Cabinet Hardware Refresh After Painting
Fresh cabinet paint often still feels unfinished until the hardware changes too. This DIY refresh keeps the update cohesive without replacing the whole cabinet run.

DIY Painted Arch Accent Wall in 2026
A painted arch is an easy statement project for renters, kids' rooms, and awkward corners. This guide covers layout, tape lines, and a balanced curve.
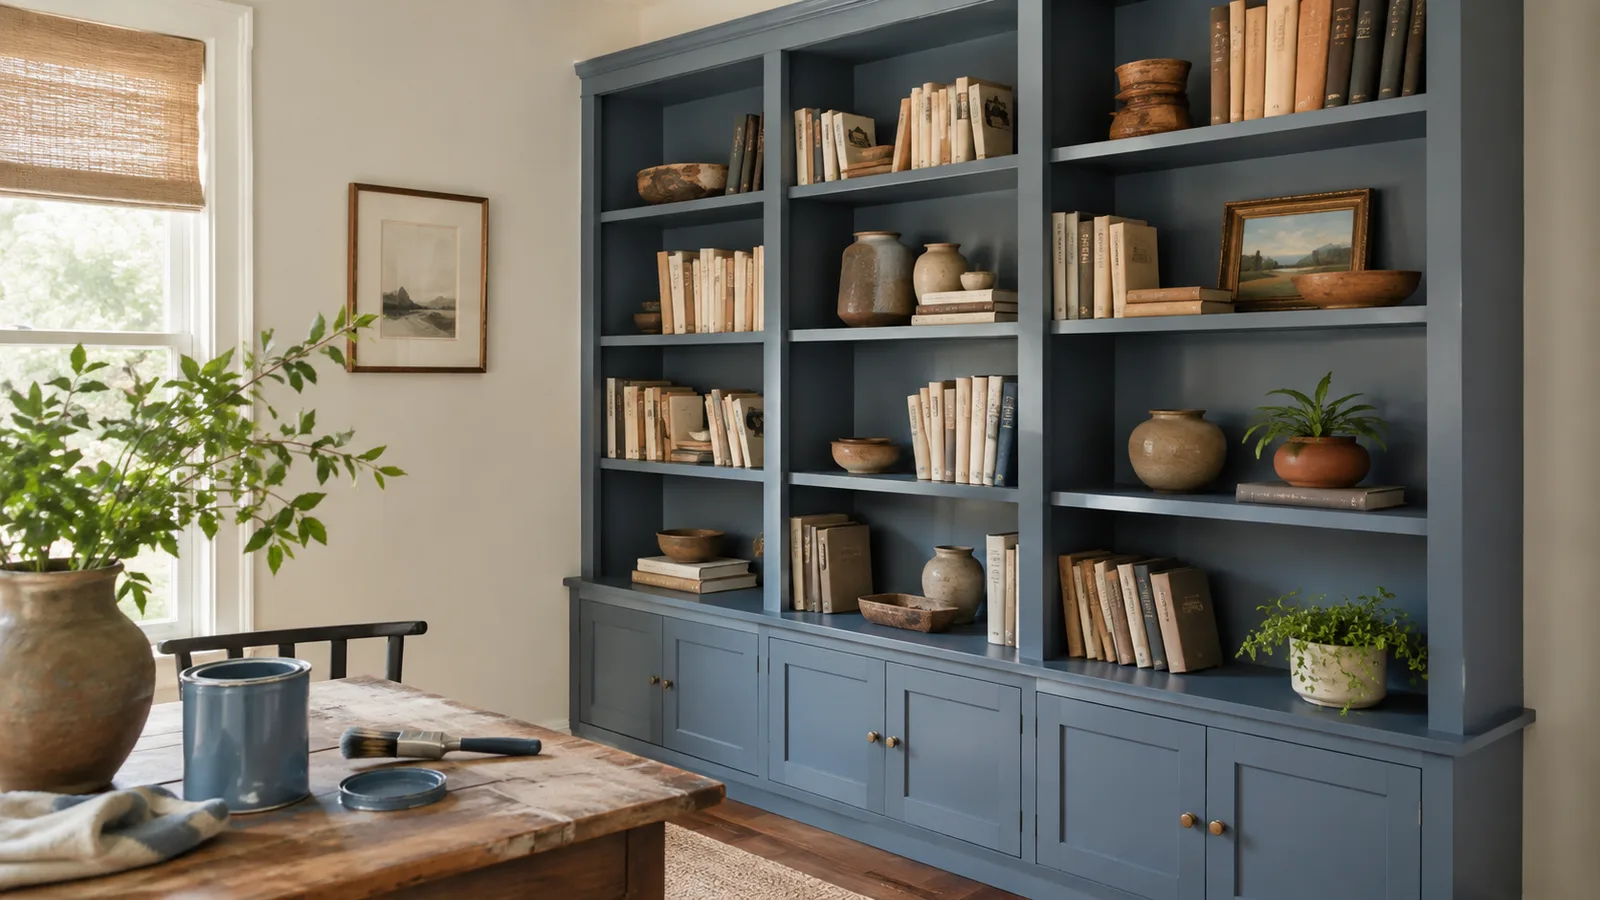
DIY Painted Bookshelf Ideas for 2026
A painted bookshelf looks custom when the color and sheen match the room. This guide covers the prep and paint picks that help shelves finish cleaner.