
How to Paint a Room: Complete Beginner's Guide
Learn how to paint a room from start to finish with this comprehensive beginner's guide. Covers prep, technique, and cleanup for professional-looking results.


Tools & Materials Needed
- paint roller
- roller cover (3/8 nap)
- paint tray
- 2.5-inch angled brush
- painter's tape
- drop cloths
- paint
- primer (if needed)
AI-generated editorial illustration; not a product test photo or an exact paint color sample.
Getting Started
Painting a room is one of the most satisfying DIY projects. It’s affordable, doesn’t require special skills, and the results are immediately visible. With the right preparation and technique, even a first-time painter can achieve great results.
A first-time room paint job goes wrong in the same place every time: the painter shows up with a brush and a roller and discovers mid-project they're missing tape, drop cloths, or the right roller cover. Get the kit complete from the start.
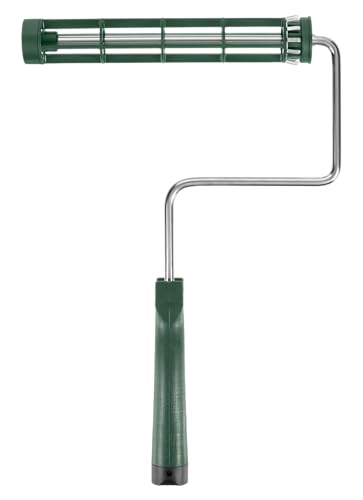 WoosterSherlock GT 9-inch Roller FrameQuick-release frame fits any standard 9-inch cover. Survives years.~Price$15
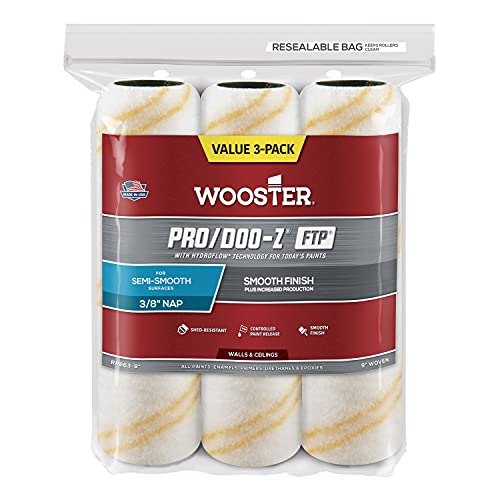 WoosterPro/Doo-Z FTP 9" Roller Cover 3/8" nap (3-pack)3/8" nap is right for most interior walls. The 3-pack means a fresh cover when you need one.~Price$22
 PurdyXL Elite Dale Angular 2.5-inch BrushCuts in cleanly, holds plenty of paint, lasts 50+ wash cycles.~Price$20
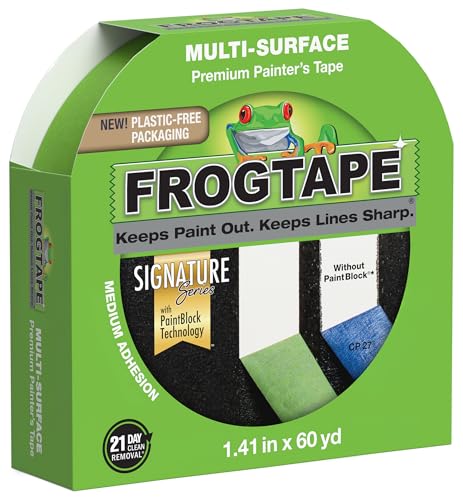 FrogTapeMulti-Surface Painter's Tape 1.41 inchPaintBlock seals tighter than basic tape — the difference shows on textured walls.~Price$8
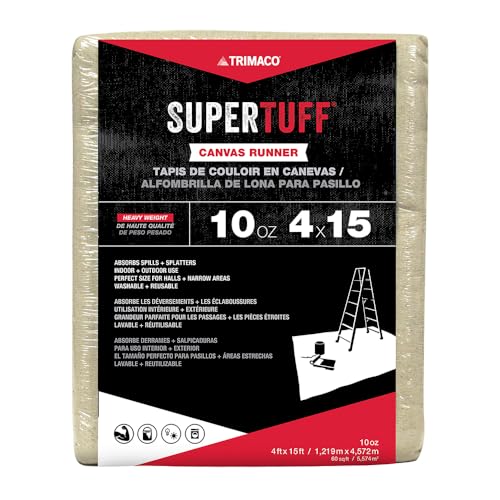 TrimacoSuperTuff 9x12 ft Canvas Drop ClothCanvas grips the floor (plastic slides), absorbs spills, lasts a decade.~Price$26
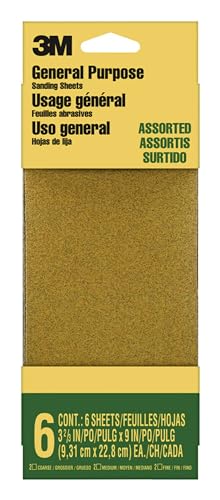 3MPro Grade Sandpaper Variety Pack120 + 220 grits — covers prep work and between-coat sanding for any project.~Price$15
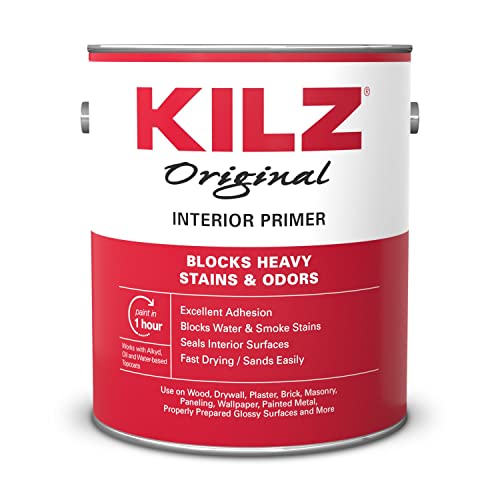 KILZOriginal Primer-Sealer (1 gallon)High-hide primer for navy, forest green, charcoal, and other dark non-red colors.~Price$28
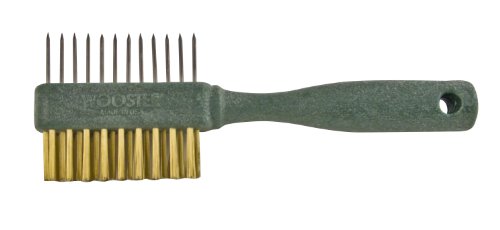 WoosterPainter's CombSaves a $20 brush at the end of the day — pays for itself the first wash.~Price$8
Affiliate Disclosure: PaintLikePro is reader-supported. When you buy through links on our site, we may earn an affiliate commission at no extra cost to you. Learn more. Prices shown are approximate and reflect the price at publication; check Amazon for current pricing.
How Much Paint Do You Need?
A general rule: one gallon covers about 350-400 square feet with one coat. For a typical 12x12 room with 8-foot ceilings, you’ll need about 1.5 gallons for two coats. Use our Paint Calculator for a precise estimate.
Choosing Your Paint
Finish Guide
- Flat/Matte: Hides imperfections, great for ceilings and low-traffic rooms
- Eggshell: Slight sheen, easy to clean. Best for living rooms and bedrooms
- Satin: More washable, ideal for hallways and kids’ rooms
- Semi-Gloss: Very durable, best for kitchens, bathrooms, and trim
For most rooms, eggshell finish is the sweet spot between durability and aesthetics. It hides minor wall imperfections while still being easy to wipe clean.
Step-by-Step Room Painting
Prepare the Room
Remove furniture or move it to the center and cover with drop cloths. Remove outlet covers and light switch plates. Fill any holes with spackling compound and sand smooth when dry.
Apply Painter's Tape
Tape along ceiling edges, trim, window frames, and door frames. Press the tape firmly to prevent paint from bleeding underneath. Use the highest quality tape you can find - it makes a huge difference.
Get FrogTape Multi-Surface on AmazonPrime If Necessary
Apply primer if you’re covering dark colors, painting new drywall, or dealing with stains. For minor color changes on previously painted walls, you can skip this step with a paint-and-primer combo.
Cut In the Edges
Using an angled brush, paint a 2-3 inch band along all edges, corners, and areas the roller can’t reach. For detailed technique, see our guide on how to cut in like a pro. Work in 3-4 foot sections so the cut-in area is still wet when you roll.
Roll the Walls
Load your roller evenly and apply paint in a “W” pattern, then fill in. Work from top to bottom in sections. Maintain a wet edge to avoid lap marks. Don’t press too hard - let the roller do the work.
Get Wooster Pro Doo-Z FTP 3-Pack on AmazonApply Second Coat
Let the first coat dry completely (2-4 hours typically). Apply a second coat using the same technique. Two coats always looks better than one thick coat.
Remove Tape and Clean Up
Remove painter’s tape while the final coat is still slightly tacky for the cleanest lines. Pull at a 45-degree angle. Clean brushes and rollers immediately - dried paint is almost impossible to remove.
The “W” Rolling Technique
The key to even coverage is the “W” technique:
- Roll a large “W” shape on the wall
- Fill in the “W” with horizontal strokes
- Finish with light vertical strokes going top to bottom
- This distributes paint evenly and eliminates roller marks
How Long Should You Wait Between Coats?
- Latex paint: 2-4 hours between coats
- Oil-based paint: 24 hours between coats
- When in doubt: Touch the paint gently. If it feels dry and doesn’t transfer to your finger, it’s ready for the next coat
Never paint in temperatures below 50°F or above 85°F. Extreme temperatures affect how paint dries and can lead to poor adhesion or an uneven finish.
Ready to Start?
The full kit is at the top of this guide. One Amazon order, one delivery, no last-minute hardware-store run mid-project.
Common Questions
How do I avoid roller marks? Use a quality roller cover (not the cheapest option), maintain a wet edge, and don’t overload the roller with paint.
Should I paint the ceiling first? Yes! Always paint in this order: ceiling, walls, then trim. This prevents drips on finished surfaces.
How long until I can hang things on the wall? Wait at least 2 weeks for paint to fully cure before hanging heavy items. Lighter items like pictures can go up after 2-3 days.
How much paint do I need for a 12×12 room? Two coats on a typical 12’×12’ room with 8’ ceilings (about 380 sq ft of paintable wall after subtracting windows and doors) takes 2 gallons of wall paint, plus about 1 quart for trim and 1 quart for ceiling if those are different colors. The math: 380 sq ft × 2 coats ÷ 350 sq ft per gallon ≈ 2.2 gallons. Round up — running out mid-coat is the worst-case scenario.
Should I tape the trim or just be careful? For a first-time painter, tape. For an experienced cutter-in, skip the tape and freehand the line — taping adds 60-90 minutes to a room and the cleanest line is actually a freehand cut with a quality 2.5” angled brush (see how to cut in like a pro). The middle ground: tape only at the floor and at the ceiling-to-wall line. Skip vertical trim.
What’s the right order: ceiling, walls, trim? Ceiling first (drips fall on unpainted walls), walls second, trim last. Painting trim last lets you cut the wall paint sloppy at the trim line — the trim paint covers the overflow when you do the trim. The opposite order forces you to be precise twice.
Can I paint over wallpaper? Possible but not advised. Wallpaper seams will telegraph through paint and the wallpaper will eventually pull off the wall taking paint with it. Strip the wallpaper, skim-coat any drywall damage, prime, then paint. Long path, but the right one — see exterior surface prep for similar stripping principles applied to outside paint.
Product Testing Editor
Maya Bennett is the Product Testing Editor. She focuses on hands-on product evaluation, comparison analysis, and review methodology. Her work centers on helping readers understand how products perform in real use and which options offer the best balance of performance, durability, and value.
Related Articles

How to Paint Kitchen Cabinets Like a Pro
Transform your kitchen with a fresh coat of paint. This step-by-step guide covers everything from prep to final coat, with pro tips for a smooth, durable finish.
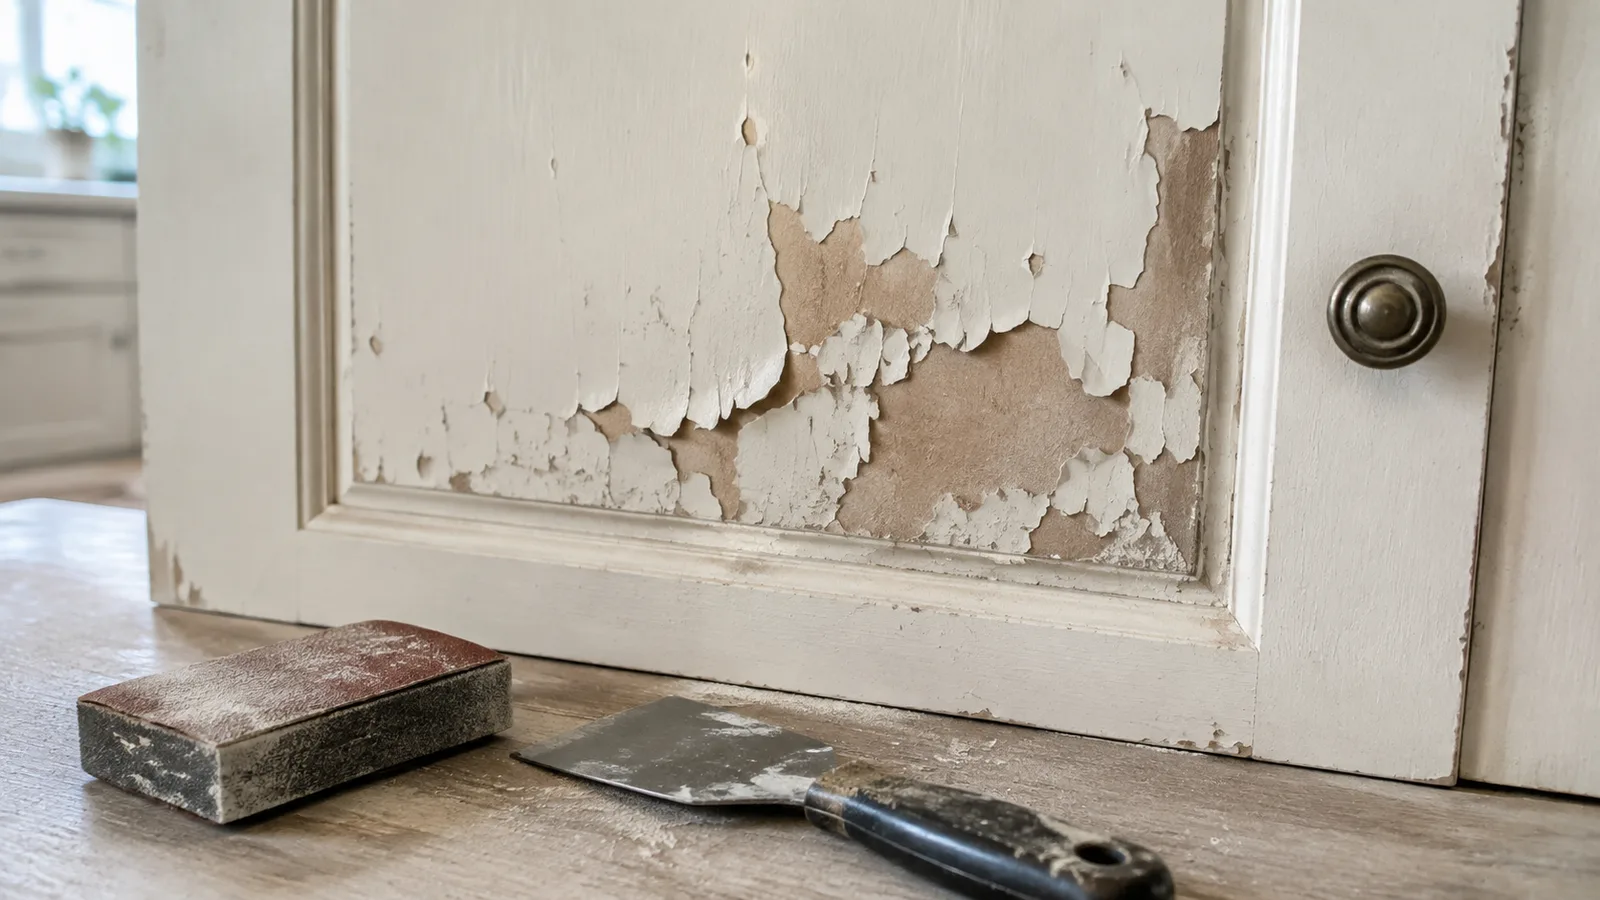
Why Painted Kitchen Cabinets Peel & How to Fix It
Cabinets painted without a topcoat fail in 18 months. Here's why peeling happens, how to fix it, and the protective topcoat the pros never skip.
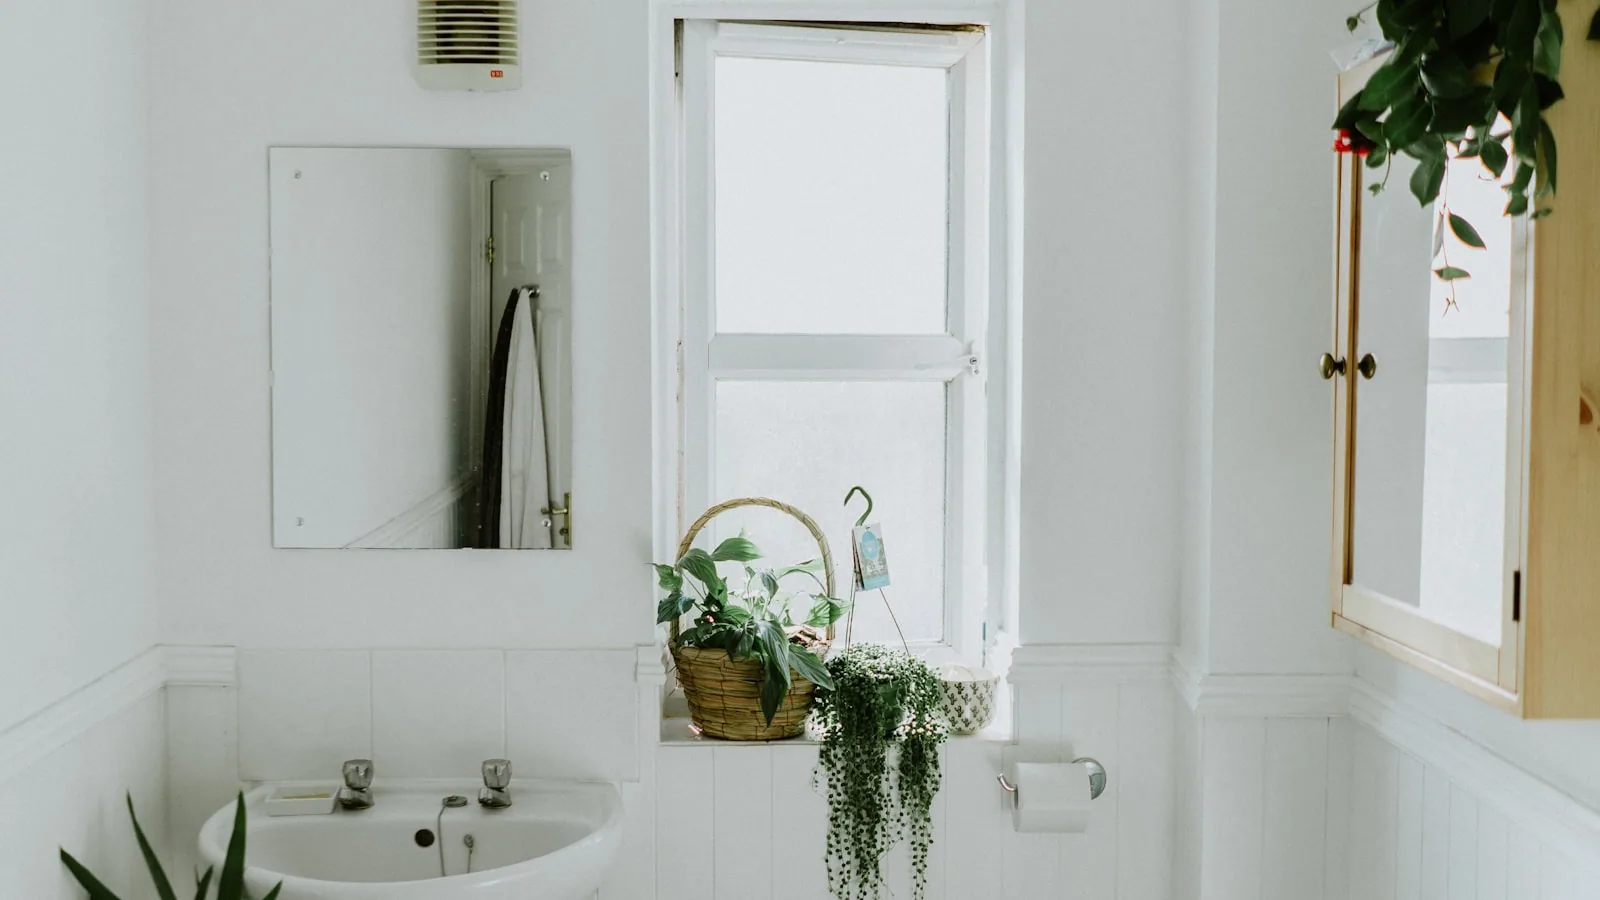
Best Paint Finish for Bathrooms: Complete Guide
Bathrooms need paint that can handle moisture, steam, and frequent cleaning. Learn which paint finish works best and how to get a lasting result.