
How to Cut In Like a Pro (Without Tape)
Cutting in is the most important painting skill. Learn the freehand technique that pros use to paint perfect lines along ceilings, trim, and corners — no tape.

Tools & Materials Needed
- 2.5-inch angled sash brush
- paint
- paint bucket or cup
AI-generated editorial illustration; not a product test photo or an exact paint color sample.
What Is Cutting In?
Cutting in is the technique of painting clean, straight lines where walls meet ceilings, trim, or other walls — areas a roller can’t reach. It is one of the most important skills when painting a room. Professional painters do this freehand, without tape, and can cut a perfect line in seconds.
Cutting in is 80% brush quality and 20% technique. The cheapest brush will not give you a sharp line — period. Below is the kit pros actually use.
 PurdyXL Elite Dale Angular 2.5-inch BrushCuts in cleanly, holds plenty of paint, lasts 50+ wash cycles.~Price$20
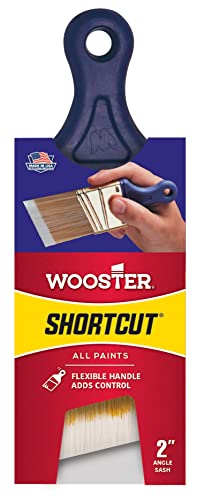 WoosterShortcut Angle Sash BrushCompact handle gets behind toilets, baseboard heaters, and tight trim corners.~Price$10
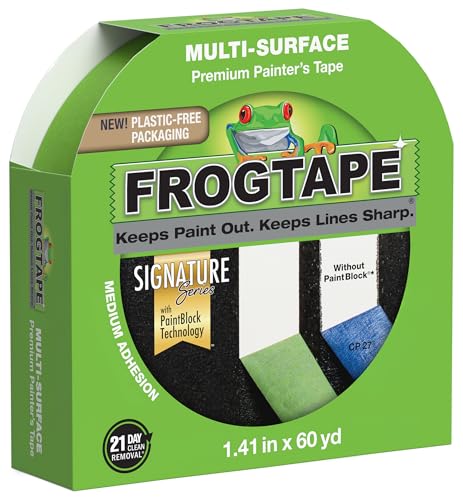 FrogTapeMulti-Surface Painter's Tape 1.41 inchPaintBlock seals tighter than basic tape — the difference shows on textured walls.~Price$8
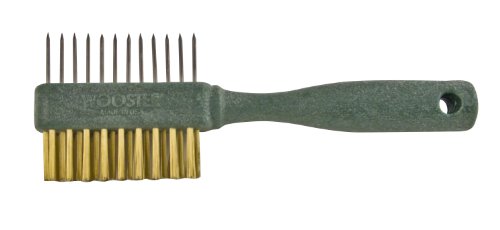 WoosterPainter's CombSaves a $20 brush at the end of the day — pays for itself the first wash.~Price$8
Affiliate Disclosure: PaintLikePro is reader-supported. When you buy through links on our site, we may earn an affiliate commission at no extra cost to you. Learn more. Prices shown are approximate and reflect the price at publication; check Amazon for current pricing.
Why Skip the Tape?
- Faster: Taping a room takes 30-60 minutes. Cutting in freehand takes less time
- Better results: Tape can bleed underneath, creating messy lines
- More flexible: Adjust your line as you go
- Saves money: Quality painter’s tape isn’t cheap
The secret to cutting in isn’t a steady hand — it’s the right brush, proper loading, and the correct angle. Anyone can learn this with 30 minutes of practice.
The Right Brush
You need a 2.5-inch angled sash brush — period. The angle creates a natural edge that follows ceiling lines and trim. See our best paint brushes guide for detailed reviews. Brands to trust:
- Purdy XL Glide
- Wooster Silver Tip
- Benjamin Moore’s house brand
Our editor’s pick after testing 8 brushes across 14 projects is the Purdy XL Elite Dale 2.5-inch — the chisel edge cuts a sharper line and lasts 5–10× longer than store-brand brushes. Read our full review or grab one straight from Amazon:
The Technique
Load the Brush Correctly
Dip only the first inch of bristles into paint. Tap both sides gently on the inside of the bucket. Never scrape the brush on the bucket rim — it removes too much paint.
Position Your Body
Stand facing the wall comfortably. Hold the brush like a pencil, not a hammer. Your arm should move freely from the shoulder, not the wrist.
Start Away from the Edge
Place the brush about 1/4 inch away from the ceiling/trim line. Press down slightly to fan out the bristles.
Slowly Push to the Line
While dragging the brush along the wall, slowly push it toward the ceiling line until the paint just touches the edge. The fanned bristles create a clean, precise line.
Pull in Long, Smooth Strokes
Once you’ve established the line, pull the brush in one continuous stroke for 12-18 inches. Reload and repeat, blending each section into the last.
Back-Brush for Smoothness
After cutting a section, lightly go back over it with the brush to even out the paint. Don’t press hard — just smooth it.
Practice Drill
Before tackling a real room, practice on a piece of cardboard taped to a wall:
- Draw a straight line with a marker
- Practice cutting along that line freehand
- Focus on brush angle and pressure, not speed
- After 20-30 minutes, you’ll notice dramatic improvement
Common Mistakes
- Too much paint on the brush — Overloading causes blobs and drips at the line
- Moving too fast — Slow down. Speed comes with experience
- Wrong brush angle — The angled tip should point toward the line you’re cutting
- Painting too far from the edge — Get close! The bristles need to reach the line
- Not maintaining a wet edge — Work in 3-4 foot sections so you can blend
Don’t try to cut in the entire room before rolling. Instead, cut in one wall at a time, then immediately roll that wall. This prevents visible lap marks where the cut-in area dried before rolling. For more on choosing the right roller, check our buying guide.
When to Still Use Tape
Some situations genuinely benefit from tape:
- Two contrasting colors meeting (like painting an accent wall)
- Geometric patterns or stripes
- Very textured walls where freehand lines are difficult
- Your first-ever paint job — use tape as training wheels, then graduate to freehand
Cutting In Around Specific Edges
Different edges have different “rules.” Here’s how pros handle the most common ones:
Wall meets ceiling: Cut in along the wall, pulling the brush from one corner toward the other in a single continuous stroke if possible. The ceiling is usually the same flat-white you’re not changing, so any minor overlap onto the ceiling will get touched up later.
Wall meets baseboard: Cut from one side of the room to the other in long strokes, keeping the brush angle slightly tilted to avoid loading paint onto the baseboard’s top edge. Wipe stray drips off the baseboard immediately with a damp rag.
Window or door casing: Cut along the casing in 12-18 inch passes. The casing’s edge is a solid line of contrast, so freehand requires more attention here than at the ceiling. Tape if you’re unsure — see painting trim and baseboards for the trim-side technique.
Inside corners (wall meets wall): Don’t try to cut both walls at once. Cut the first wall fully into the corner, let it dry, then cut the second wall to meet the first. This eliminates the doubled-paint blob that happens when you try to do both at once.
FAQ
Why do my cut-in lines have a different sheen than the rolled wall? This is the most common cut-in problem. It happens because brushwork lays paint at a different thickness than rollerwork — too thick and the brushed area dries glossier, too thin and it’s flatter. Fix it by lightly back-rolling the cut-in band with a damp roller before the paint dries, blending the brush stroke into the rolled area. This 30-second extra step erases the visible “halo” around every wall.
How long can I let cut-in paint sit before rolling? About 5-10 minutes max in a typical 65-72°F room. Beyond that, the cut-in will have skinned over and the rolled paint won’t blend smoothly into it. This is why pros cut in one wall and immediately roll it, instead of cutting in the whole room and rolling at the end.
Should I cut in twice if the first coat looks streaky? Yes, on the second coat — but use a slightly different technique. After the first cut-in dries, your second cut-in goes faster and uses less paint. Run the brush along the line you established the first time, building up coverage where needed. Don’t try to fully repaint the band.

Product Testing Editor
Maya Bennett is the Product Testing Editor. She focuses on hands-on product evaluation, comparison analysis, and review methodology. Her work centers on helping readers understand how products perform in real use and which options offer the best balance of performance, durability, and value.
Related Articles

How to Color-Drench a Room (The 2026 Painting Trend Explained)
Color drenching — painting walls, ceiling, and trim in one color — is the dominant 2026 painting trend. Here's how to execute it without it looking flat.

How to Avoid Brush Marks When Painting
Brush marks ruin an otherwise great paint job. Here's exactly why they happen and the pro techniques to get a glass-smooth finish every time.
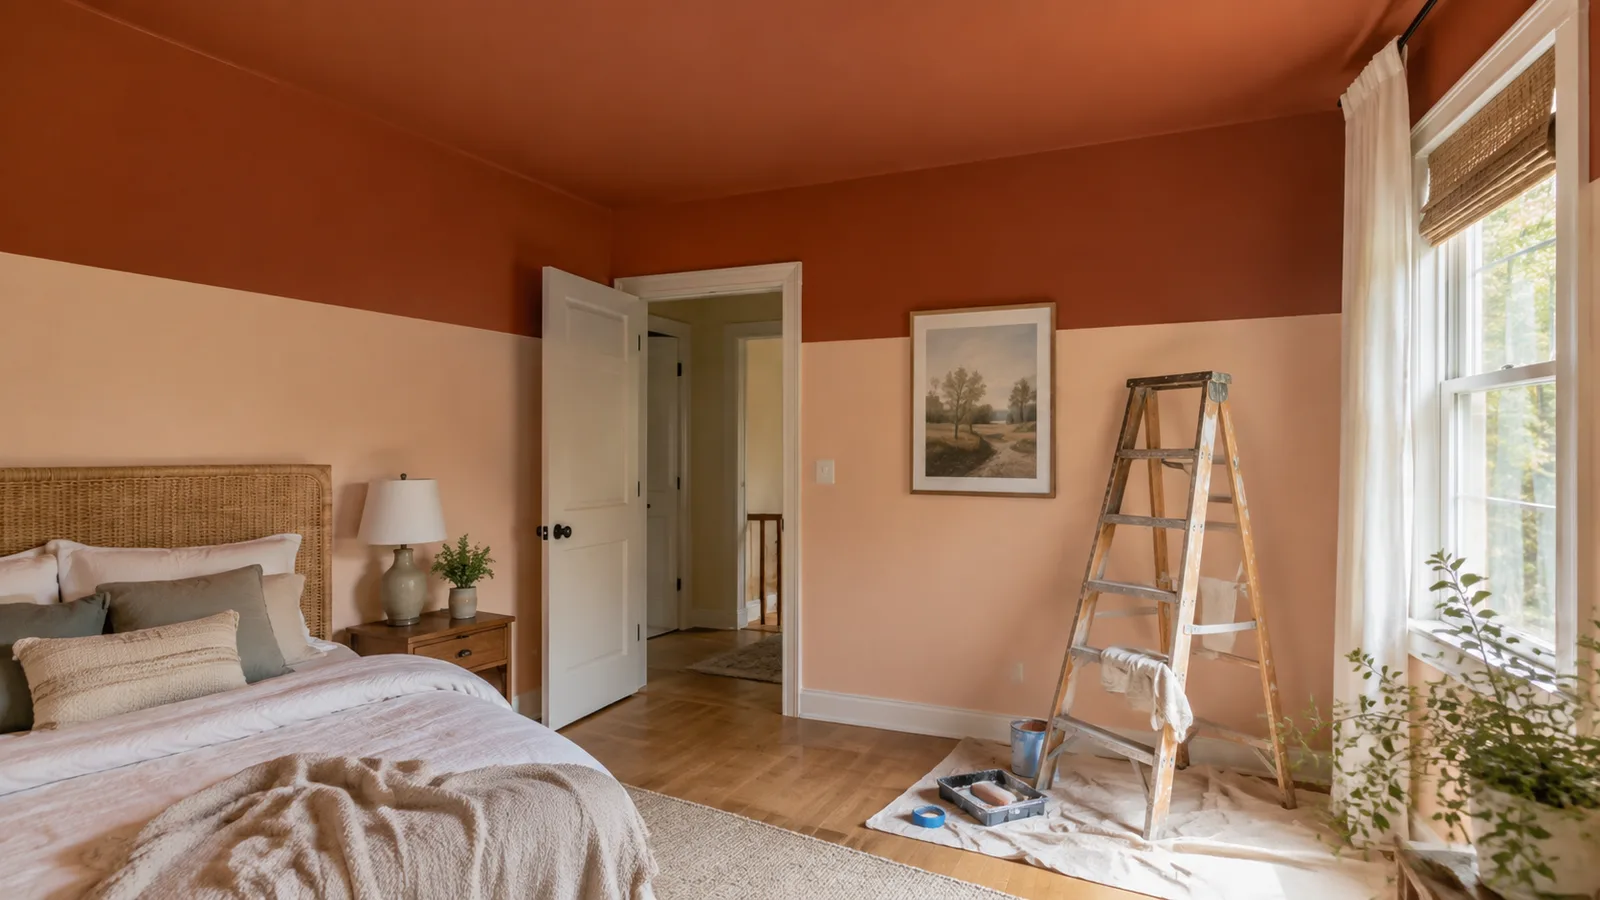
Color Capping Paint Trend 2026: How to Get It Right
Color capping is the lower-risk 2026 alternative to color drenching. Learn where it works, which shades to choose, and the tools that keep the lines clean.