
Painting Trim and Baseboards: Pro Techniques
Get crisp, professional-looking trim with these proven techniques. Learn the right order, tools, and methods for painting baseboards, crown molding, and door frames.


Tools & Materials Needed
- 2-inch angled sash brush
- painter's tape
- 220-grit sandpaper
- caulk gun
- paintable caulk
- semi-gloss paint
- drop cloth
Why Trim Makes or Breaks a Room
Freshly painted trim transforms a room more than you’d expect. Clean, bright trim frames the walls, makes colors pop, and gives the entire space a polished, finished look. If you’re also painting the whole room, plan to tackle trim as part of the same project.
Trim is unforgiving — every brush mark, every gap, every drip is at eye level. Right tools matter more here than on walls.
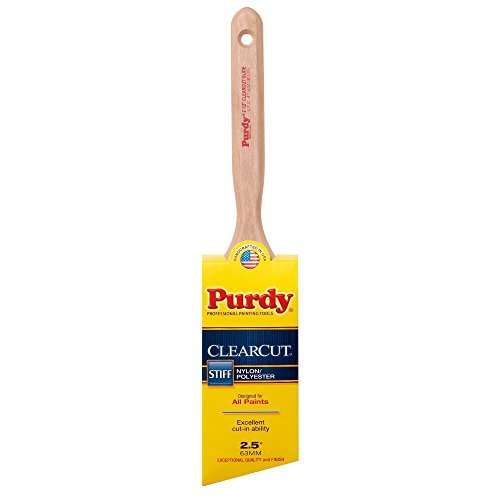 PurdyClearcut Elite Glide 2.5-inch BrushStiffer filament — lays down enamel and hybrid alkyd flat with minimal brush marks.~Price$22
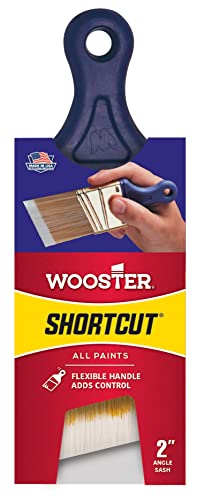 WoosterShortcut Angle Sash BrushCompact handle gets behind toilets, baseboard heaters, and tight trim corners.~Price$10
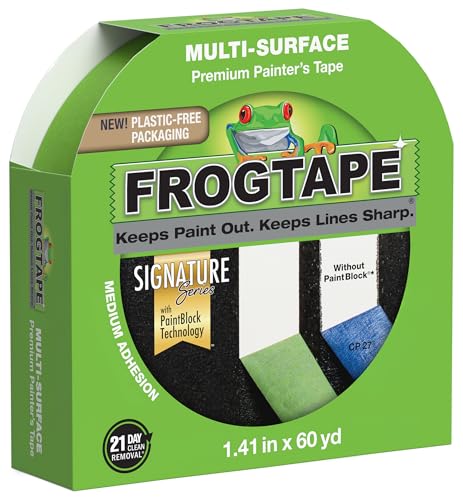 FrogTapeMulti-Surface Painter's Tape 1.41 inchPaintBlock seals tighter than basic tape — the difference shows on textured walls.~Price$8
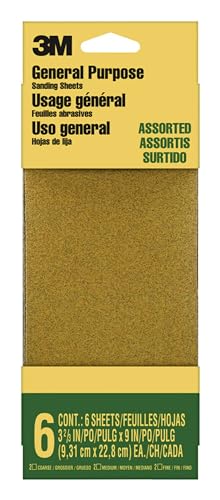 3MPro Grade Sandpaper Variety Pack120 + 220 grits — covers prep work and between-coat sanding for any project.~Price$15
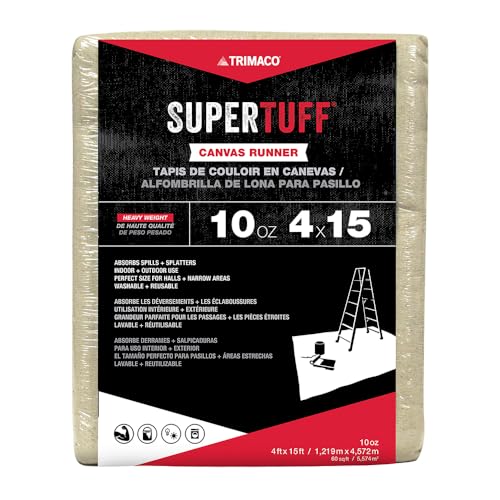 TrimacoSuperTuff 9x12 ft Canvas Drop ClothCanvas grips the floor (plastic slides), absorbs spills, lasts a decade.~Price$26
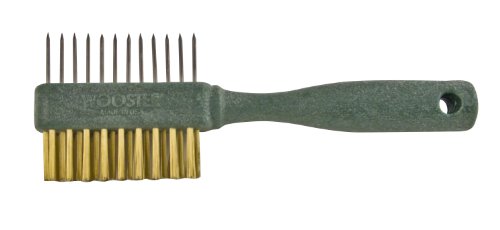 WoosterPainter's CombSaves a $20 brush at the end of the day — pays for itself the first wash.~Price$8
Affiliate Disclosure: PaintLikePro is reader-supported. When you buy through links on our site, we may earn an affiliate commission at no extra cost to you. Learn more. Prices shown are approximate and reflect the price at publication; check Amazon for current pricing.
Paint Your Trim Before or After Walls?
Pros paint trim first. Here’s the order:
- Paint ceiling
- Paint trim (baseboards, crown molding, door frames, window frames)
- Paint walls
By painting trim first, you don’t need to be as precise. You can overlap onto the walls slightly, then cut in cleanly with the wall color later. This is much easier than trying to paint trim without touching finished walls.
Choosing Trim Paint
- Finish: Semi-gloss or high-gloss. Trim takes abuse and needs to be washable
- Color: White is classic. See our guide on the best white paint colors — the most popular trim whites are Benjamin Moore Simply White (OC-117) and Sherwin-Williams Extra White (SW 7006)
- Formula: Alkyd or hybrid alkyd for the smoothest finish. Acrylic latex is easier but may show brush marks
Step-by-Step Trim Painting
Clean and Sand
Wipe all trim with a damp cloth to remove dust. Lightly sand with 220-grit to degloss the surface. Wipe with a tack cloth.
Caulk the Gaps
Fill gaps between trim and wall with paintable caulk. Smooth with a wet finger. This eliminates dark shadow lines and gives a seamless look. Let dry 2 hours.
Tape If Needed
If painting trim after walls, tape along the wall edge. Use high-quality painter’s tape and press firmly with a putty knife for a clean seal.
Get FrogTape Multi-Surface on AmazonLoad the Brush Properly
Dip only 1/3 of the bristles into paint. Tap (don’t wipe) excess on the inside of the can. An overloaded brush drips; an underloaded one drags. Using a premium brush makes a noticeable difference on trim.
Paint with Long Strokes
Start at one end and pull the brush in one long, smooth stroke. Don’t go back and forth repeatedly — this causes brush marks. Work in 3-4 foot sections.
Apply Second Coat
Wait until the first coat is fully dry (2-4 hours for latex, 24 hours for alkyd). Lightly sand with 220-grit between coats for the smoothest finish. Apply second coat.
Baseboard Painting Tips
- Use a piece of cardboard or a paint shield to protect the floor
- Paint the top edge first, then the face, then the bottom edge
- Keep a wet rag handy to catch drips immediately
Crown Molding Tips
- Use a stable step ladder and work in comfortable sections
- Paint the bottom edge first (the most visible part)
- Use an angled brush to reach the ceiling junction
Door Frame Tips
- Remove the door or tape the hinges
- Paint the inside edges first, then the face
- Check for drips after 10 minutes and smooth them out
Avoid painting when it’s humid. High humidity extends drying time and can cause a tacky finish that takes days to fully harden. Ideal conditions: 50-85°F with less than 50% humidity.
Common Mistakes
- Not sanding between coats — Sanding creates tooth for the next coat
- Using wall paint on trim — Wall paint (eggshell/flat) doesn’t hold up on trim
- Painting over dirty trim — Grease and dust cause adhesion failure
- Rushing — Trim painting rewards patience. Slow, steady strokes win
Why Trim Paint Differs from Wall Paint
Trim paint is formulated for two things wall paint isn’t: higher abrasion resistance (kicks, vacuum bumps, chair backs) and smoother flow-out (no roller texture). The pro standard is hybrid alkyd — water-based for cleanup, but cures harder than typical latex and self-levels into a furniture-quality finish. Benjamin Moore Advance and Sherwin-Williams Emerald Urethane Trim are the two most-used hybrid alkyds; both cost about $65-75/gallon and apply with the same tools as latex.
Pure latex trim paint also exists at the budget end ($30-40/gallon) and works fine for guest-room and rental-grade results, but visible brush marks are more likely. If you’re painting trim that will be inspected up close — kitchens, dining rooms, foyers — pay the hybrid-alkyd premium.
How to Get a Glass-Smooth Trim Finish
Five technique adjustments separate professional trim from amateur trim:
- Use a 2” angled sash brush — not a 2.5” or wider. The smaller brush gives better control on narrow profiles, and the trim is rarely wide enough to justify a bigger brush.
- Thin the paint slightly — a few capfuls of Floetrol per gallon (for latex) or 5-10% mineral spirits (for oil) extends drying time and lets the brush strokes flow out before they set. See how to avoid brush marks for full technique.
- Sand between coats with 220-grit — this is non-negotiable for a glass finish. Skip it and you’ll see every brush stroke from the first coat under the second.
- Tip off in one direction — after applying paint, do one final very light pass in the direction of the wood grain (or in the direction the eye will naturally read the trim). This unifies the surface texture.
- Don’t rebrush areas that have flashed dry — once paint loses its wet sheen (about 90 seconds in), leave it. Going back will pull the surface and leave drag marks.
Painting Trim When Walls Are Already Done
When you’re touching up trim in a finished room rather than full-room repainting, the order changes:
- Tape along the wall edge with a quality tape — see best painter’s tape for which tape actually delivers a clean line.
- Press the tape edge firmly with a putty knife. Air gaps at the tape line cause bleed-under.
- Caulk any gaps between trim and wall before painting (paintable caulk only).
- Paint trim, pulling the brush along the tape line. Don’t try to paint up to the line by eye — let the tape do the work.
- Pull tape while paint is still slightly tacky (within 1-2 hours of application), at a 45-degree angle pulling away from the trim. Pulling on dry paint can lift the new trim coat.
FAQ
Should I paint baseboards before or after I install new flooring? After. Painting baseboards in place lets you cut a perfect line at the floor; if you paint them off and then install, you’ll need to touch up the bottom edge anyway after install scuffs.
What’s the difference between satin, semi-gloss, and high-gloss for trim?
- Satin — softest sheen, hides imperfections best. Use for matte-aesthetic homes.
- Semi-gloss — most popular trim sheen. Good durability, easy to clean, modest reflectivity.
- High-gloss — most durable, most reflective, most demanding on prep. Reserve for front doors and built-ins where you want a furniture-grade look.
Can I spray trim instead of brushing? Yes, with an HVLP sprayer for the smoothest result — but only if the trim is removed from the wall (doors, baseboards before install). Spraying installed trim requires masking that takes longer than brushing.
How long before I can put furniture against freshly painted baseboards? Touch-dry: 2 hours. Recoat-ready: 4-6 hours. Cured (won’t imprint or scuff under contact): 7-14 days for hybrid alkyd, 21-30 days for latex. Don’t push the sofa back too soon.
Product Testing Editor
Maya Bennett is the Product Testing Editor. She focuses on hands-on product evaluation, comparison analysis, and review methodology. Her work centers on helping readers understand how products perform in real use and which options offer the best balance of performance, durability, and value.
Related Articles
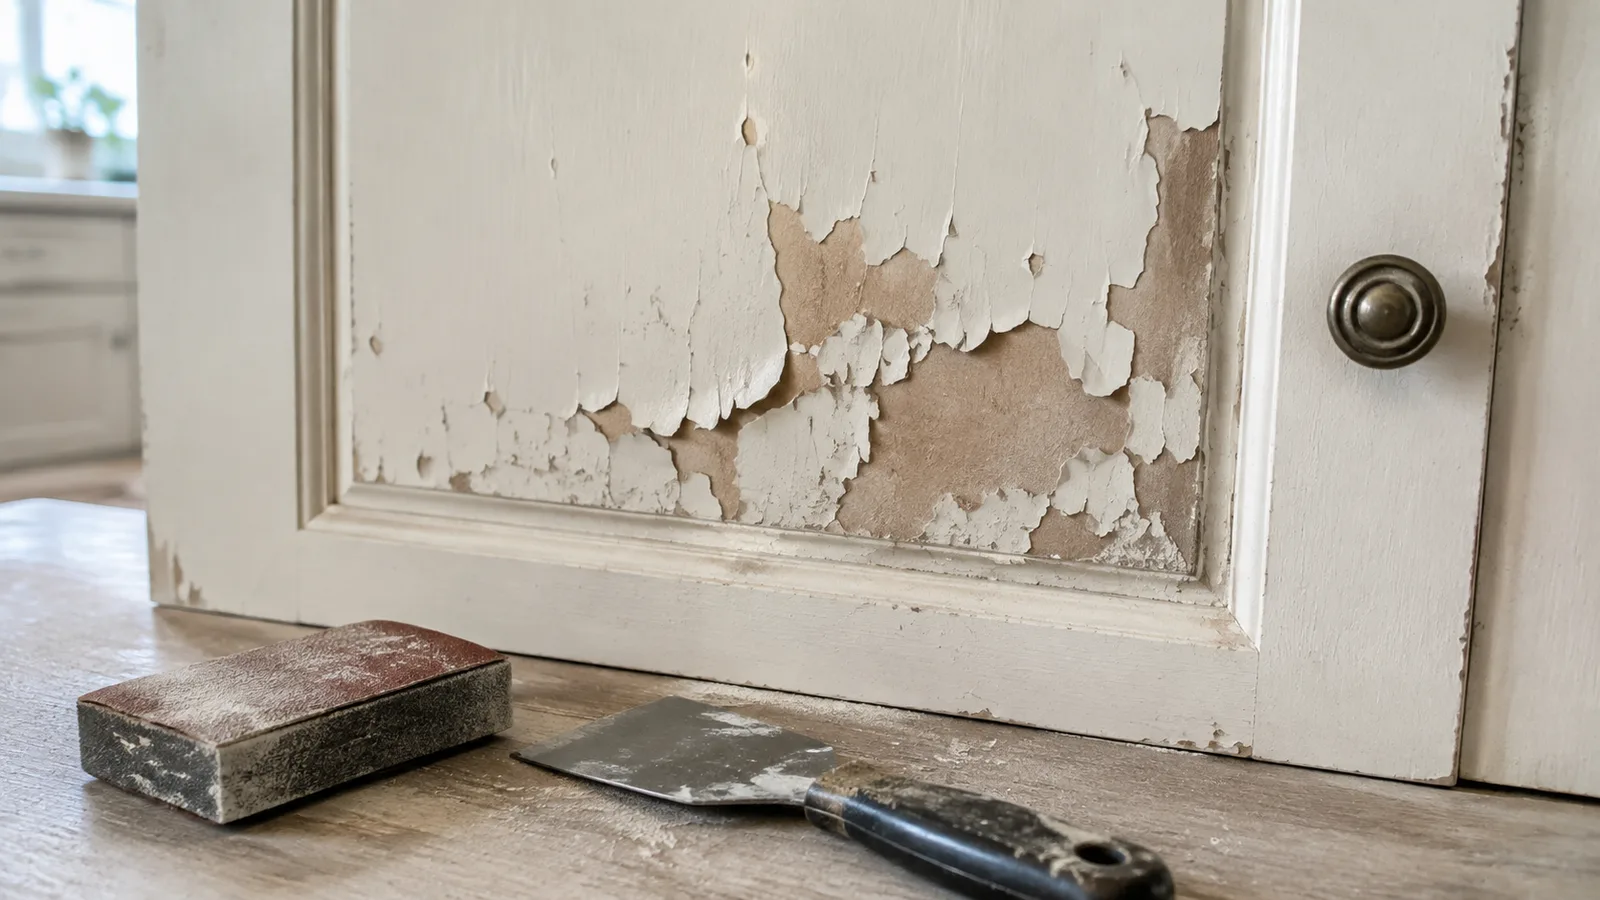
Why Painted Kitchen Cabinets Peel & How to Fix It
Cabinets painted without a topcoat fail in 18 months. Here's why peeling happens, how to fix it, and the protective topcoat the pros never skip.

How to Paint Kitchen Cabinets Like a Pro
Transform your kitchen with a fresh coat of paint. This step-by-step guide covers everything from prep to final coat, with pro tips for a smooth, durable finish.
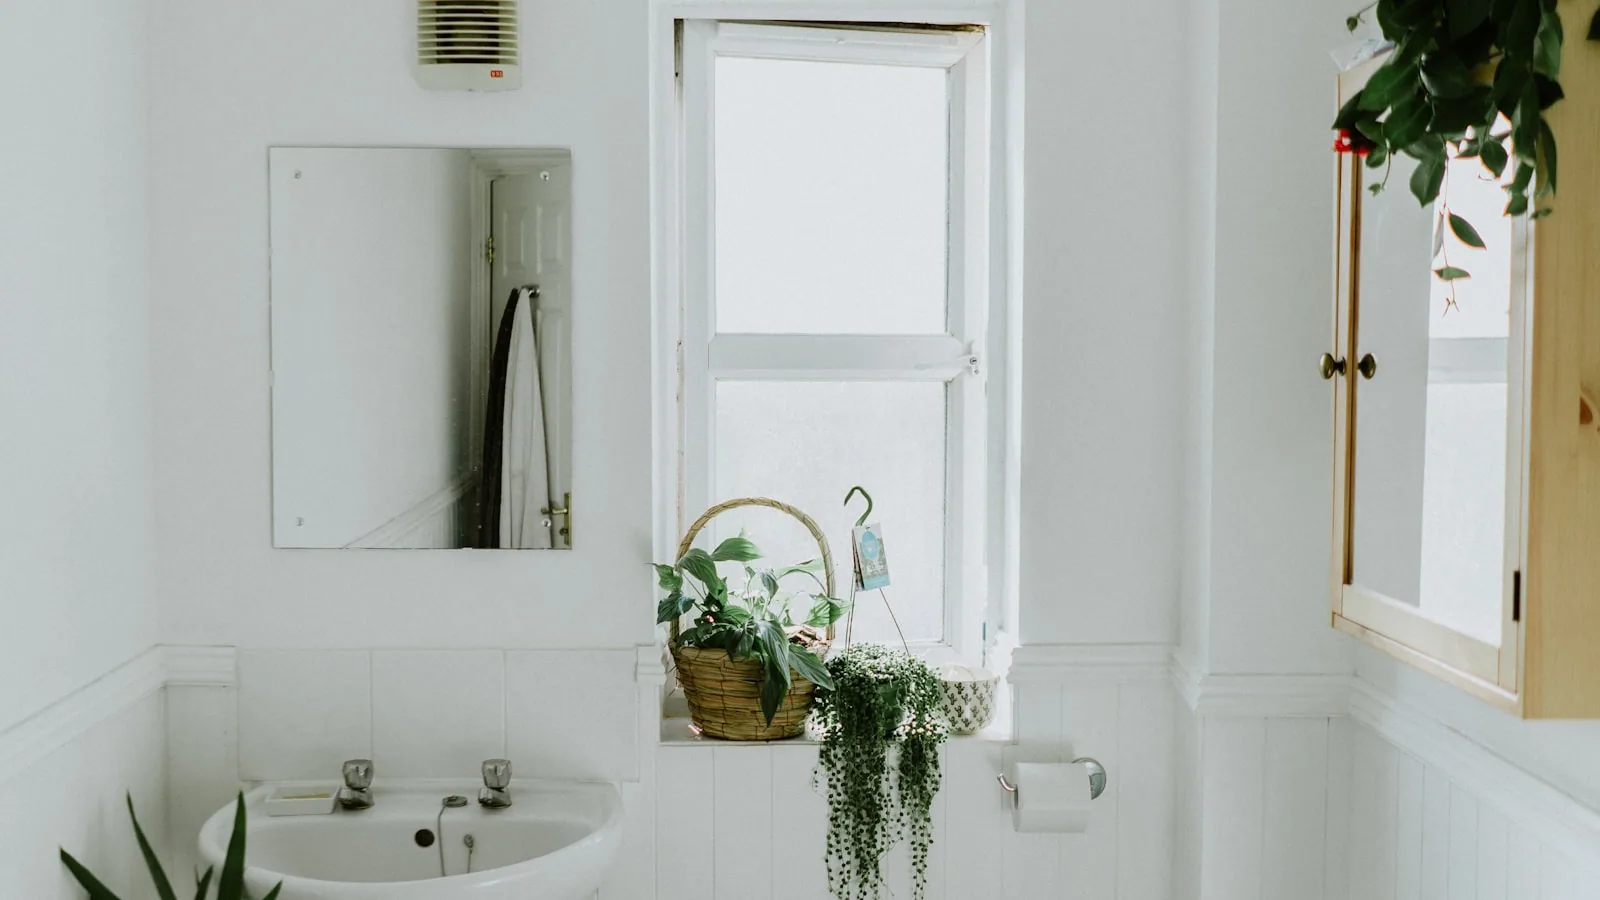
Best Paint Finish for Bathrooms: Complete Guide
Bathrooms need paint that can handle moisture, steam, and frequent cleaning. Learn which paint finish works best and how to get a lasting result.