
How to Paint Old Furniture for a Brand-New Look
Painting old furniture is one of the best DIY investments you can make. Learn how to prep, prime, and finish wood, laminate, and metal furniture for a.


Tools & Materials Needed
- sandpaper 120-grit
- 220-grit sandpaper
- primer
- furniture paint
- brush
- foam roller
Why Paint Furniture?
A thrift store dresser for $30. Some paint. New hardware from a hardware store. Total investment: under $80. End result: a piece that looks like it came from a boutique furniture store.
Furniture painting is one of the highest-return DIY projects you can do — right up there with painting kitchen cabinets. You’re not just saving money — you’re also getting something completely unique.
A thrift dresser project lives or dies on the prep, the bonding primer, and the topcoat sealer. Skip any of these three and the paint chips off in three months.
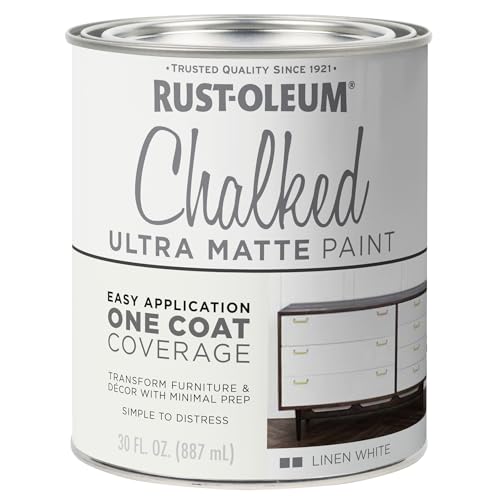 Rust-OleumChalked Ultra Matte Paint (1 quart)Beginner-friendly chalk paint. Minimal prep on most surfaces, beautiful matte finish.~Price$22
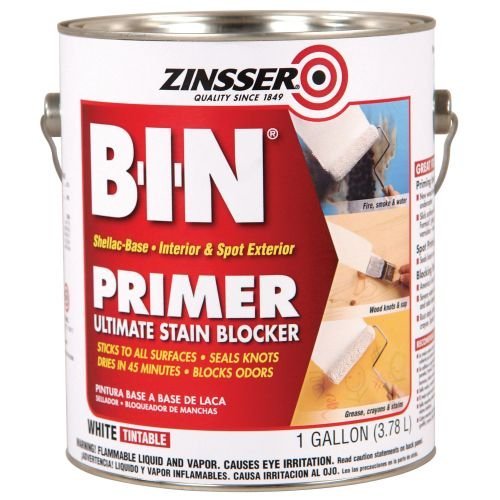 ZinsserBIN Shellac-Based Primer (1 quart)The bonding primer that grips laminate, oak grain, old varnish, and dark colors.~Price$22
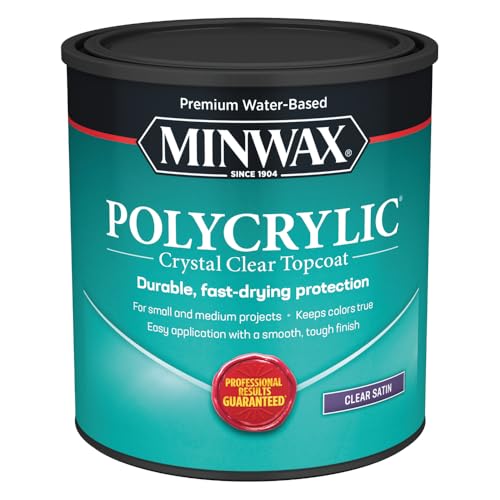 MinwaxPolycrylic Protective Finish (1 quart)Water-based topcoat that won't yellow over white. Required for high-touch surfaces.~Price$20
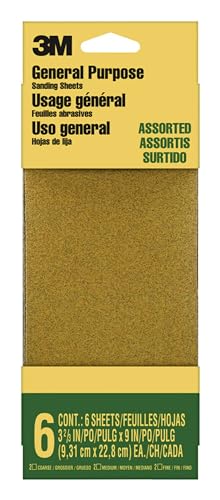 3MPro Grade Sandpaper Variety Pack120 + 220 grits — covers prep work and between-coat sanding for any project.~Price$15
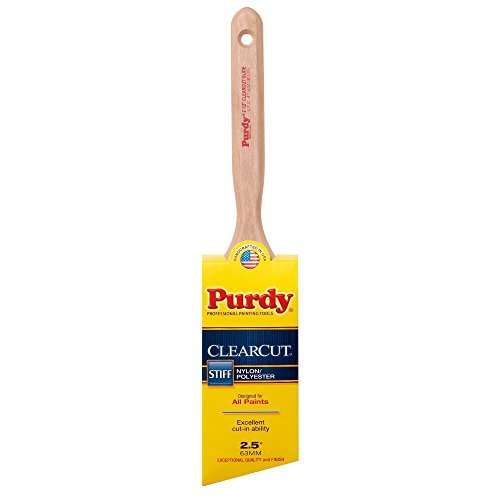 PurdyClearcut Elite Glide 2.5-inch BrushStiffer filament — lays down enamel and hybrid alkyd flat with minimal brush marks.~Price$22
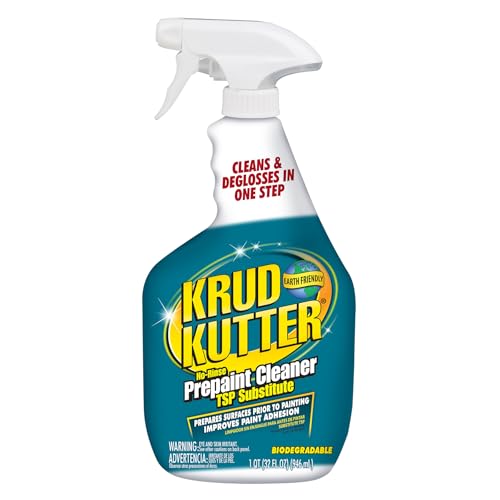 Krud KutterTSP Substitute CleanerCuts kitchen grease and soap scum without harsh chemicals — required prep before priming.~Price$13
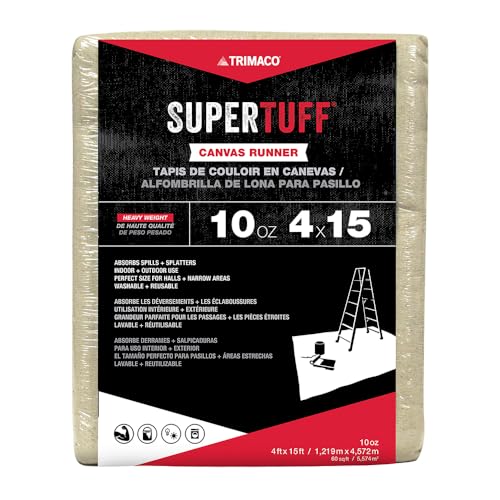 TrimacoSuperTuff 9x12 ft Canvas Drop ClothCanvas grips the floor (plastic slides), absorbs spills, lasts a decade.~Price$26
Affiliate Disclosure: PaintLikePro is reader-supported. When you buy through links on our site, we may earn an affiliate commission at no extra cost to you. Learn more. Prices shown are approximate and reflect the price at publication; check Amazon for current pricing.
Choosing the Right Paint for Furniture
This is the most important decision. Not all paints are created equal for furniture. Our best interior paint guide covers top brands in detail.
Chalk Paint (Best for Beginners)
Best brands: Annie Sloan, Rust-Oleum Chalked, DecoArt Americana Decor Chalky Finish
Chalk paint requires almost no prep (no sanding, no priming on most surfaces), dries with a matte velvety finish, and can be waxed for protection. It’s the fastest route to a beautiful result.
Downside: Less durable than other options. Not ideal for high-use surfaces like tabletops.
Alkyd/Hybrid Alkyd (Best Durability)
Best options: Benjamin Moore Advance, Sherwin-Williams Emerald Urethane Trim
These paints self-level beautifully, dry hard, and are extremely durable. They require more prep (sanding and priming) but produce a near-factory finish.
Milk Paint
Best for: Authentic antique look with variation and character
Milk paint is a powder mixed with water. It creates a naturally chippy, aged look that’s perfect for farmhouse and antique-style pieces. No primer needed on bare wood.
For a smooth, modern look: use a hybrid alkyd with a foam roller. For a quick, rustic makeover: chalk paint with a quality brush. For genuine antique character: milk paint.
Step-by-Step: Painting Wood Furniture
Clean Thoroughly
Wipe down every surface with a degreasing cleaner (TSP substitute or dish soap). Furniture collects oils, wax, and polish that will prevent paint from adhering. This step is non-negotiable — just like when painting a room, prep is everything.
Sand to Scuff (Not Strip)
For most furniture, you don’t need to sand down to bare wood. Sand with 120-grit to scuff the existing finish — this gives the primer something to grip. Focus on any glossy or shiny areas. Wipe away dust with a tack cloth.
Prime
Apply a coat of bonding primer — this is especially important for glossy or laminate surfaces. Let dry completely (follow the can instructions — usually 1–2 hours).
Sand the Primer Lightly
Once primer is dry, sand lightly with 220-grit sandpaper. This knocks down any raised grain or primer texture. Wipe with a tack cloth.
First Coat of Paint
Apply a thin, even coat. Don’t try to get full coverage in one coat — thin coats are key to a smooth finish without brush marks. Use a foam roller for flat surfaces, brush for detailed areas and edges.
Sand Between Coats
Once the first coat is dry, sand lightly with 220-grit. This is the secret to a glass-smooth finish. Wipe away dust.
Second (and Final) Coat
Apply the second coat. For most furniture, 2 coats is sufficient. On high-use surfaces, a third coat adds durability.
Protect with Topcoat
For durability on tabletops, dressers, and other high-use pieces, apply a clear topcoat: polycrylic (water-based, non-yellowing) or furniture wax over chalk paint. Let cure for 24–72 hours before heavy use.
Painting Laminate Furniture
Laminate (IKEA, particle board) is tricky — the surface is non-porous and slick. The key is using the right primer.
Required: Shellac-based primer (Zinsser BIN) or a specifically formulated bonding primer. Regular primer will peel off laminate over time.
After the right primer, any paint will adhere well.
Painting Metal Furniture
- Sand with 80-grit to scuff, remove any rust with wire brush or rust converter
- Apply rust-inhibiting metal primer
- Top coat with any latex or oil-based paint
Always check that your furniture is actually wood or metal before painting. MDF (medium density fiberboard) absorbs water-based products differently and swells around edges. Seal MDF edges with shellac primer first.
Hardware Makes the Difference
New hardware transforms a painted piece. Swap dated brass knobs for black matte hardware, cup pulls, or brushed gold for a modern update. A $30 paint job + $20 of new hardware often looks like a $400 furniture piece.
Choosing the Right Paint Type
For furniture specifically, the choice usually comes down to three families:
- Chalk paint (Annie Sloan, Rust-Oleum Chalked, FolkArt Home Decor) — flat, ultra-matte finish that adheres to nearly any surface with minimal prep. Always finished with a wax or polycrylic. Best for shabby-chic and farmhouse styles. Easy to distress for an aged look.
- Hybrid alkyd (Benjamin Moore Advance, Sherwin-Williams Emerald Urethane Trim) — water-based but cures hard like oil-based. The smoothest brush-applied finish you can get on furniture. Best for refined modern pieces, mid-century, traditional. See how to avoid brush marks for technique.
- Acrylic latex semi-gloss — the budget option. Perfectly fine on lightly-used pieces (side tables, bookshelves) with a topcoat for durability.
Skip pure latex flat paint on furniture — it scuffs the moment a kid bumps it.
FAQ
Do I really need to sand if I’m using bonding primer? For glossy or factory-finish furniture, light scuffing with 220-grit still helps even with bonding primer — it gives the primer mechanical grip on top of the chemical bond. Skip sanding only on chalk-paint projects, which are formulated to bond without it.
How long before I can use the furniture? Surface-dry in 1-2 hours. Recoat-ready in 4-6 hours. Cured (hard enough to take normal use) in 21-30 days for most paints. Don’t put a heavy laptop on a freshly painted desk for the first week — the paint will imprint.
Can I paint over varnish or polyurethane? Yes, with prep. Sand the existing finish until dull (220-grit), wipe clean, apply a shellac-based primer (Zinsser BIN), then your topcoat. Skipping the bonding primer is the most common reason DIY furniture paint peels off in sheets a year later.
Brush, roller, or spray for furniture? For most pieces, a 2.5” angled sash brush plus a 4” foam mini-roller handles flat panels and edges. For high-end finishes on flat-paneled pieces, an HVLP sprayer is unbeatable — see brush vs roller vs sprayer for the tradeoff.
Home & Outdoor Reviews Editor
Ava Brooks is the Home & Outdoor Reviews Editor. She covers major product categories including tools, furniture, lawn and garden equipment, and practical home accessories. Her goal is to simplify product research with clear comparisons, useful buying guides, and straightforward recommendations for everyday use.
Related Articles
How to Paint the Perfect Accent Wall
An accent wall is the easiest way to add drama to any room. Learn how to choose the right wall, pick the perfect color, and get a flawless finish.
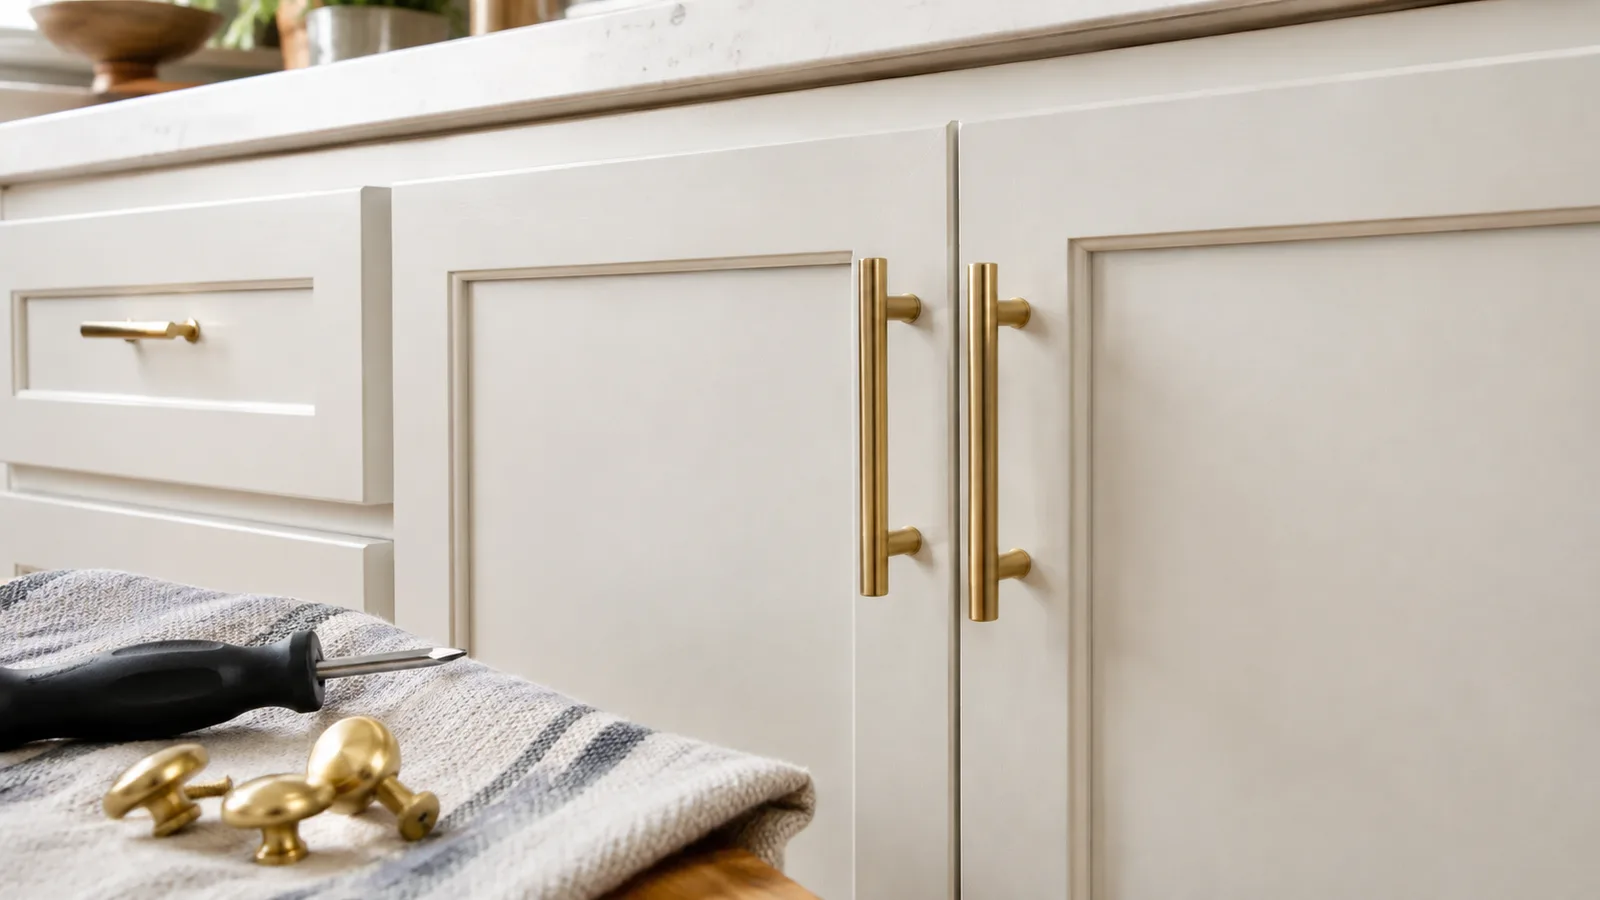
DIY Cabinet Hardware Refresh After Painting
Fresh cabinet paint often still feels unfinished until the hardware changes too. This DIY refresh keeps the update cohesive without replacing the whole cabinet run.
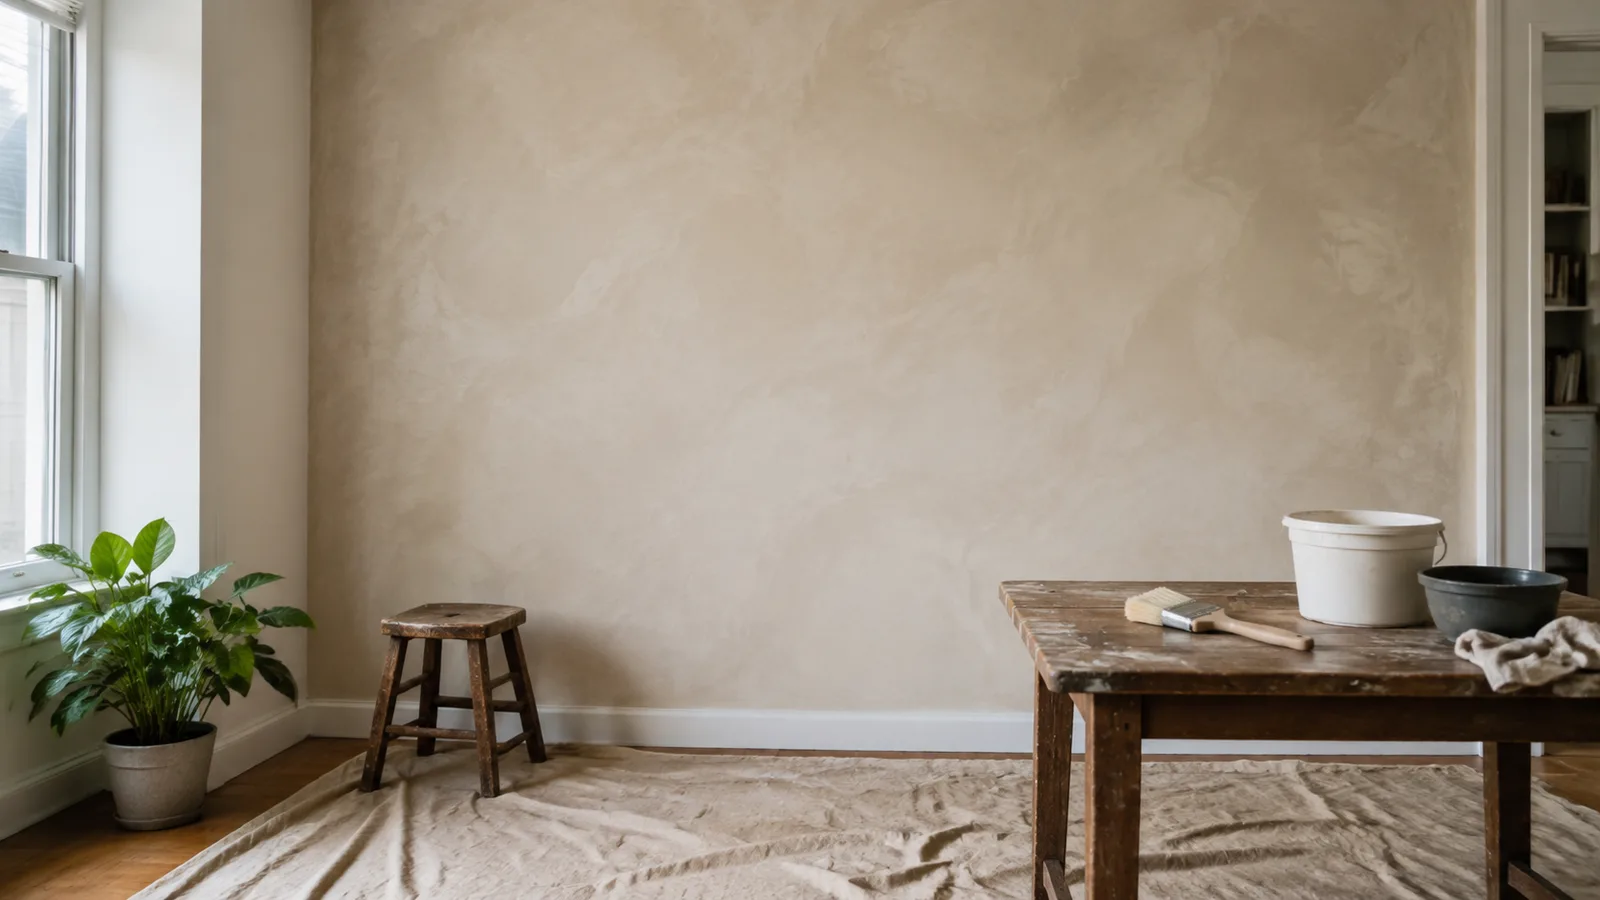
DIY Limewash Accent Wall on a Budget
A budget limewash wall can still look layered if the material and brushwork are right. This guide covers the prep and products that help the texture show up.